Hi Allen,
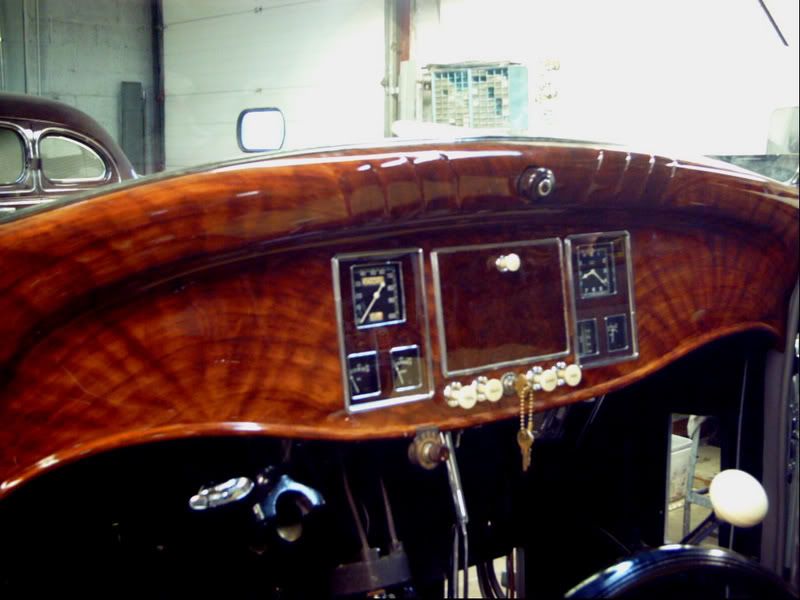
There is a remarkable difference in one providing any type of new wood grain for the first time -- after a little practice, when well done, remarks will definitely vary from "not bad" to "wow".
But why first remove all existing paint, provide a new "not bad" wood grain, only to want to start over & remove all paint a second time, or repeating the same work several times.
Often recommended, but not always adhered to, in developing a new wood grain technique, rather than get frustrated or even giving up after wood grain is poorly provided on your metal parts, in order to get a "feel' & obtain far better final results, always try this:
1. Get some or several white poster boards with a slick surface, (like metal), rather than a grainy surface, usually sold in sizes of 24" x 36" & smaller.
2. Cut poster board into many pieces approximately 6" high x 12" long, & number each on the back side for future color & material identification starting witn (1).
3. On 8-1/2" x 11" paper, starting with (1), record colors of paint used, types of brushes or rollers, or other materials such as hair combs, etc., etc., corresponding to poster board numbers. (Get creative).
4. Remember each different wood grain one comes up with will look very different after the paint is dry -- an old addage with experienced artist & professional painters is, "if it looks bad wet, it will look good dry & vice versa."
5. If this is one's first time at wood graining, one will be totally surprised at how professional for example number (10) sample will look as compared to sample number (1).
6. If samples (1) through (5) look horrible, stop, relax, go get a coffee, & try again later, or the next day -- it is really like learning a new foreign language -- patience.
Have fun -- & sincerely hope this helps.