40Pickup's, transmission pics .....

40Pickup

Senior Member
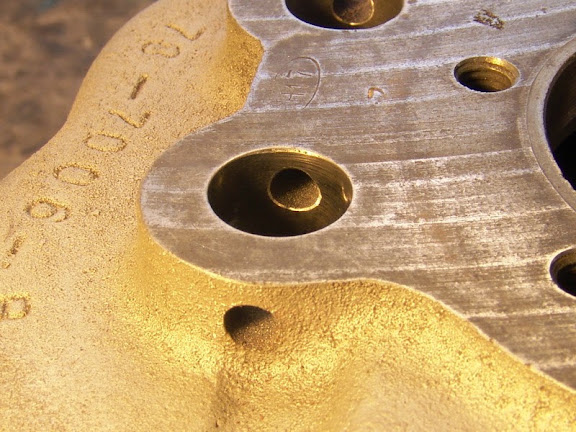
Some pics from assembly the transmission.


DSC09650_resize.JPG


Start with blasting.


DSC09653_resize.JPG


Some deburring.


DSC09652_resize.jpg


DSC09659_resize.jpg


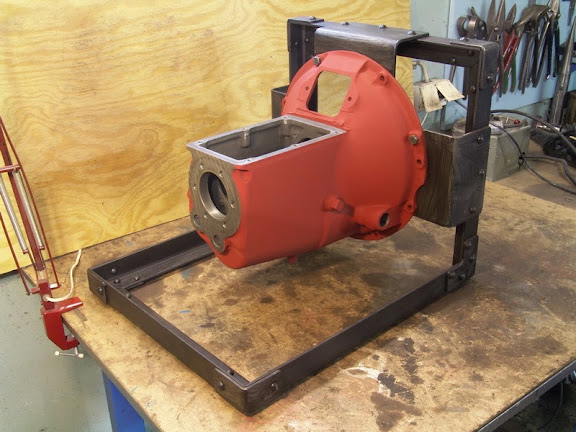
Primed and case into a stand

DSC09661_resize.jpg


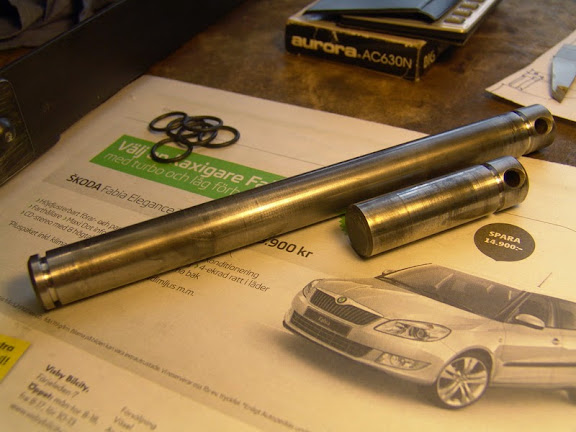
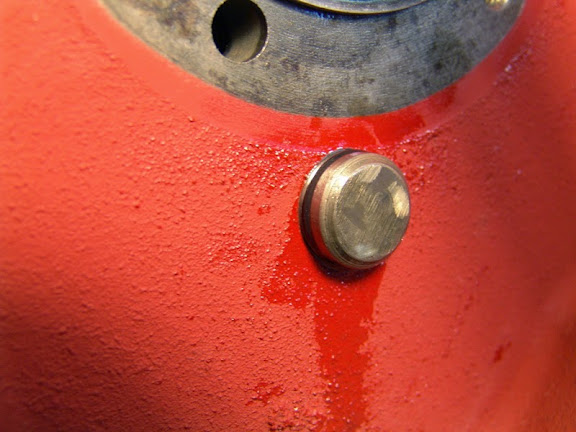
O-ring groove in countershaft.


DSC09669_resize.jpg


DSC09678_resize.JPG


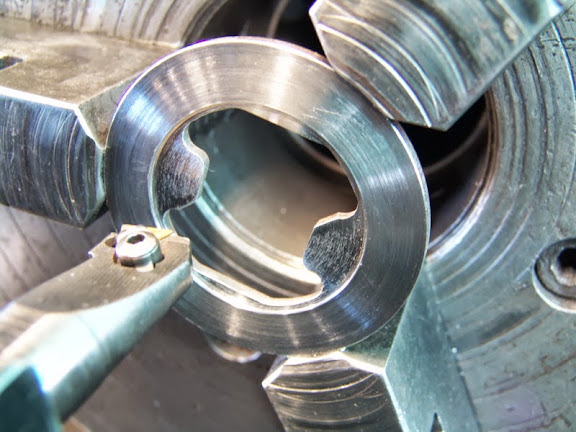
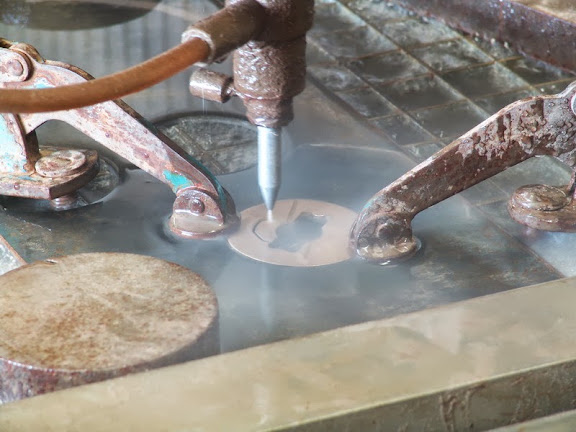
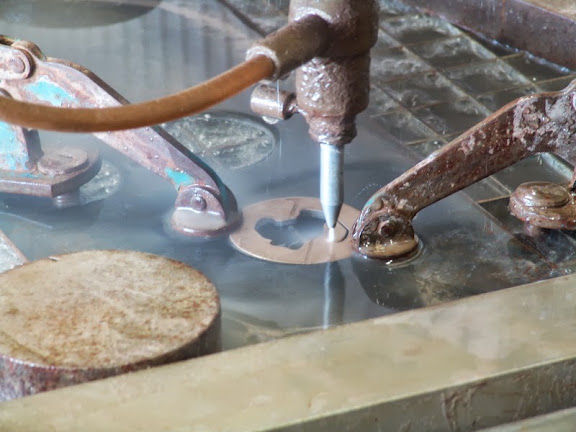
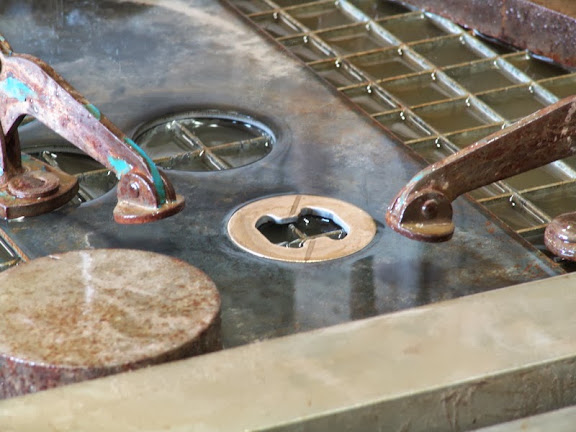
Now I know that the Canadian cluster gear requires Canadian rear thrust washer, according to Mac Van Pelt is not available anymore, so I made a drawing and water cut it out.
DSC09679_resize.jpg


DSC09680_resize.jpg


DSC09681_resize.jpg


DSC09685_resize.jpg


A little turning required at the back.


DSC09690_resize.JPG


Some deburring.


DSC09695_resize.JPG


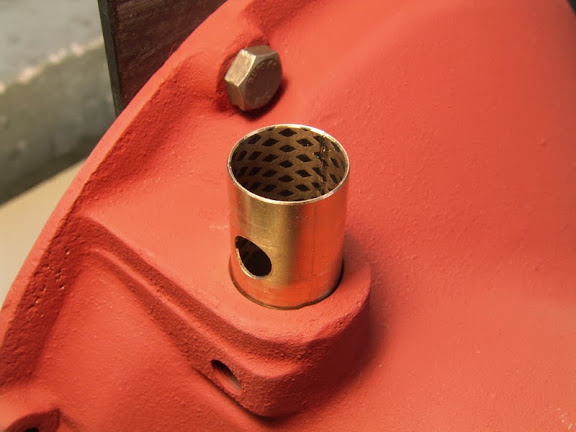
Installing clutch shaft bushings.


DSC09694_resize.jpg


DSC09698_resize.jpg


O-ring on reverse idler shaft.


DSC09702_resize.JPG


Counter shaft.


DSC09705_resize.jpg


DSC09703_resize.jpg


DSC09708_resize.JPG


DSC09711_resize.JPG
 
DSC09713_resize.JPG


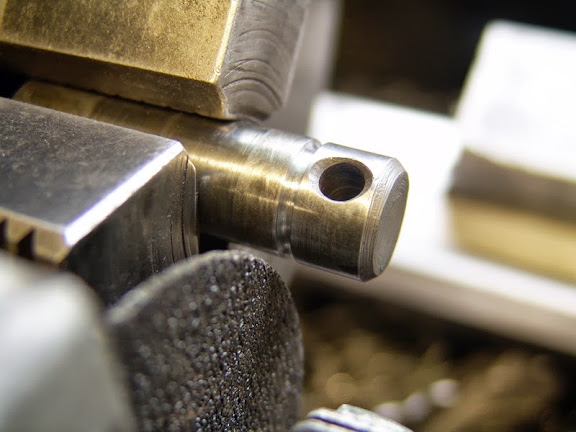
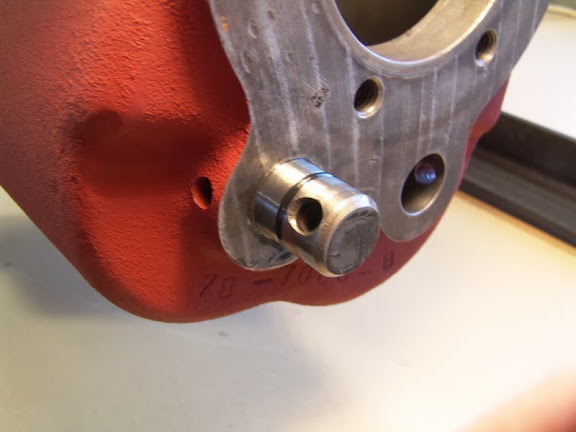
Lock pin.


DSC09714_resize.jpg


Cleaned bolts.


DSC09720_resize.jpg


Grease fittings in place.


DSC09725_resize.JPG


Thread Sealant.


DSC09726_resize.jpg


DSC09730_resize.JPG


DSC09732_resize.jpg


Rear mount.


DSC09735_resize.JPG


Shift lever, some welding and grinding.


DSC09738_resize.jpg


DSC09740_resize.JPG


DSC09743_resize.JPG


DSC09746_resize.jpg


Lock pin work.


DSC09752_resize.jpg


DSC09753_resize.JPG


DSC09757_resize.JPG


DSC09766_resize.jpg


Rear mount in place.


DSC09770_resize.jpg


Clutch shaft and fork in place.


DSC09772_resize.jpg


DSC09767_resize.JPG


Time for some painting ...............

Thanks Jorgen.
 
Last edited:
Jorgen..nice pics and looks like you've got a good reference book to asist you. For future reference, we had a small bunch of those rear thrust washers (Canadian export type) made and are available now. We use p/n C8M-7129..........Mac VP
 
Sure looks like a job well done to me!

Very nice post.

That dab you added to the ball of the shift lever was poetic.

Our FordBarn buddy Cecil/WV has a 40 pickup, and he's a transmission guy also (among dozens of other talents). He's on the road right now heading for Tahoe.

-VT/Jeff
 
Last edited:
What a great post! I really like the way you work, and the photographic sequence is great.

Mart.
 
Nice work and pictures! I went NUTS a few years ago trying to ID one of those washers for a guy on the HAMB...I think it took me a week of digging in my bunker of knowledge before I located its picture and info in an ancient Canadian catalog. Then he went nuts for several weeks locating a usable one!
 
I used a roll pin like the one you picture on your throw out shaft... And, I came to regret it.
I used it on the outside to fasten the arm to the shaft. I found that I had to adjust the clutch- and didn't know why... The roll pin was springing under load and gradually fell apart...
At least I could get to mine, yours will be hard to replace.
Use a grade 8 bolt...
 
Karl Wolf, Thanks for your point of view. The idea of ​​the roller pin was that it would fill up the hole and get away from any movement.
I think if the roller pin is too short the ends of roller pin would collapse before a roller pin which extends by at least half the diameter outside, if possible you can beat in a thinner roller pin or a masiv pin inside.
But probably not reach it up to the same strength as a grade 8 bolt!
So maybe I should change to a grade 8 bolt.

/ Jorgen
 
Last edited:
Great example of machining ability. Good how to on -o-ringing the shafts to stop oil leaks. First job out of high school was a machinist. Didn't forget those skills 50 years later building a '32 hot rod with a Bridgeport & lathe for help.
 
Back
Top