Hitchhiker
Senior Member
This is a copy and paste from my build thread, So there might be some text discrepancies. I just thought you guys might like to see what I am working on as it pertains to Model A substructure. Please look past the fact that my car is a hot rod. It's really rough and you guys wouldn't deem it restorable anyways.
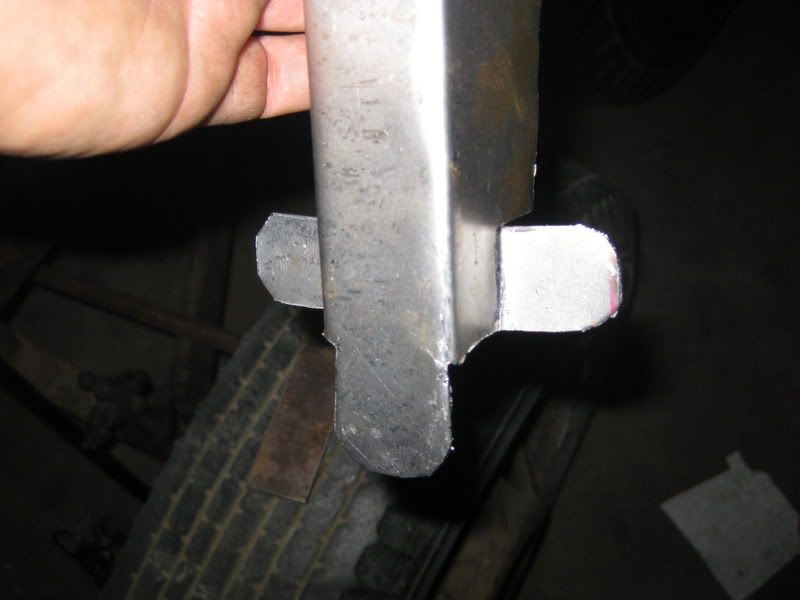
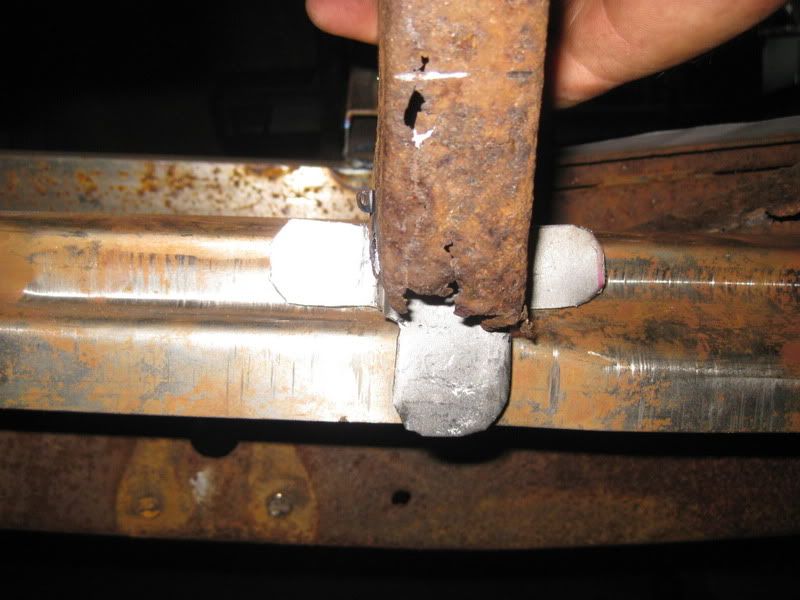
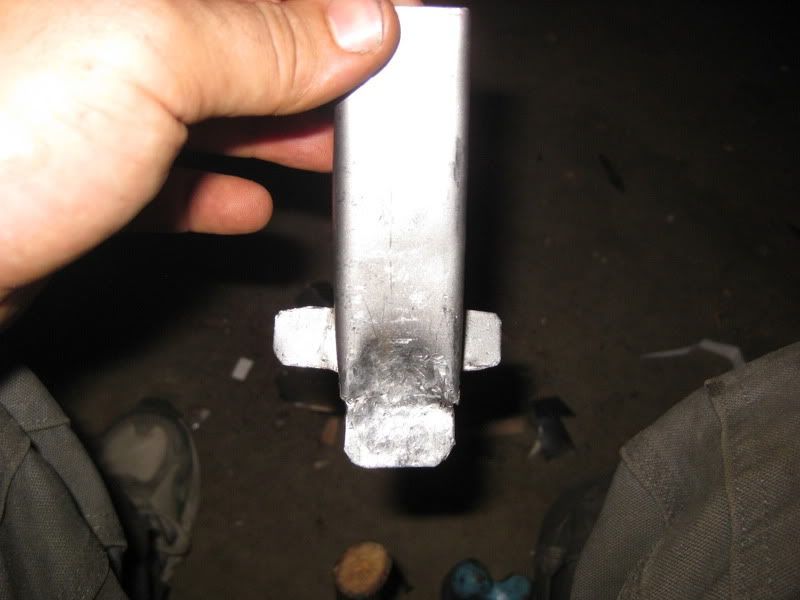
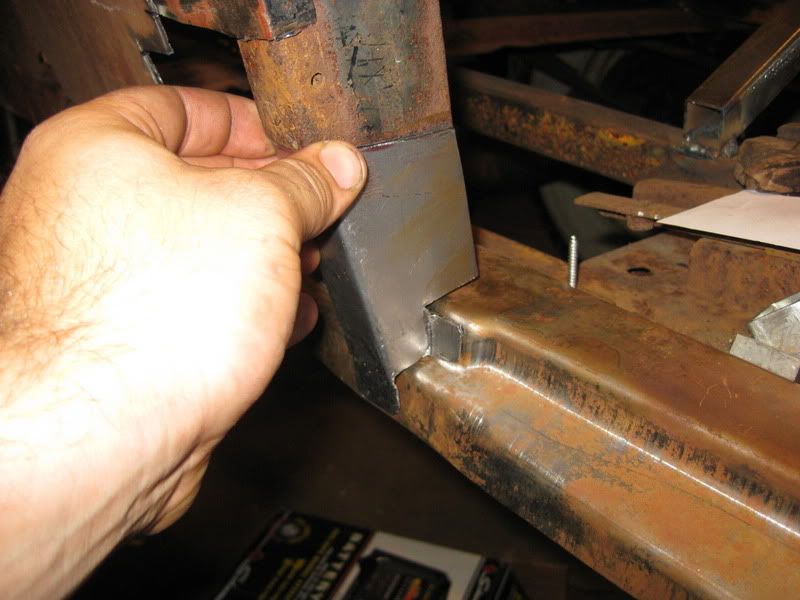
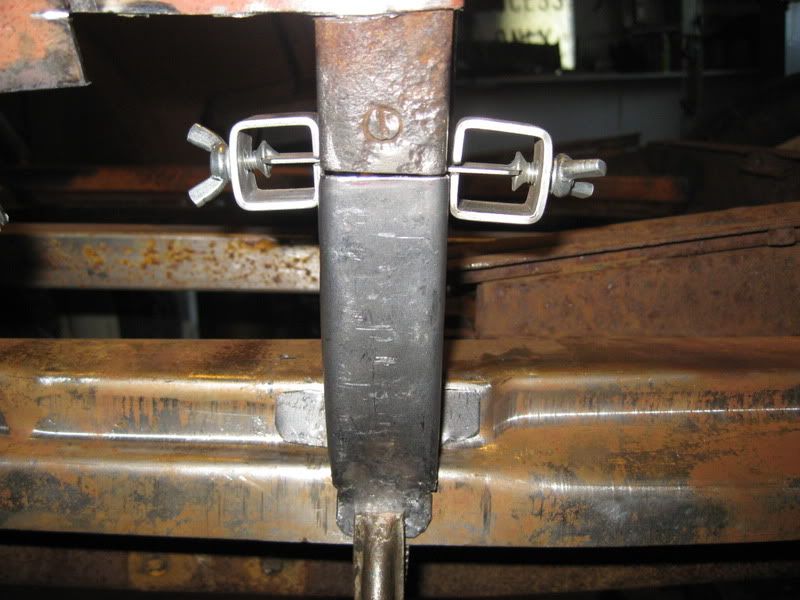
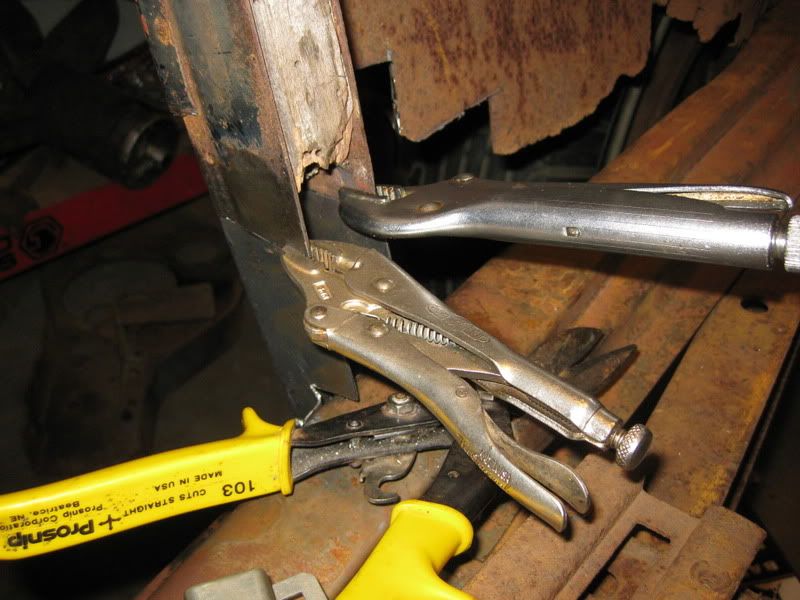
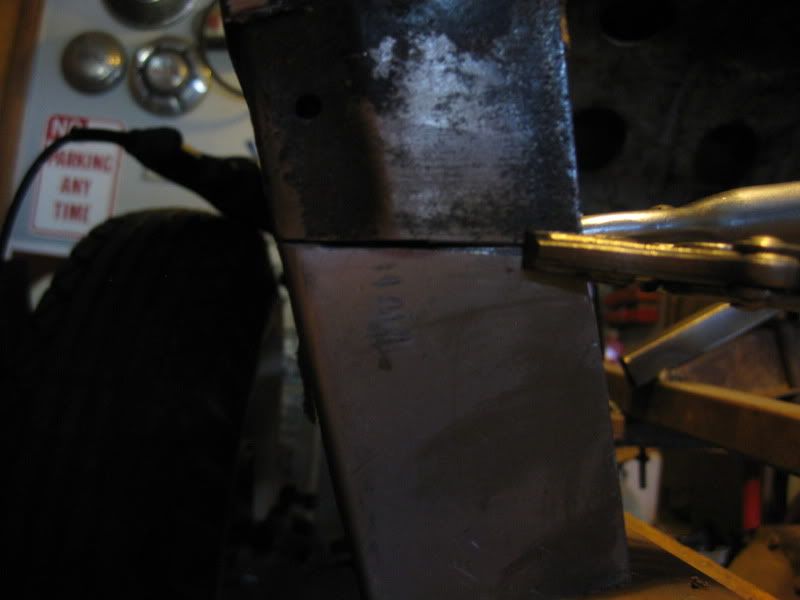
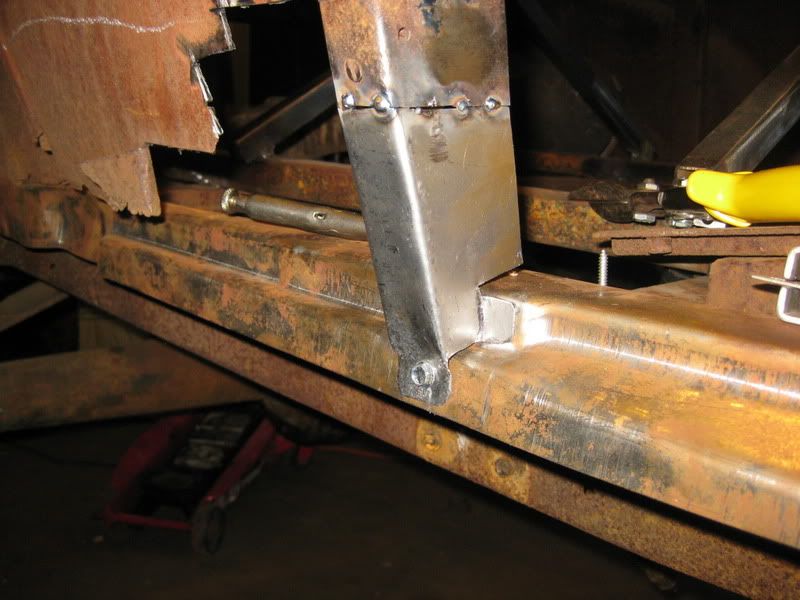
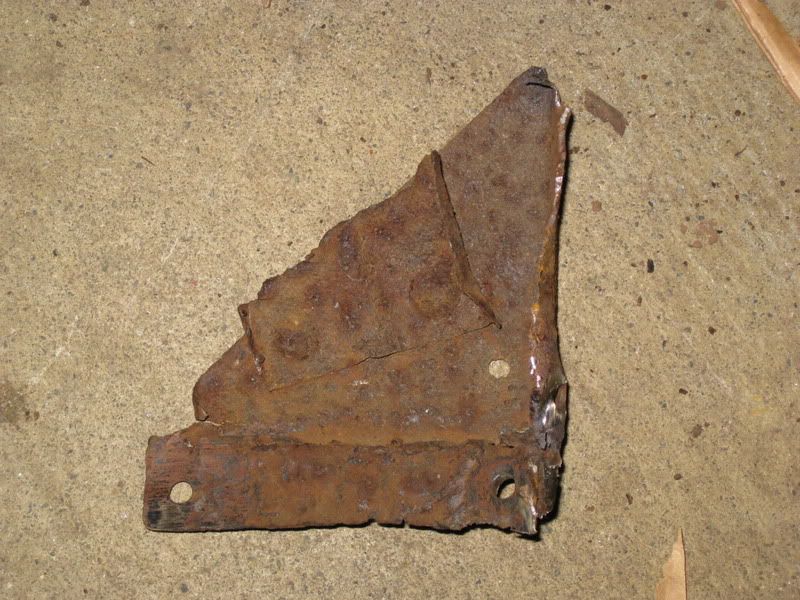
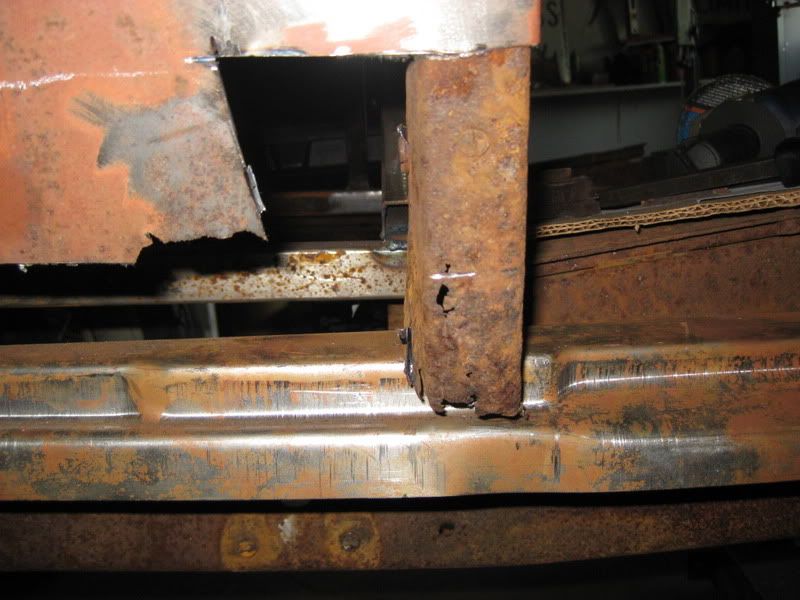
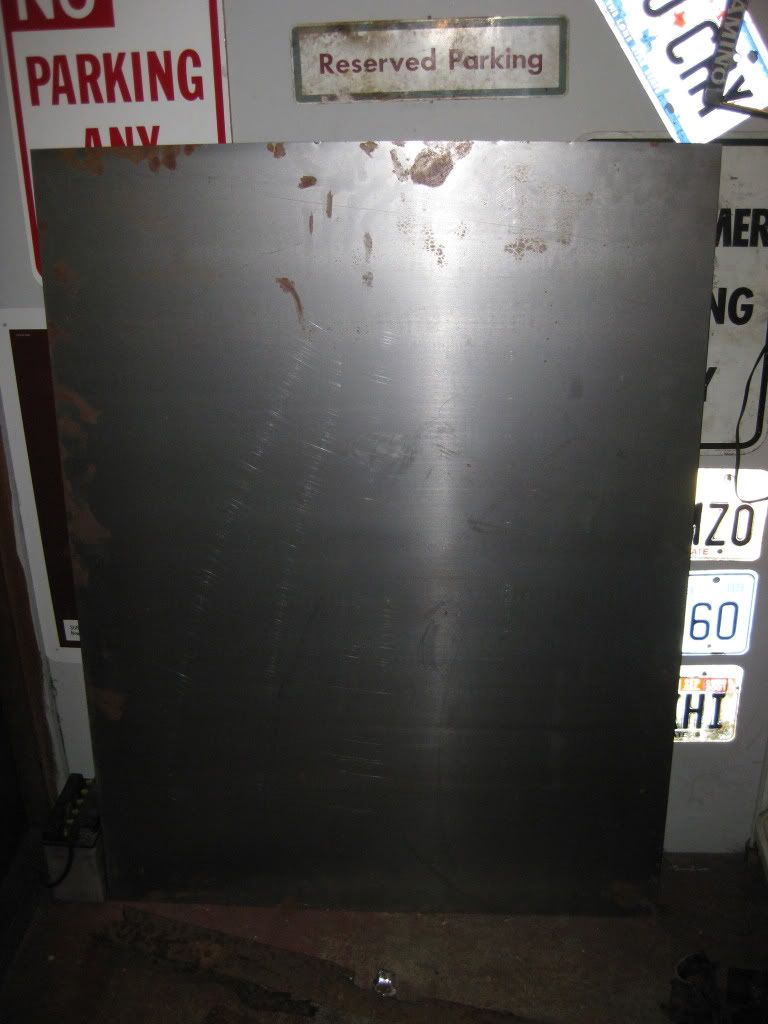
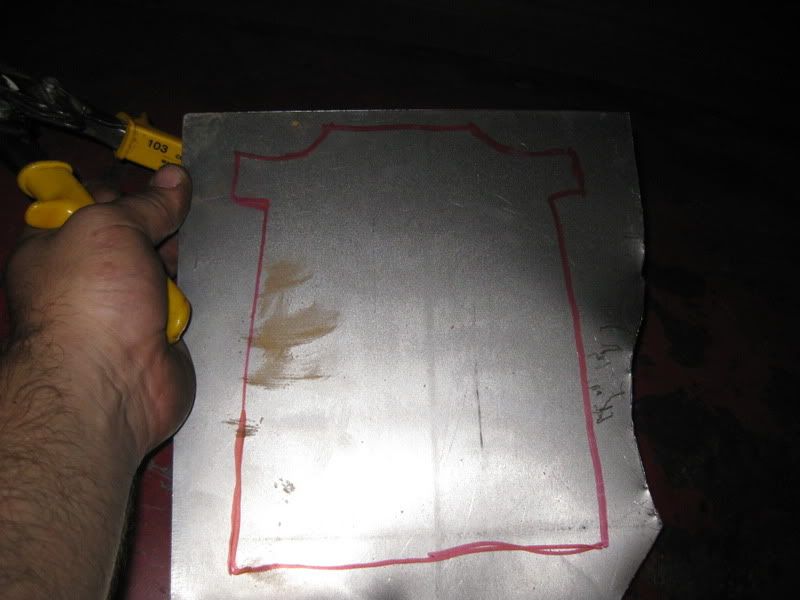
Well, some of you know that I have been looking into repairing my b pillar and subframe. I wanted to repair my original parts as Bert's wanted $150 for a good set of b pillars and I couldn't see ruining a uncut original to fix mine. Here our some pictures of how I did it.
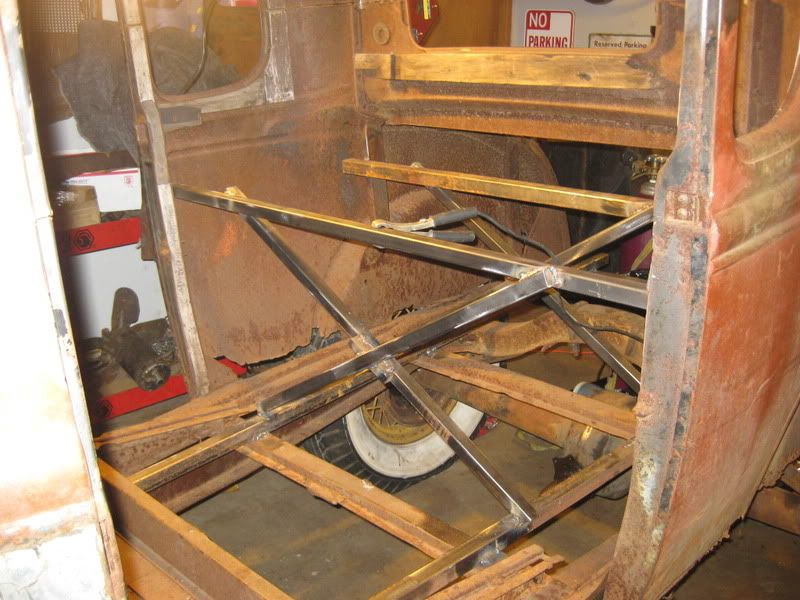
So I started bracing things up. I ran two long pieces the length of the body welded to the subframe crossmembers. I then ran x braces from them to the top pieces I had installed. The body feels really solid now. I think I might hide a X in the body behind the seat.
After I had everything where I wanted it I started to remove the rivets from the passenger side subframe. I like to grind the head off and drive them threw with a punch and hammer.
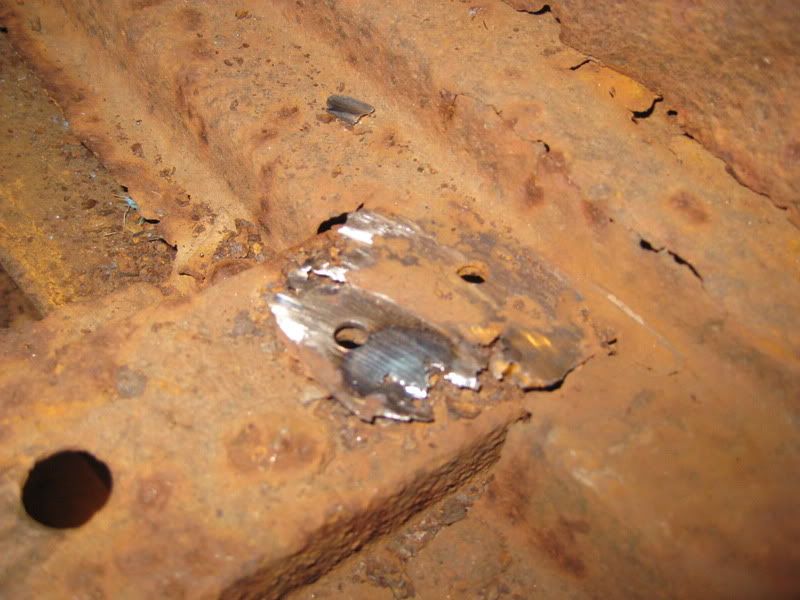
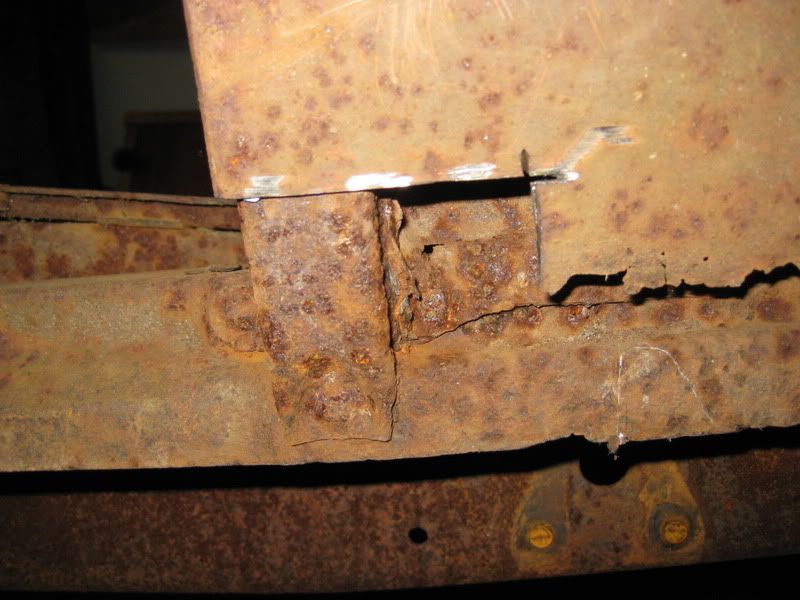
after I removed all the rivets, I cut right behind the b pillar. Basically everything came out really easy. Here it is removed.
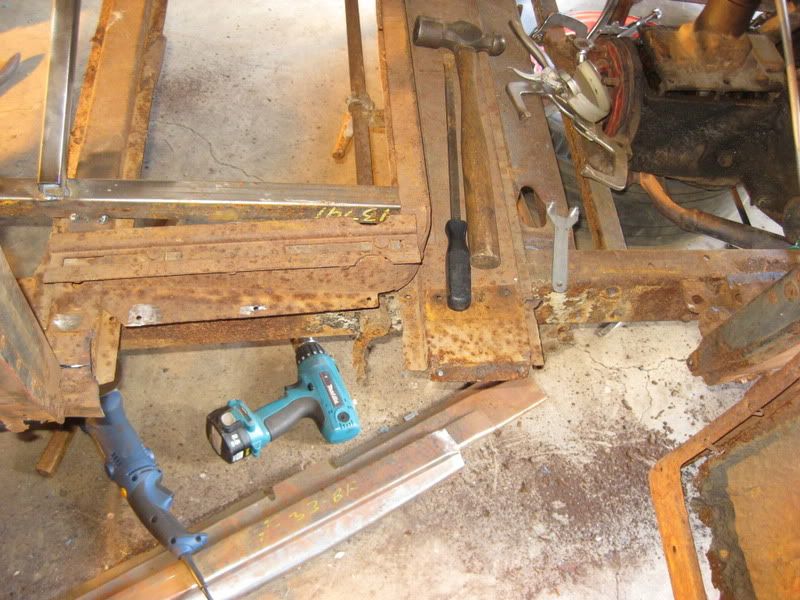
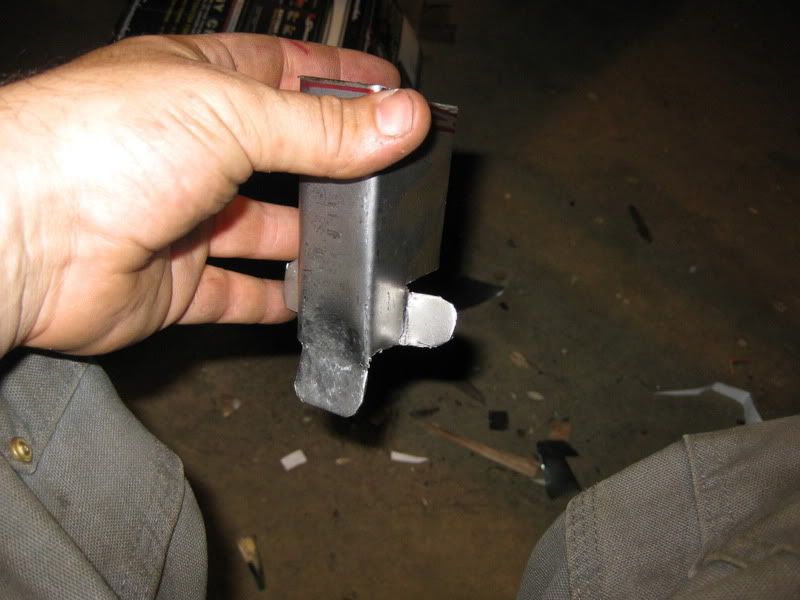
after I cleaned up the little stray bits. the new rail slid right in.
Well, some of you know that I have been looking into repairing my b pillar and subframe. I wanted to repair my original parts as Bert's wanted $150 for a good set of b pillars and I couldn't see ruining a uncut original to fix mine. Here our some pictures of how I did it.
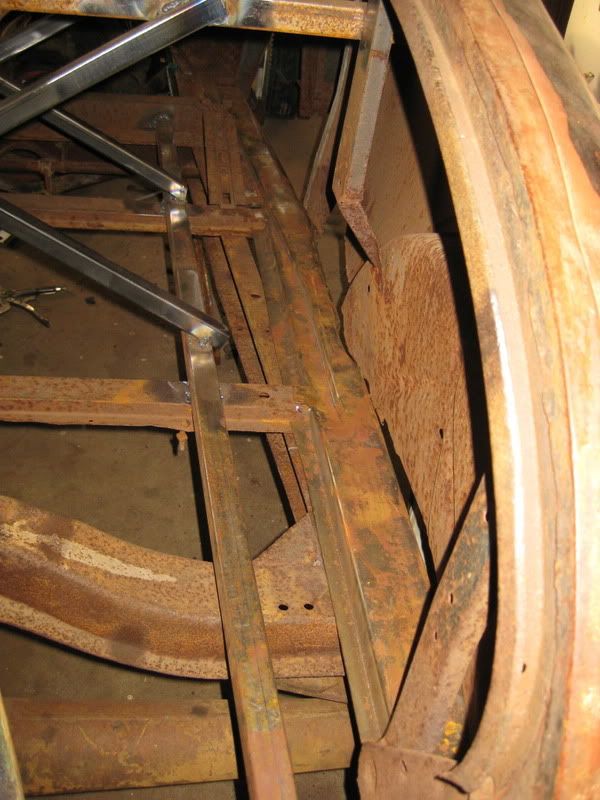
So I started bracing things up. I ran two long pieces the length of the body welded to the subframe crossmembers. I then ran x braces from them to the top pieces I had installed. The body feels really solid now. I think I might hide a X in the body behind the seat.
After I had everything where I wanted it I started to remove the rivets from the passenger side subframe. I like to grind the head off and drive them threw with a punch and hammer.
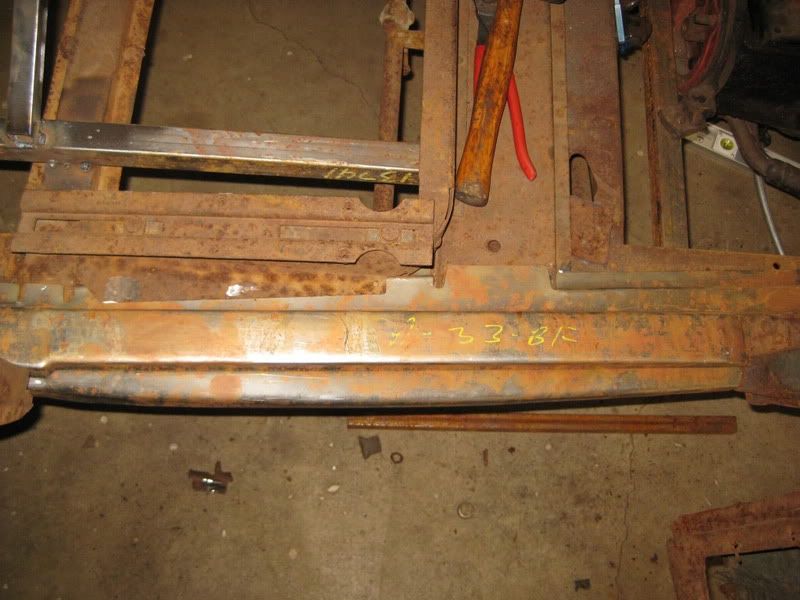
after I removed all the rivets, I cut right behind the b pillar. Basically everything came out really easy. Here it is removed.
after I cleaned up the little stray bits. the new rail slid right in.
Last edited:
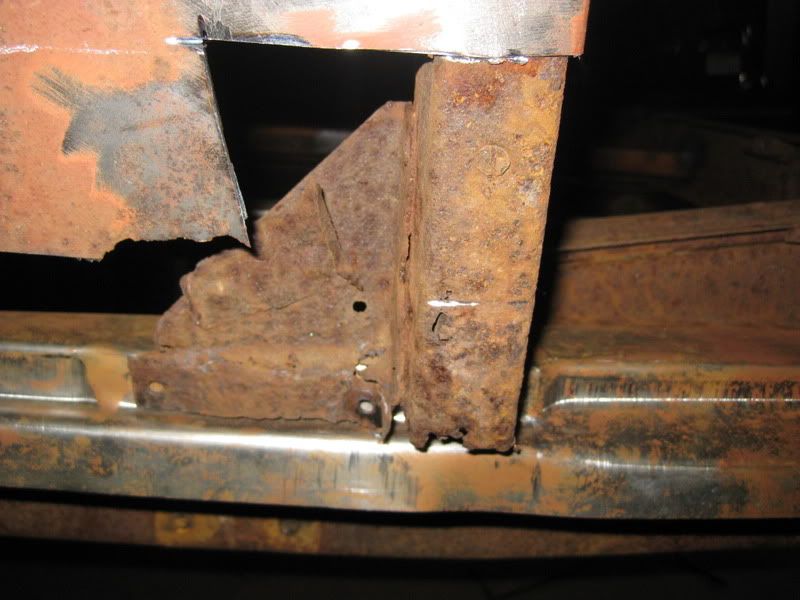

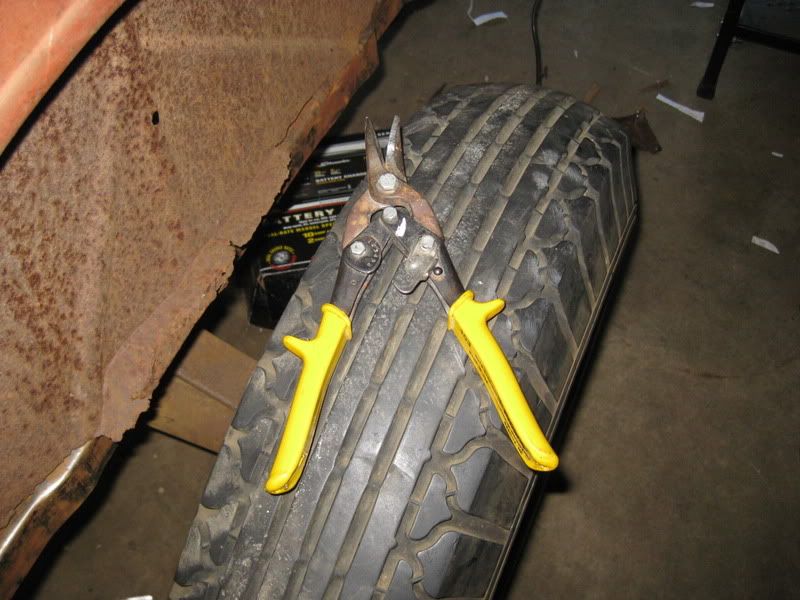
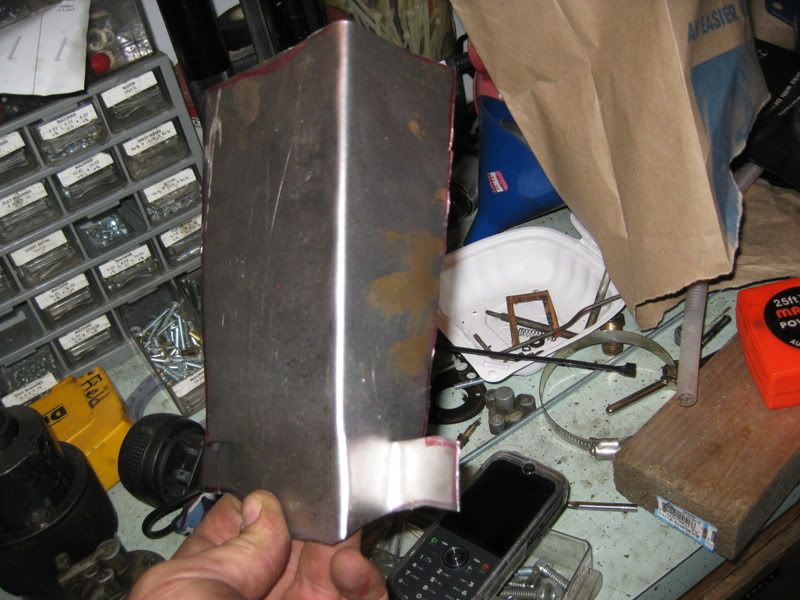


 Kinda embarrassed.