You are using an out of date browser. It may not display this or other websites correctly.
You should upgrade or use an alternative browser.
You should upgrade or use an alternative browser.
Model A motor tear down Covid lockdown
- Thread starter Brendan1959
- Start date


Brendan1959
Member


Brendan1959
Member
I am sure I have a valve guide removing tool. But I cant find it!!!
Jack Shaft
BANNED
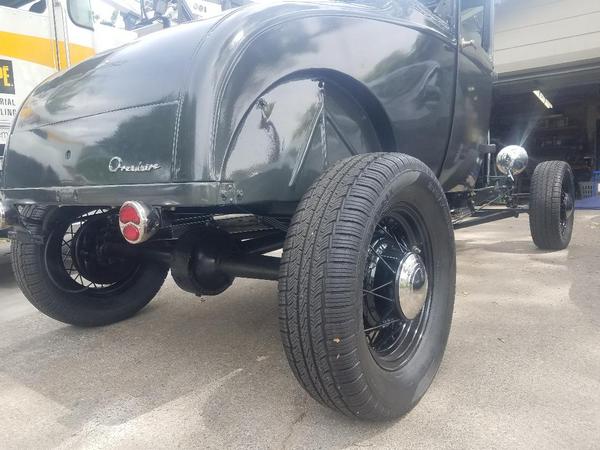
If your handy you can run up a side mount for the engine stand,pick up the water inlet and two bolt hole on the top of the pan rail..you can do clutch work,pull crankshaft and all your other work without taking it off the stand...nice roadster...fenders? who needs fenders?
Jack Shaft
BANNED
'28 five bearing cam..slid into a later block..does it have a beaver tail crankshaft? the early '28 crankshaft throws look like a beaver tail. You going to hop it up?..oh and ditch that timing gear,those two piece ones will give you trouble..
Brendan1959
Member

Brendan1959
Member


Jack Shaft
BANNED
The crank throw is flat instead of round..looks like a paddle..or a beavertail,hence the name..its a few pounds lighter than a later crank.
Jack Shaft
BANNED
My junk is hopped up too

Synchro909
Well-known member
I am sure I have a valve guide removing tool. But I cant find it!!!
You must have put it somewhere safe!
Brendan1959
Member
You must have put it somewhere safe!
I have looked in all the safe places, no luck, my normal procedure is to look and look, give up buy another use it then store it in a safe place right next to one I could not find.
I see your from Melbourne also.
Do you know of anywhere that pours and bores Babbitt?
Brendan

Hoogah
Well-known member
Brendan, if you're up for a drive, Norm McCullagh does all the babbit work around this part of the world (Warrnambool). They're getting harder to find.
https://www.nmengine.com/home
Cheers, Martin
https://www.nmengine.com/home
Cheers, Martin
Jack Shaft
BANNED
Beaver tail crankshaft..this engine also had a smooth sided oil pan,screwed in dipper tray..
Jack Shaft
BANNED
Later 28 to 31 crankshaft..The beaver tail is a shade lighter..
Brendan1959
Member

Brendan1959
Member


Synchro909
Well-known member
I have looked in all the safe places, no luck, my normal procedure is to look and look, give up buy another use it then store it in a safe place right next to one I could not find.
I see your from Melbourne also.
Do you know of anywhere that pours and bores Babbitt?
Brendan
Bill Eldridge does it and has been for decades. He is in Keysborough (near Dandenong).
If you're interested, I'll PM you his number.
PS roughly where in Melbourne. I'm 20 from the CBD to the NE.
Brendan1959
Member
Well its completely torn down, as I suspected I had to cut the last two valves to get them out.
Then spun up a drift to get the guides out.
Next job clean up the mess and have a look for cracks.
Any tips on finding cracks without special equipment?
Brendan
Then spun up a drift to get the guides out.
Next job clean up the mess and have a look for cracks.
Any tips on finding cracks without special equipment?
Brendan
Attachments

Jack Shaft
BANNED
run up some block off plates and pressure test it..mandatory on later engines
Brendan1959
Member
I took your advice and adapted for a side mount
If your handy you can run up a side mount for the engine stand,pick up the water inlet and two bolt hole on the top of the pan rail..you can do clutch work,pull crankshaft and all your other work without taking it off the stand...nice roadster...fenders? who needs fenders?