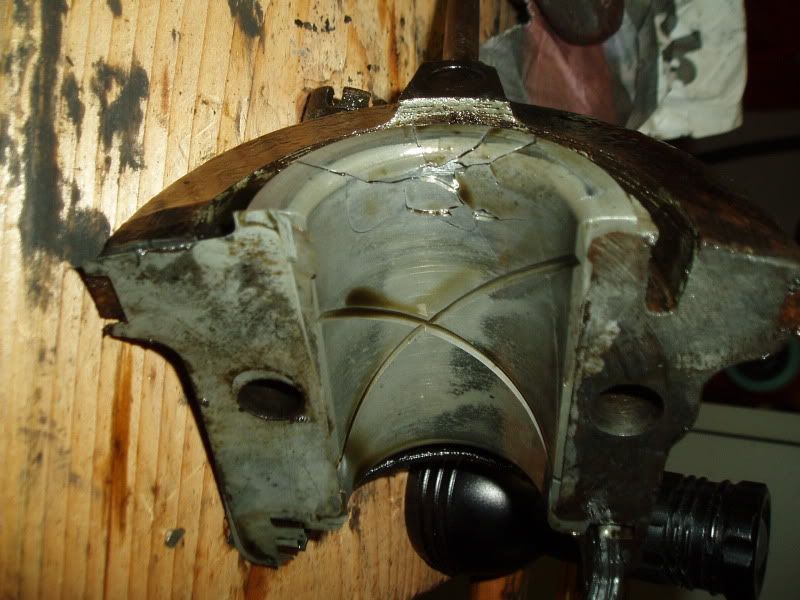
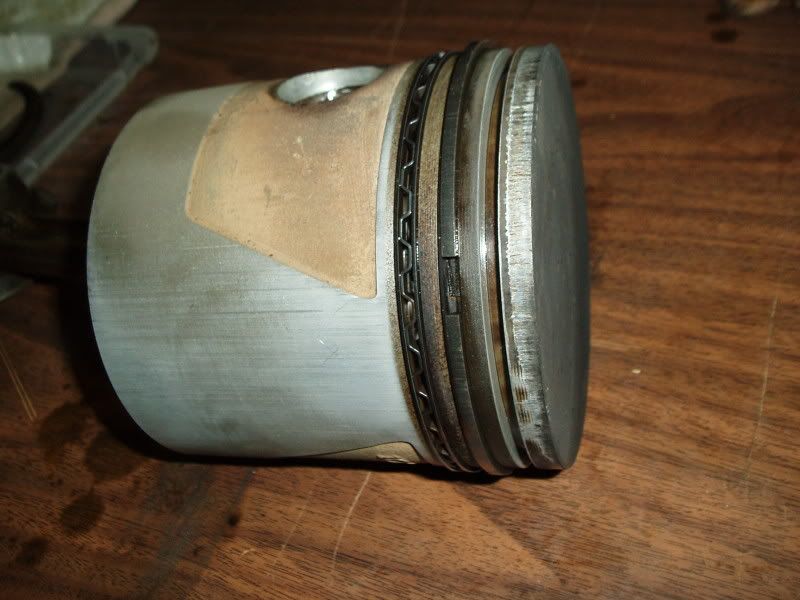
Tom,
If it were mine, I would carefully remove the remaining thrust material on the front of the cap and then I would clamp it to a rotary table on a Bridgeport. I would machine it for the thrust washer shown below. I have a dedicated jig on my rotary table for the Bridgeport...so that would be my first choice. You could also machine the receiving area with a lathe. Turn a stub shaft the diameter of the babbit of the cap and use an old center or front cap to clamp the cap to the shaft for the machining. Feed slowly so as to not create any further damage to the remaining babbitt.

I do this all the time at the rear of the cap. The typical machining will need to be .125" deep and 2.25" in diameter. Before you complete this fix, check the area the thrust washer will be machined into to see if there is enough shoulder left after the machining to capture the thrust washer. If the shoulder is to thin, the outside diameter of the thrust can be reduced to leave a bit more shoulder. I do not have a cap available at the moment as I am away from my shop so I am winging it here. Final fit is accomplished by decreasing the thickness of the thrust washer until it flushes out with the thrust surface on the block. If you need to reduce the end-play of the crank, you could leave a bit of the thrust washer beyond the thrust surface of the block. Bevel the leading edge of the washer 45 degrees to keep oil between the surfaces. If you leave the leading edge sharp, it may actually wipe the oil from the surface of the crankshaft's thrust surface. See photo of a thrust edge @ 45 degree below. (The last pic below shows the thrust with the beveled edge located in the block but the principle is the same. The thrust is normally installed in the block when installing insert bearings because it is the quickest and most accurate to cut the pocket while the block is secured in the line boring machine. But...the thrust will work just as well in the cap.) File or sand the back side of the thrust washer to complete the final crankshaft endplay adjustment. Keep checking the overall thickness across the washer with a mic. as you remove material to keep it equal in thickness. I often use a belt sander with a fine belt to reduce the thickness quickly. The thrust washer is available at Snyder's under their Crankshaft section. Other Model A parts suppliers carry this part also.
Note: When rebuilding with insert bearings, it is common to only provide a 1/2 thrust at the front of the rear main bearing. This single thrust is within the crankcase area and receives a good amount of oil from the dipper splash. I have an inserted engine with over 50,000 miles running on a 1/2 front thrust in the car shown on my avitar to the left of this text.
The thrust should not be pinned...it should float. The block will keep the thrust washer from spinning and the thrust surface of the crank will keep it captured in the machined space. The thrust surface will most likely last longer than the remaining babbitt.
When the engine is rebuilt, an unaltered cap should be substituted for the modified one. Replacement caps are readily available.
The machining is about 10 minutes of work on a milling machine.
I've attached some photos of the machining at the other end of the cap...try to picture the same process on the front of the cap to fix your problem.
Updated:
Tom, Just caught your later post about the cracked thrust on the block. The single thrust washer installed in the cap will still fix the problem. Just bevel the leading edge so it won't wipe the oil from the crank. Beveling it actually sets up a little pressure at the spot and forces oil between the two surfaces.
Good Day!
Dave in MN
www.durableperformance.net
Tom: Call me if you need help a better explanation or help.