You are using an out of date browser. It may not display this or other websites correctly.
You should upgrade or use an alternative browser.
You should upgrade or use an alternative browser.
1930 Ford Sheetmetal Work
- Thread starter Flop
- Start date
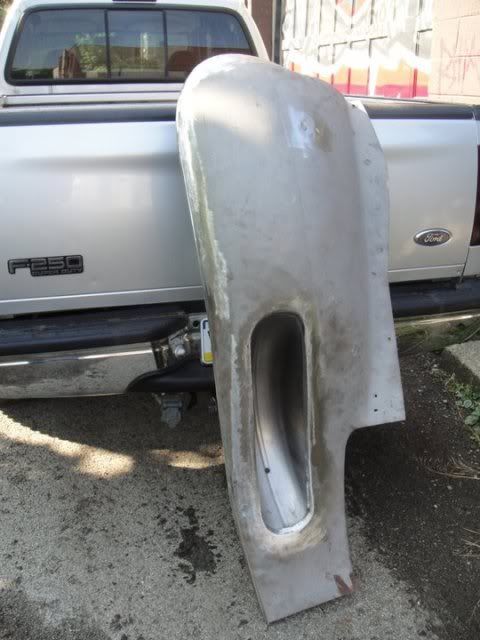
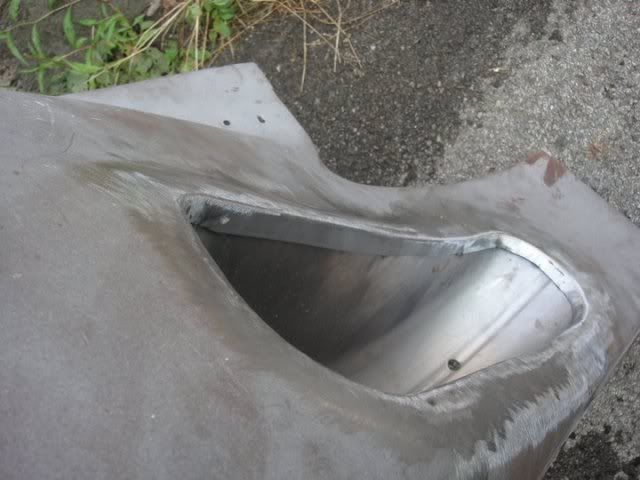
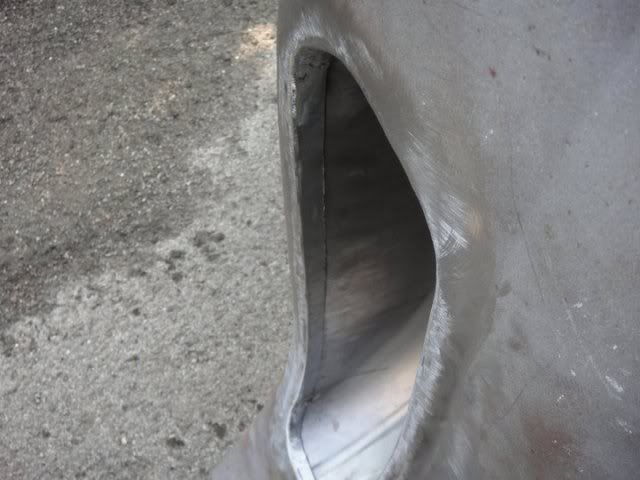
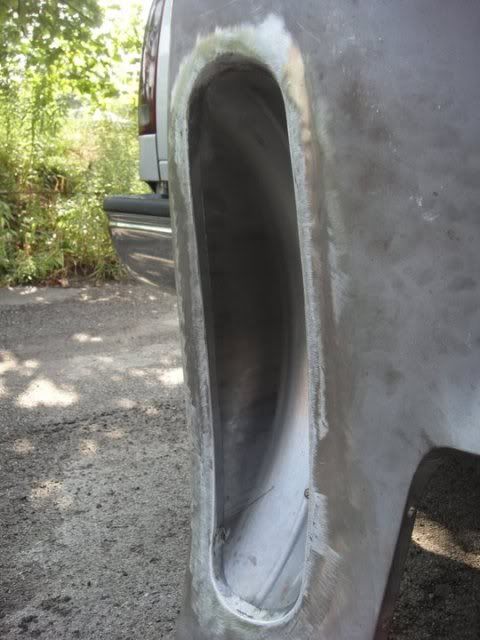
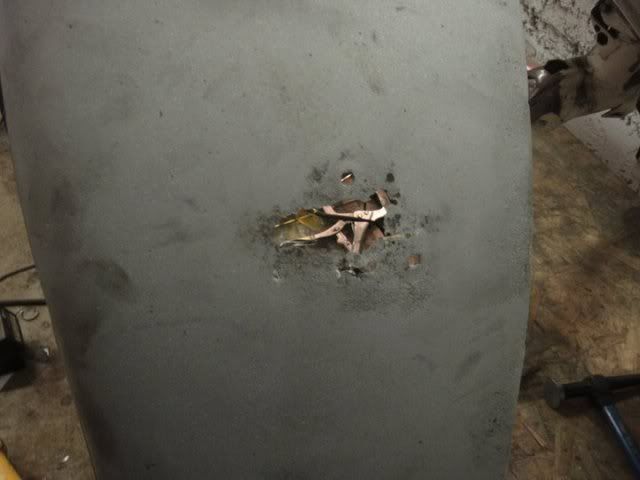
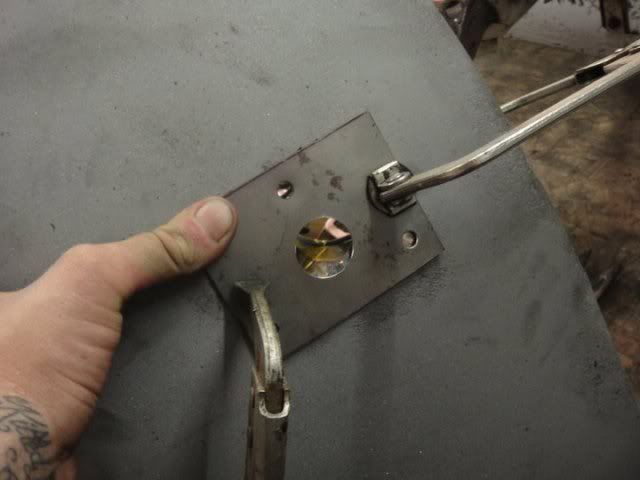
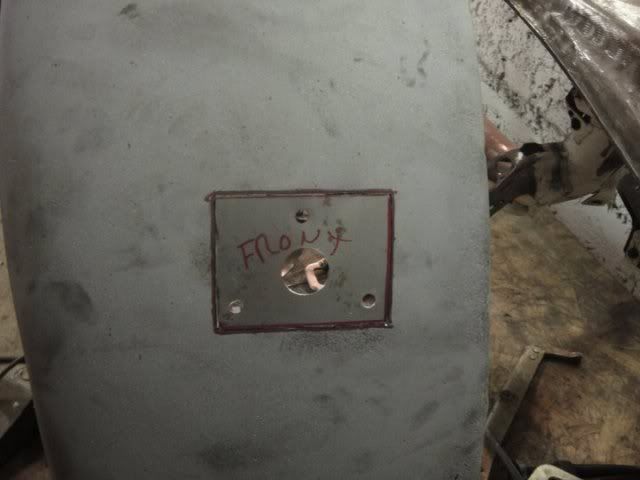
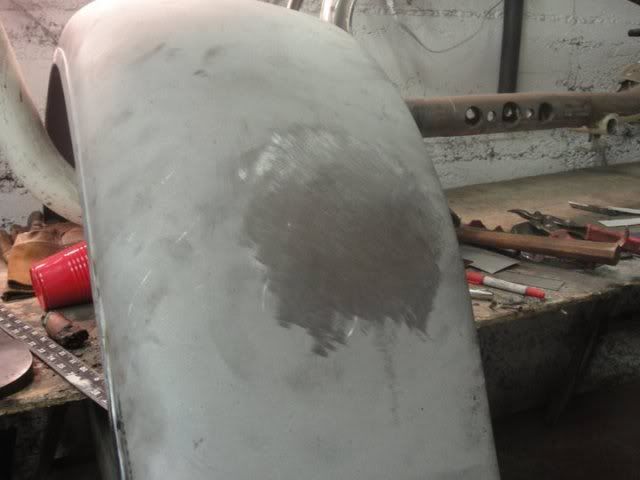
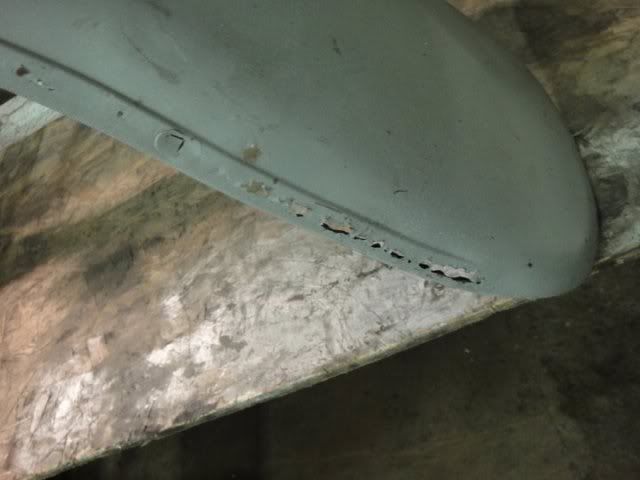
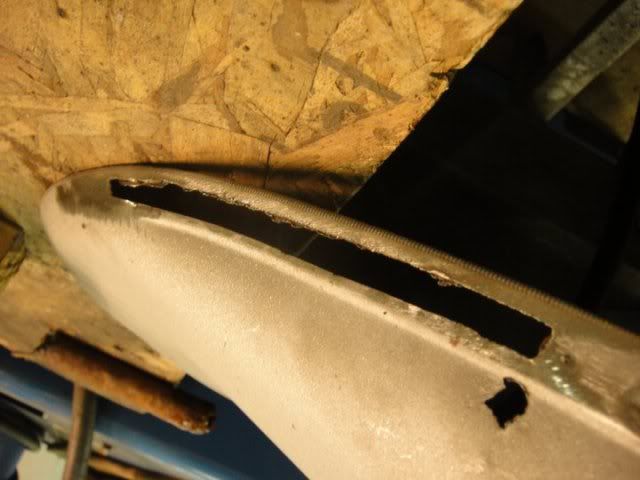
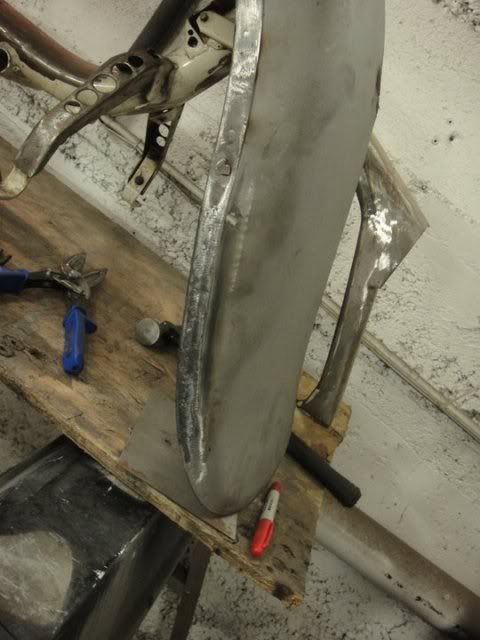
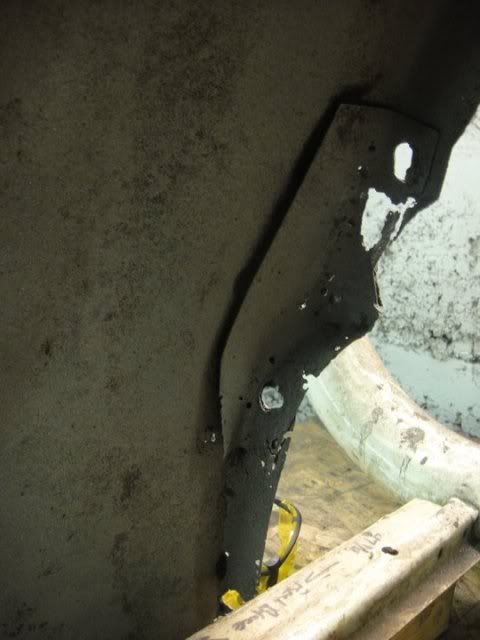
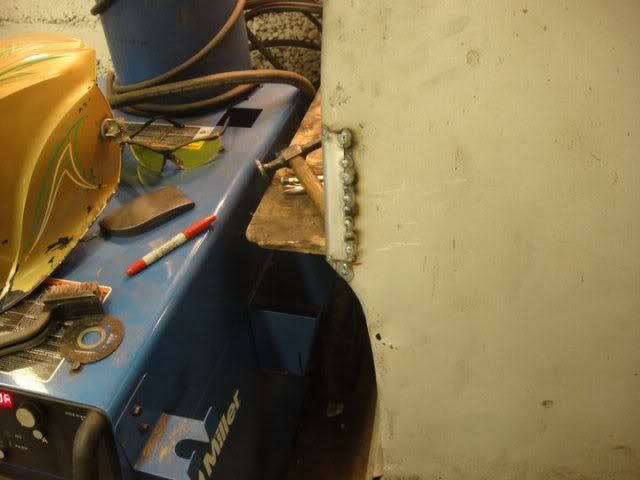
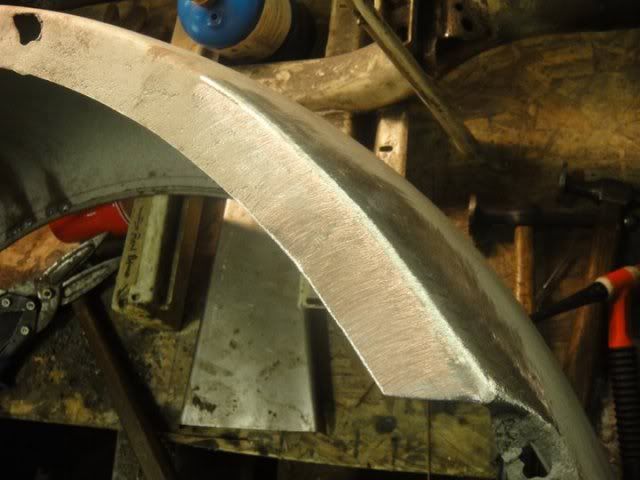
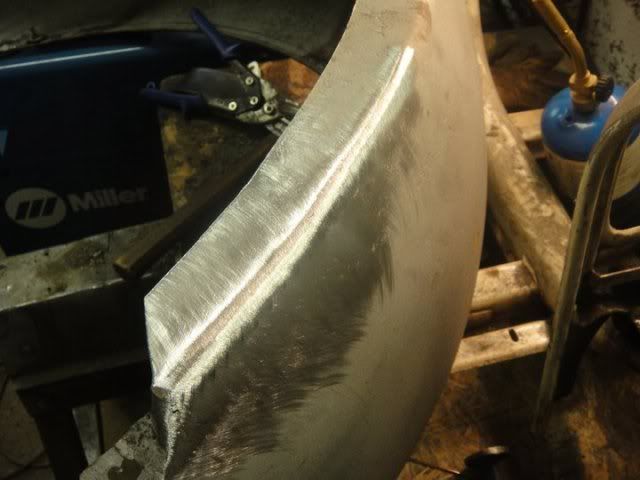
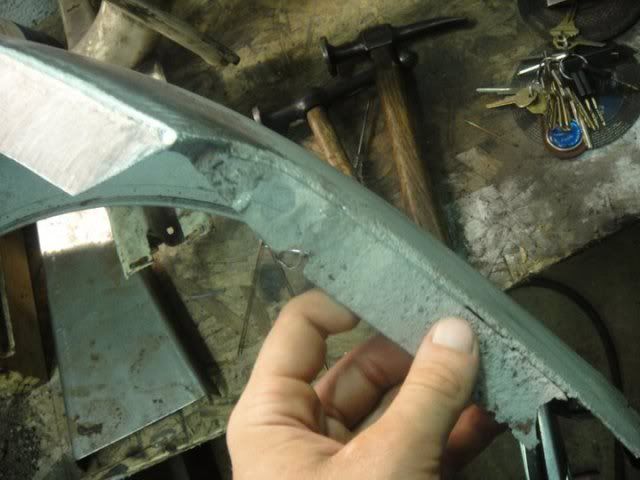
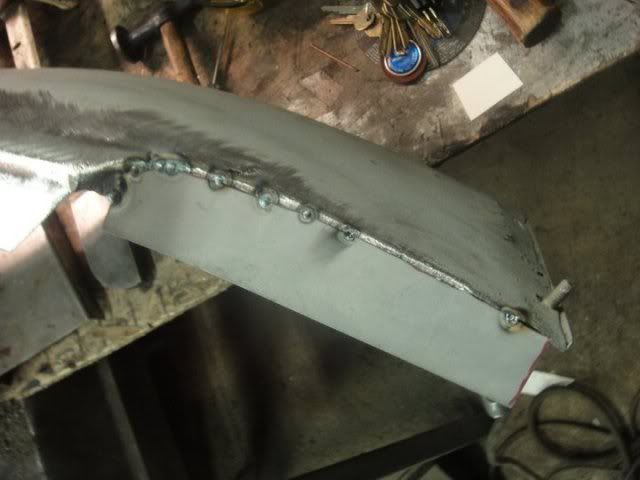
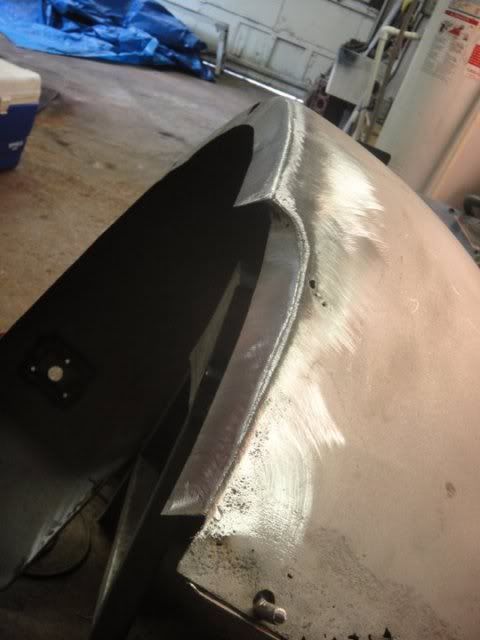
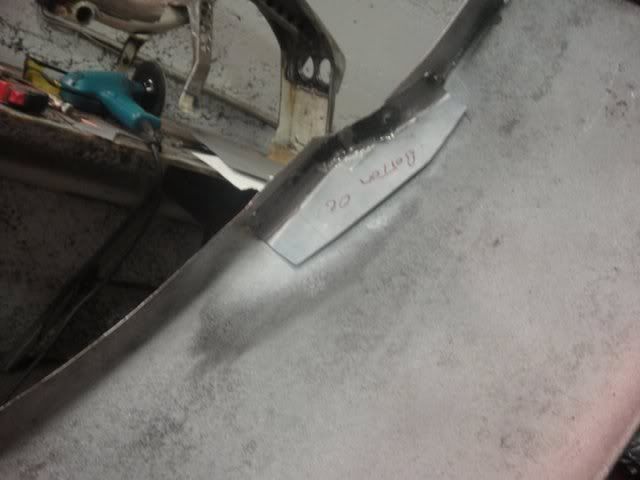
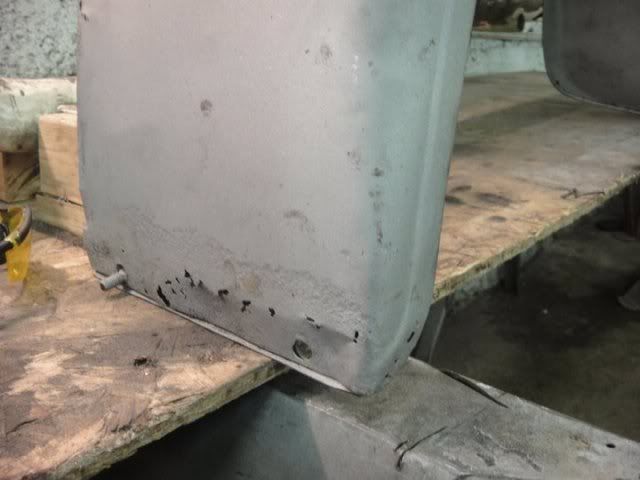
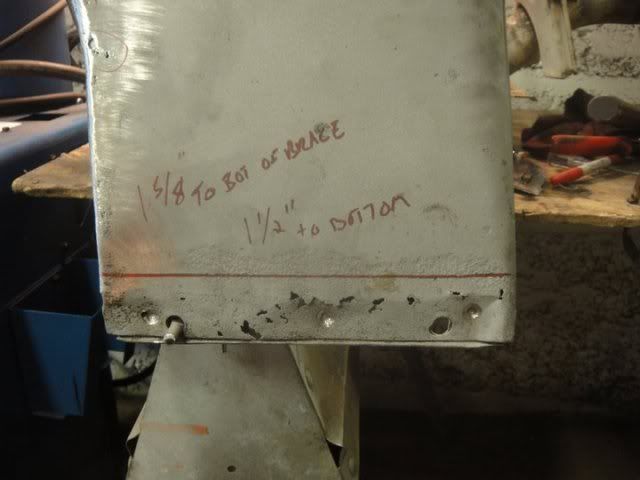
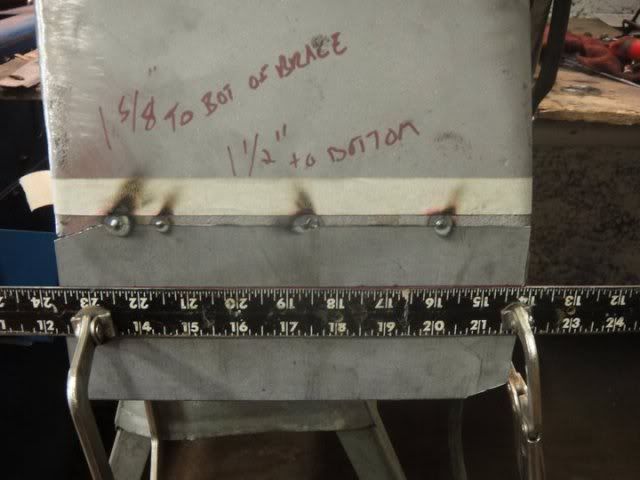
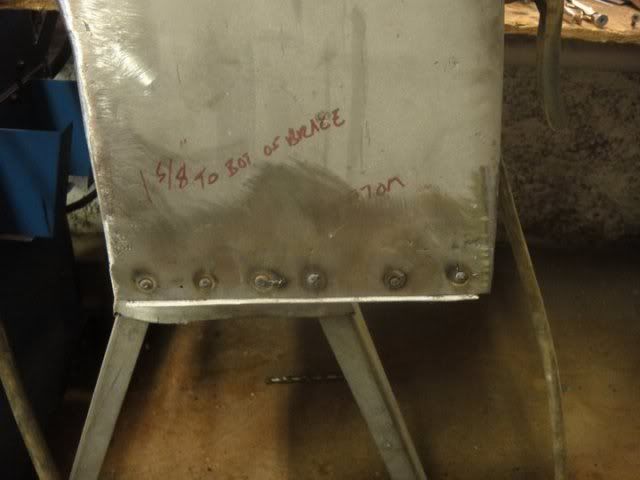
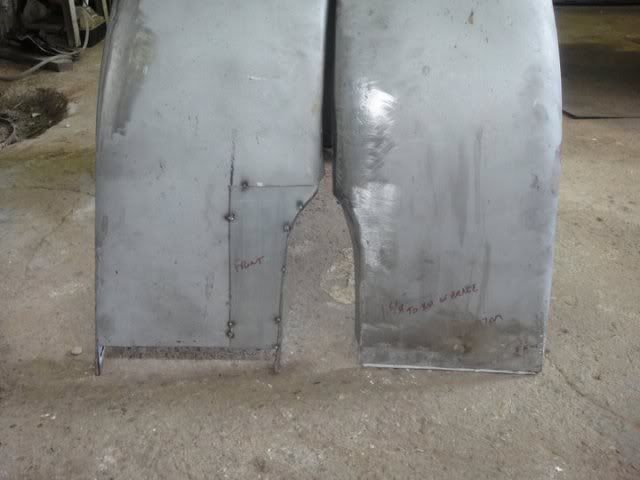
some work i am doing on a 30 roadster
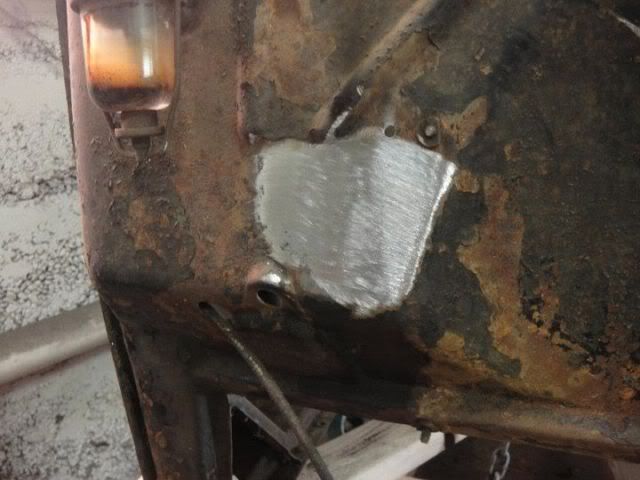
heres the start! dug inot the driver side cowl today
found a mix of cement and some red oxide filler of sorts
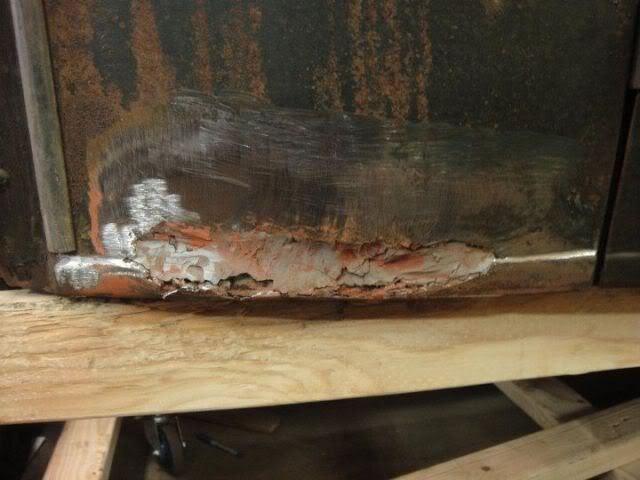
cut out the mess and found a solid area to work with
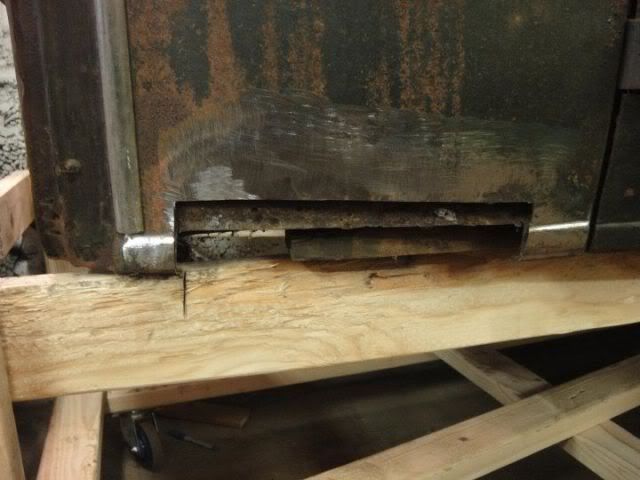
welded up the inner piece and seam sealed it up
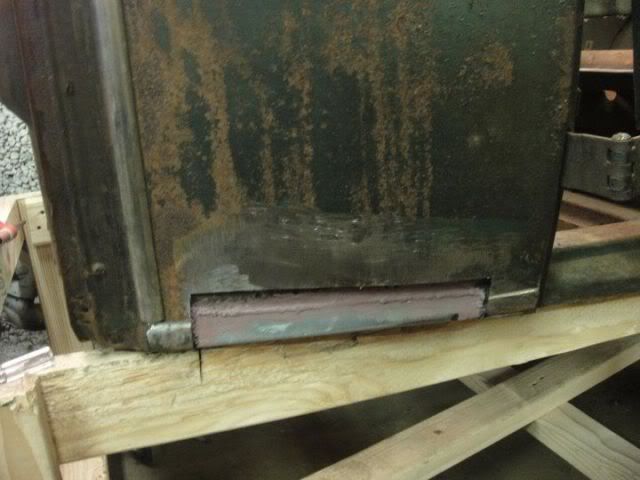
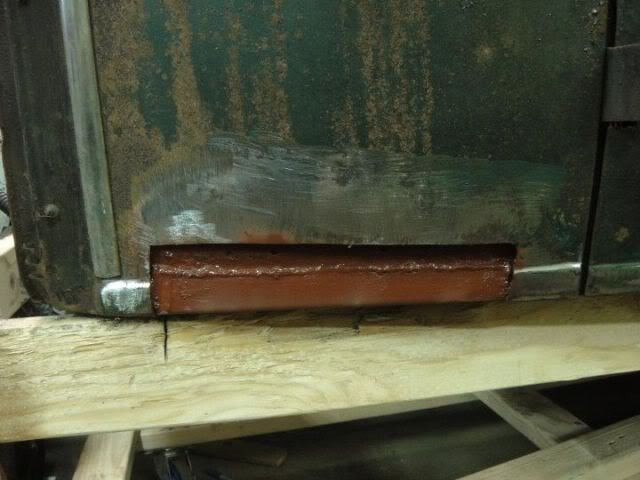
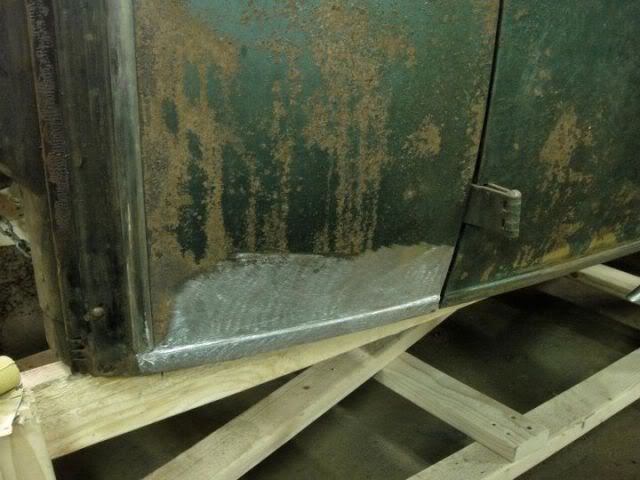
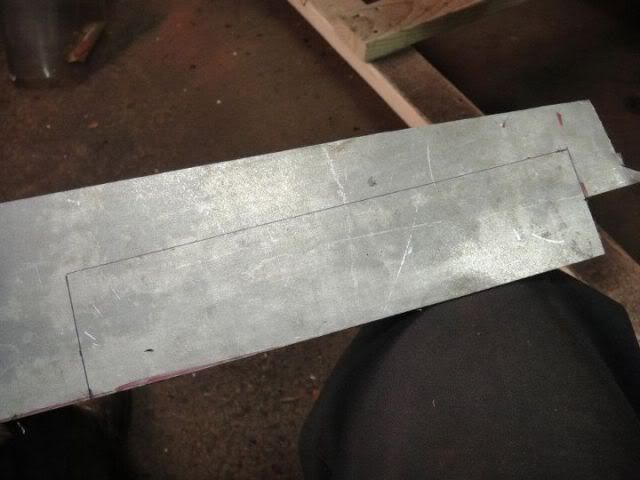
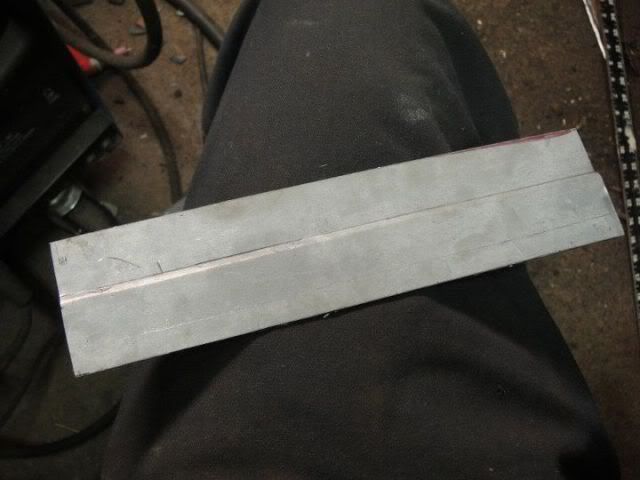
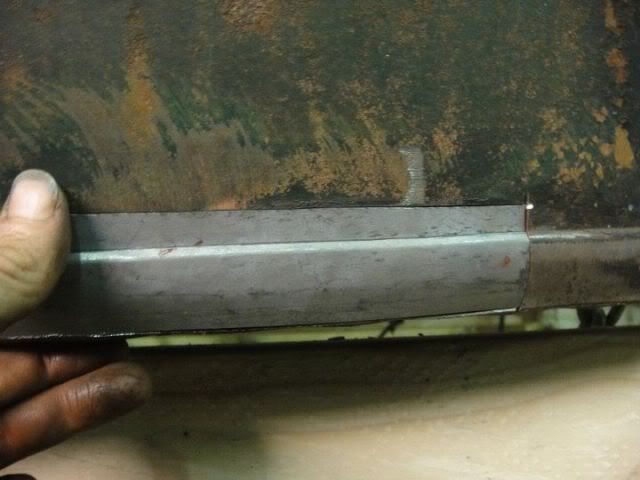
i made the body line on the harbor freight bead roller with the step die and some work to give it crown . way easier to make your own in my opinion then mess with patch panels
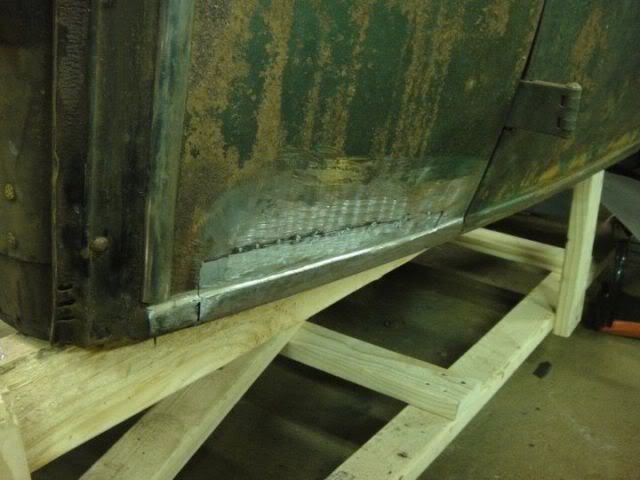
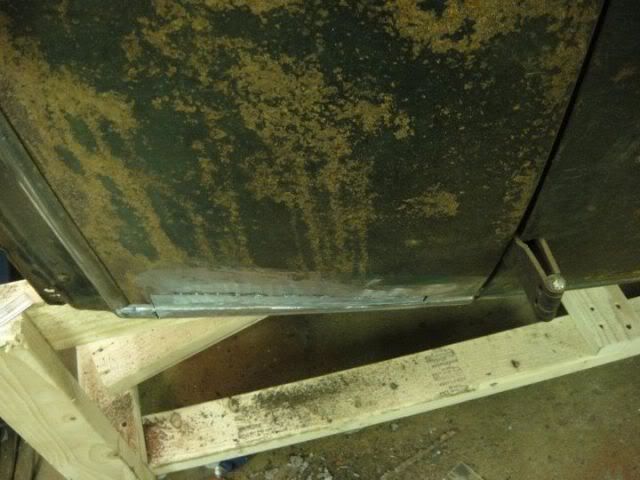
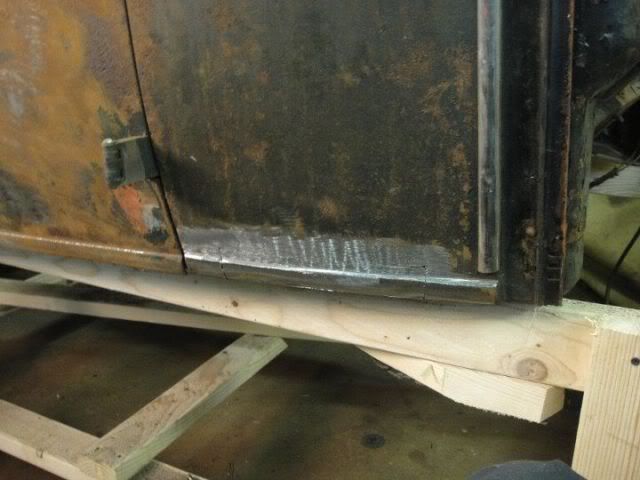
finished up
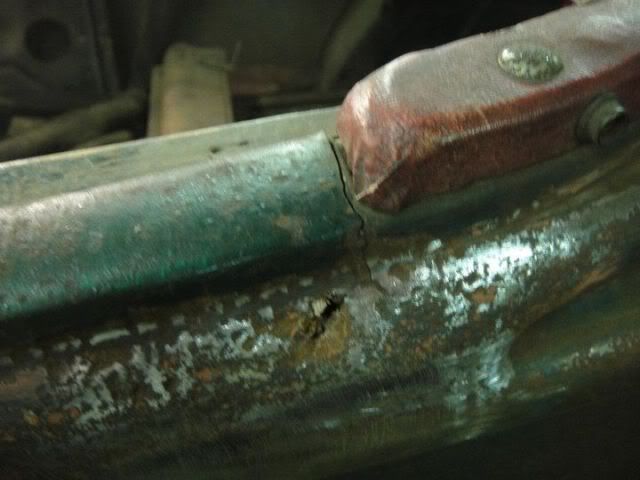
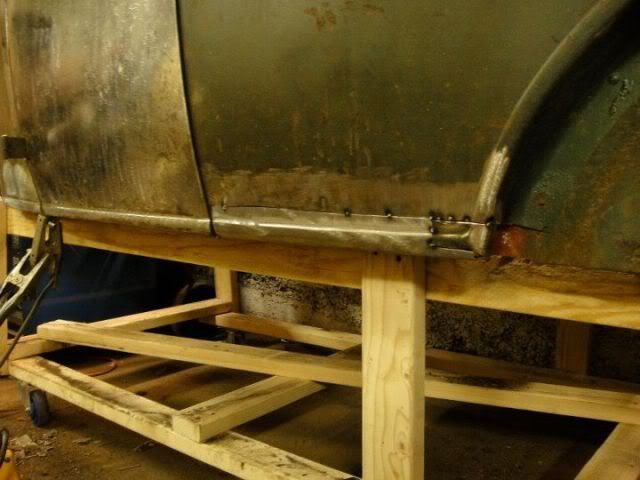
this crack is really throwing the alignment of the door off on the bottom. its on the top rail you could say on the quarter panel
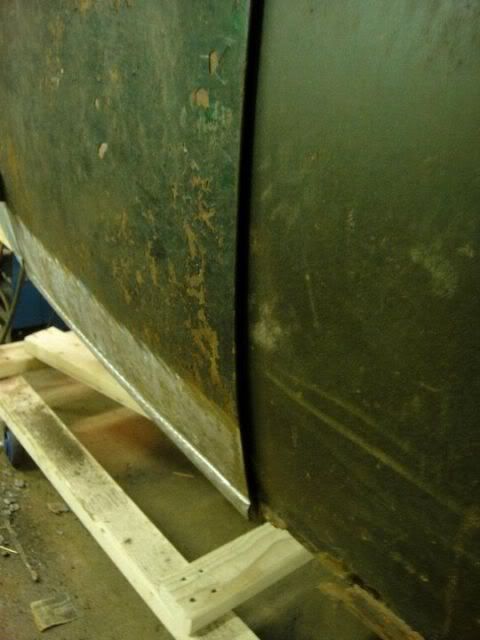
crack open
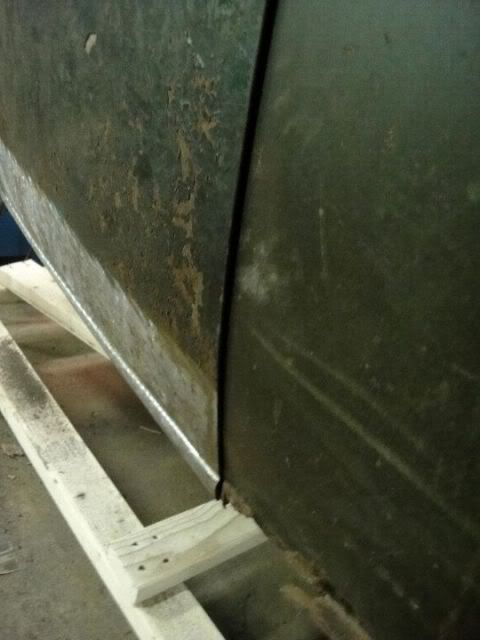
craack closed.makes the door fit waaaay tighter to the body
ground a bunch more useless red oxide out of the door now its loking like a nice solid start!
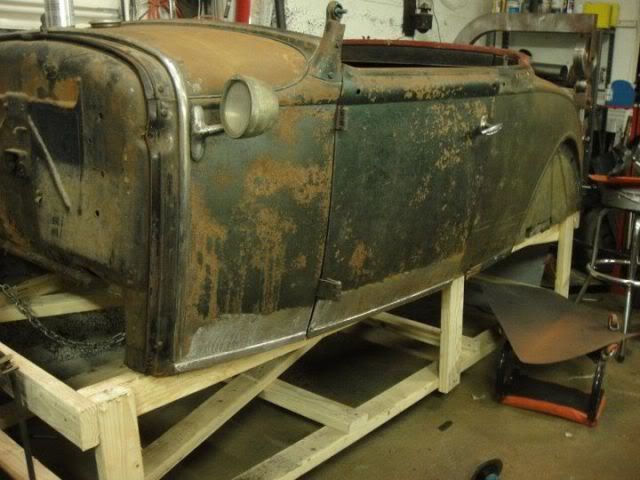
heres the start! dug inot the driver side cowl today
found a mix of cement and some red oxide filler of sorts
cut out the mess and found a solid area to work with
welded up the inner piece and seam sealed it up
i made the body line on the harbor freight bead roller with the step die and some work to give it crown . way easier to make your own in my opinion then mess with patch panels
finished up
this crack is really throwing the alignment of the door off on the bottom. its on the top rail you could say on the quarter panel
crack open
craack closed.makes the door fit waaaay tighter to the body
ground a bunch more useless red oxide out of the door now its loking like a nice solid start!
Last edited:

Tom Wesenberg
Well-known member
Nice work! I'll bet I can find 3 houses for sale in the neighborhood if you, Marco, and Brent want to move in.

 Then I wouldn't have to learn body work.
CHuDWah
Well-known member
Nice work! I'll bet I can find 3 houses for sale in the neighborhood if you, Marco, and Brent want to move in.
Heck, I got a finished basement - carpet, TV, pool table, beds - all ready for 'em to move into - country life, pond full of fish in the backyard, and my wife's a great cook!
Seriously, Flop, for one of your "tender" years, you obviously have great talent - I'm 2-1/2 times your age and wouldn't have a clue where to start doing the stuff you do.
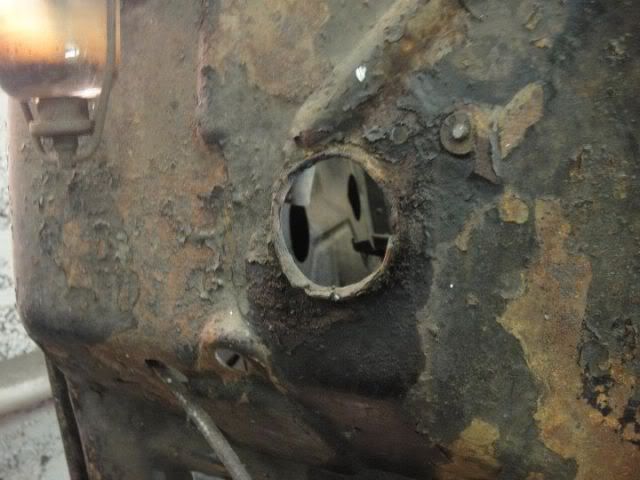
BTW, just curious - any idea what those roadster cowl lights are from? Definitely not Model A.
i appreciate all the offer to move guys !!
thats why i put it up here jeep so maybe someone can learn from it.
chud i looked at the lights for a long time today . on the lens it saw c.w. hall lamp company detroit michigan
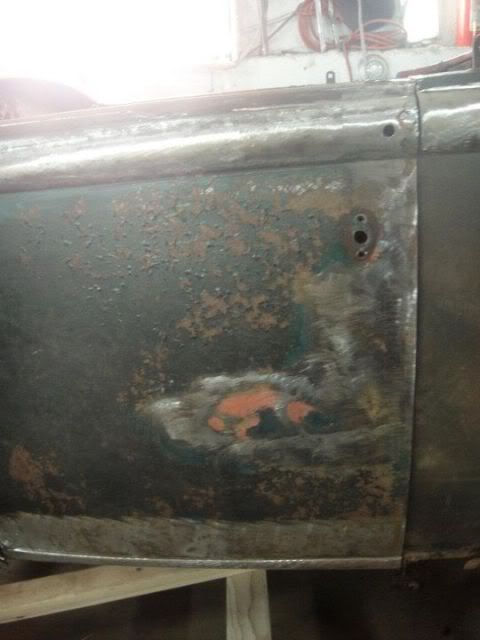
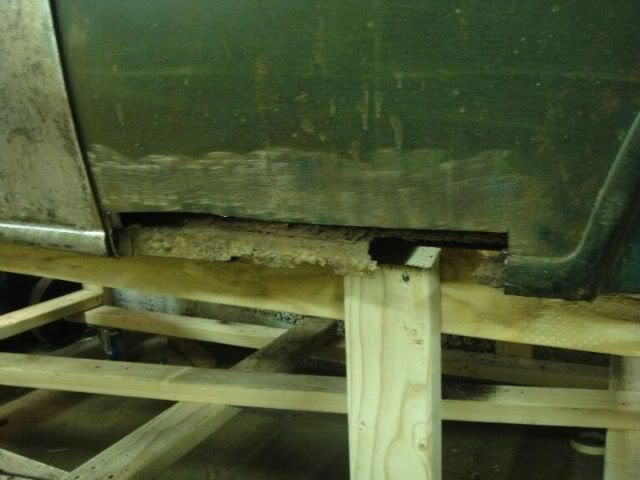
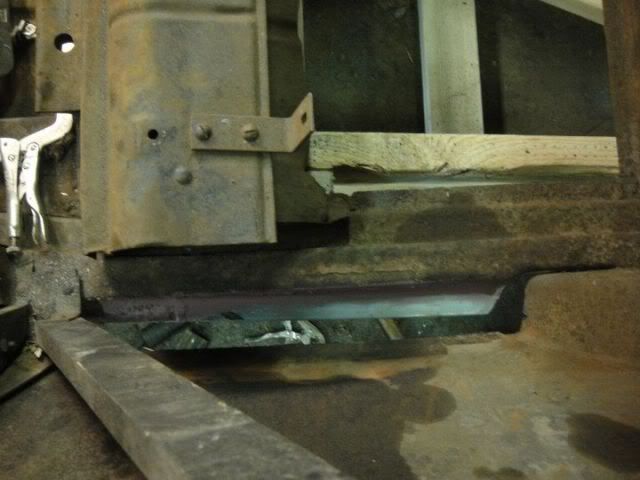
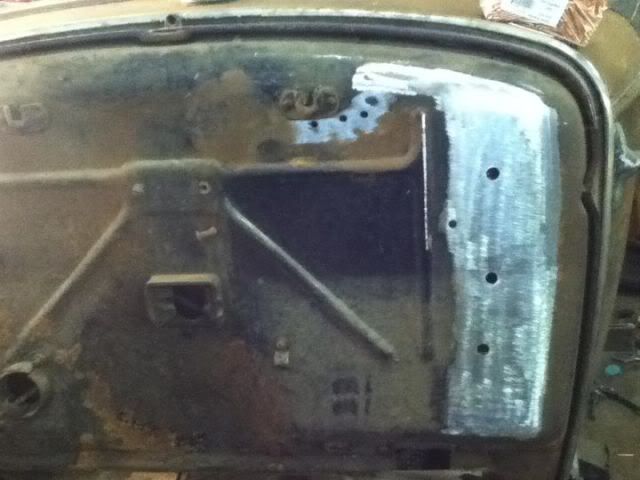
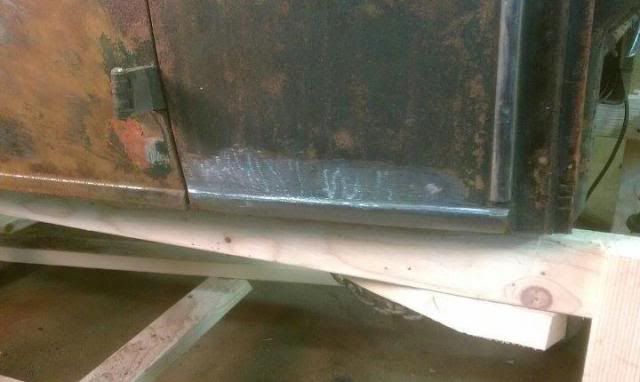
figured out why the door was hangin out at the bottom
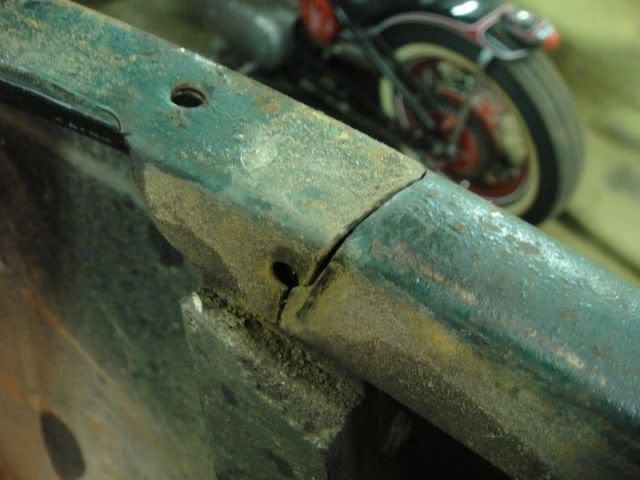
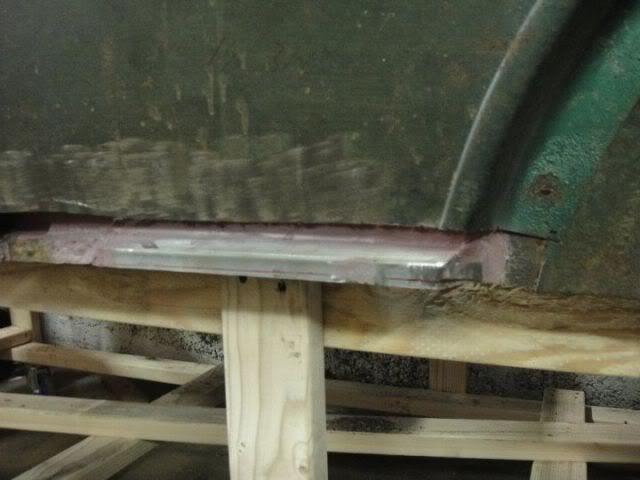
all welded up
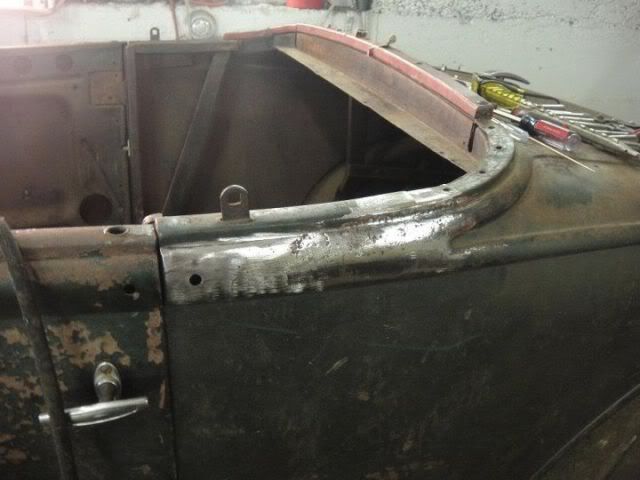
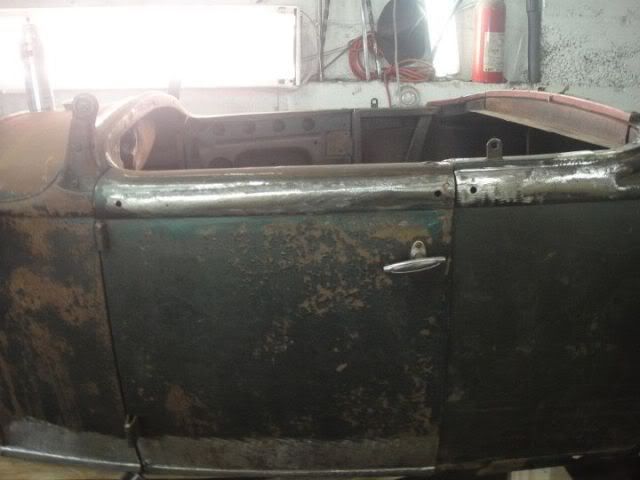
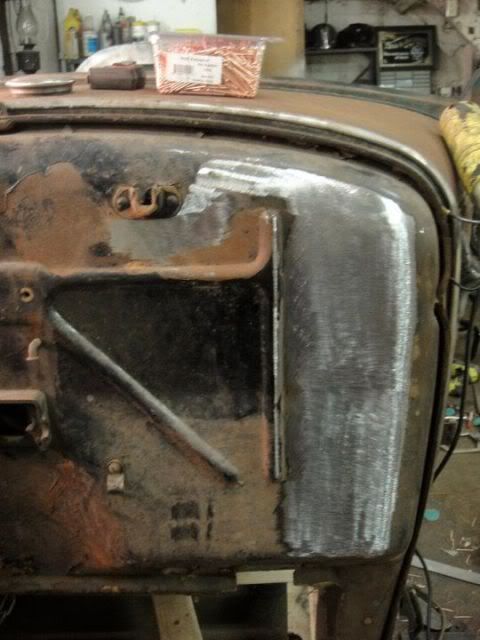
some filler. but i would much rather have some well used filler then rust
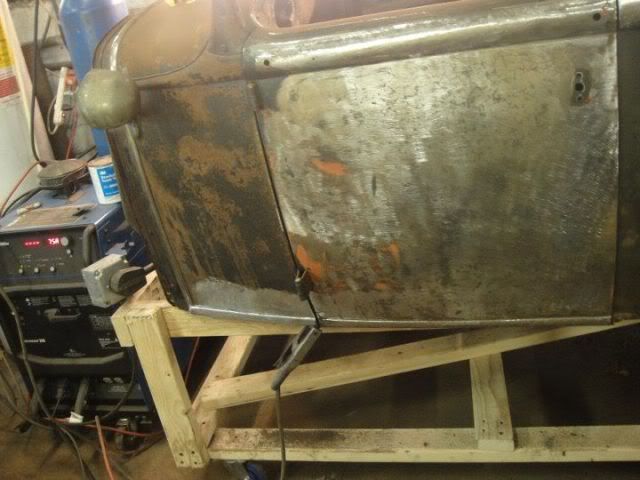
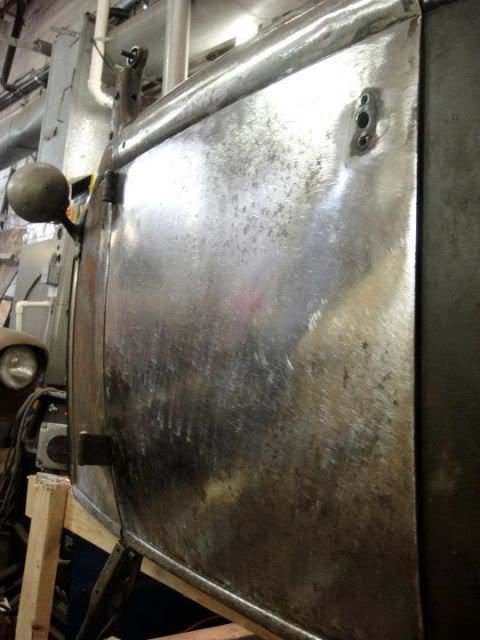
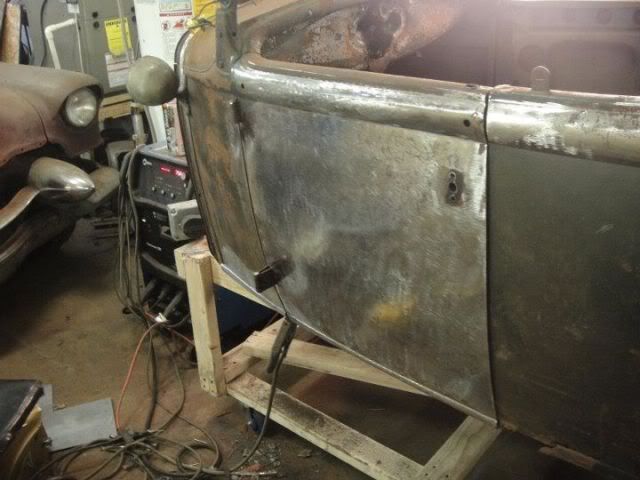
half finished ...the rest of the filler.
gonna have to pull the door to get around the hinges and pull the lock assembly to get around the handle hole
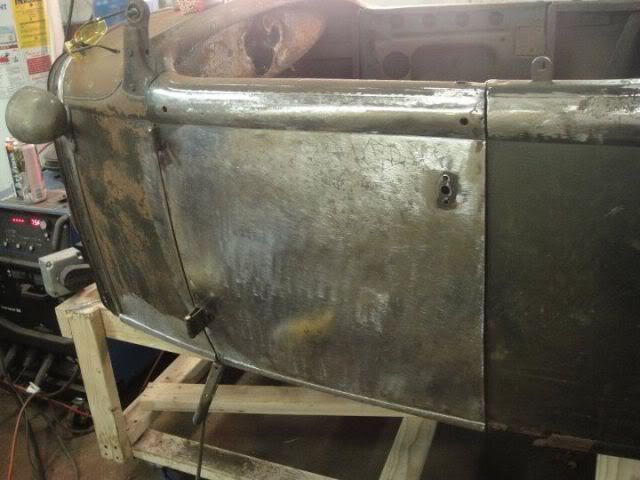
the next mess
thats why i put it up here jeep so maybe someone can learn from it.
chud i looked at the lights for a long time today . on the lens it saw c.w. hall lamp company detroit michigan
figured out why the door was hangin out at the bottom
all welded up
some filler. but i would much rather have some well used filler then rust
half finished ...the rest of the filler.
gonna have to pull the door to get around the hinges and pull the lock assembly to get around the handle hole
the next mess

Greg Jones
Well-known member
Hey Flop, keep up the great work and especially keep up the pictures and posting. Your pictures bring back great memories of my own endless hours of sheetmetal working-you're an inspiration, kind of makes me itch to get the ol sheetmetal work underway on something. If only I had the time......

Stinch
Senior Member
Thanks-that's what I use, but I was wondering how you got those nice,straight lines. I guess I have to be more careful.
I start by putting masking tape where I want to cut, then cut close to the edge of the tape. I get pretty good results that way.
Rich

1931 flamingo
Well-known member
AMAZING!!
Paul in CT
Paul in CT
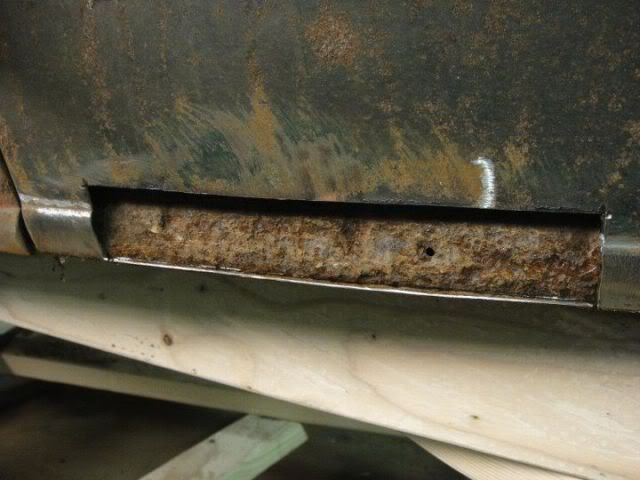
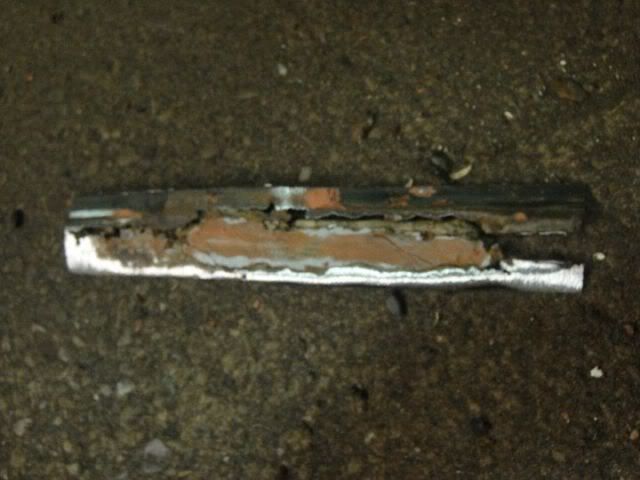
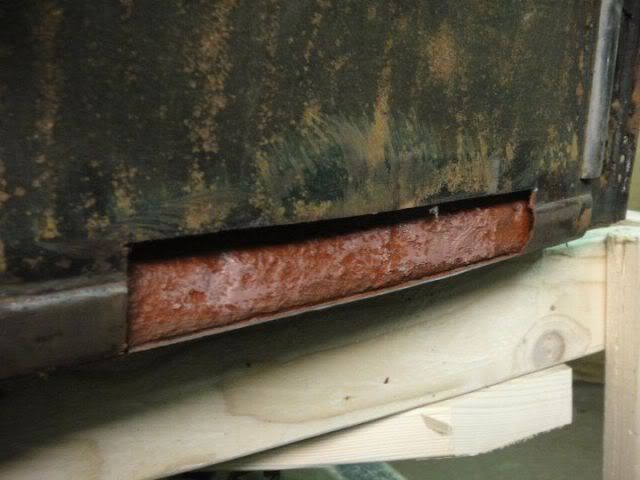
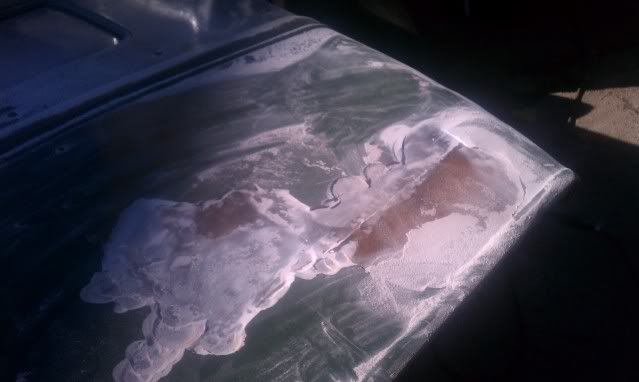
heres another project that came in . late 31 pick up cab with some severe bondo abuse and in a million piece
up to about a half an inch in some spots .
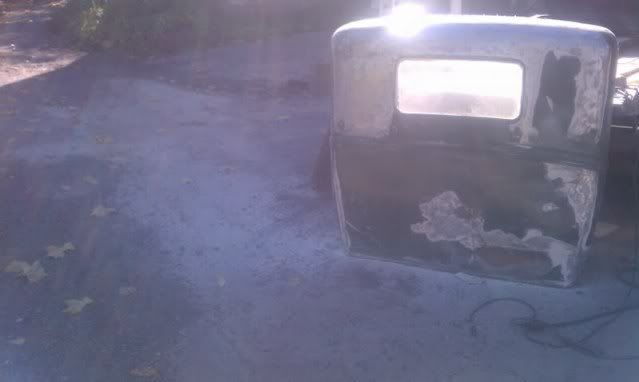
just a little bondo dust on the street .
mostly stripped now gonna start on it in the spring have it ready for next june all back in one piece.
up to about a half an inch in some spots .
just a little bondo dust on the street .
mostly stripped now gonna start on it in the spring have it ready for next june all back in one piece.