1930 Ford Sheetmetal Work

I second all the above. I get upset when you take TOO long in between posts! With me doing a coupe I get extra pleasure seeing what you are doing.

 
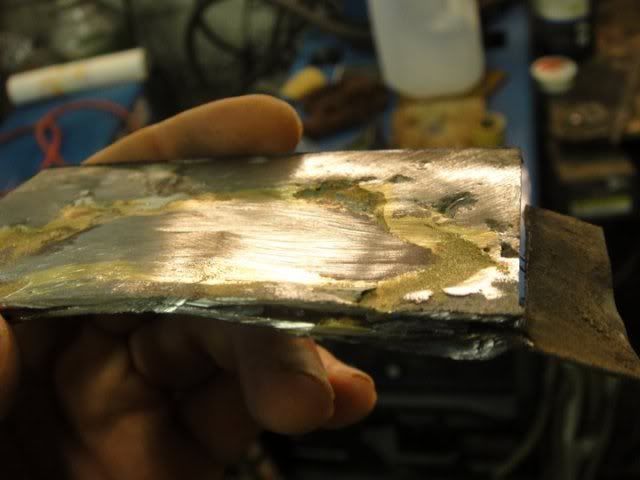
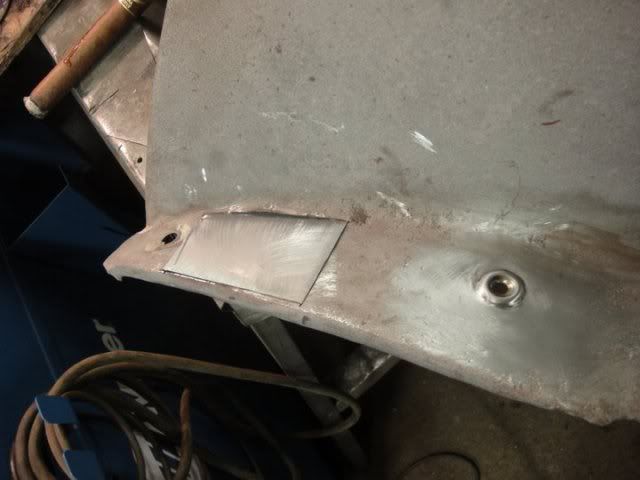
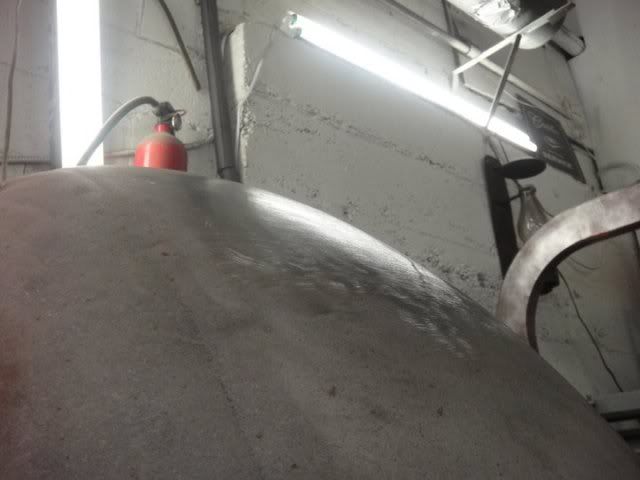
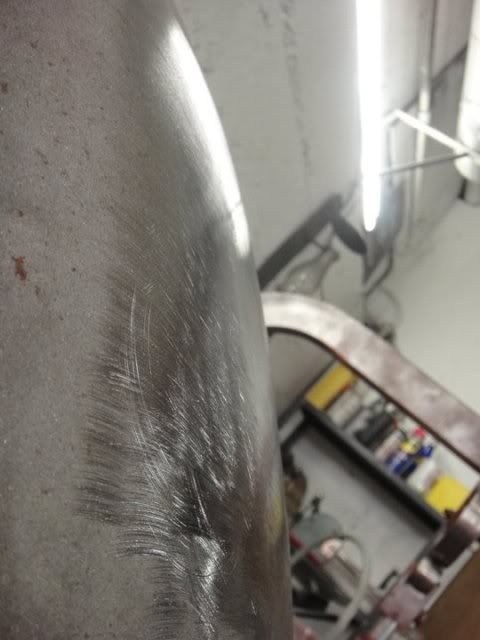
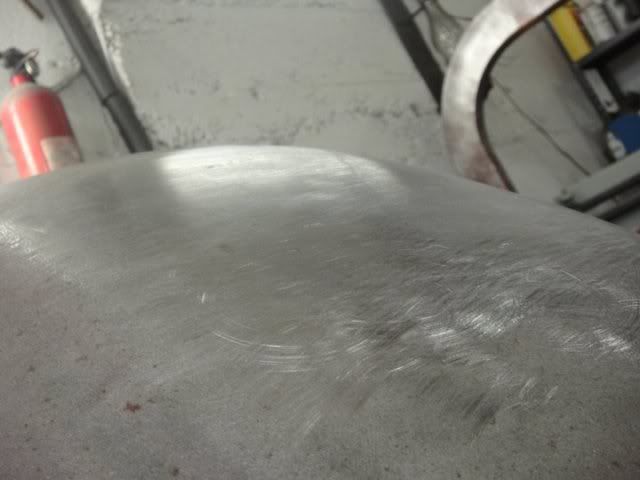
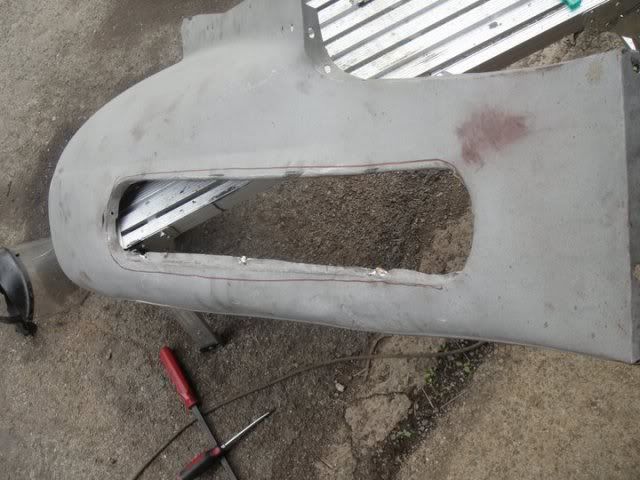
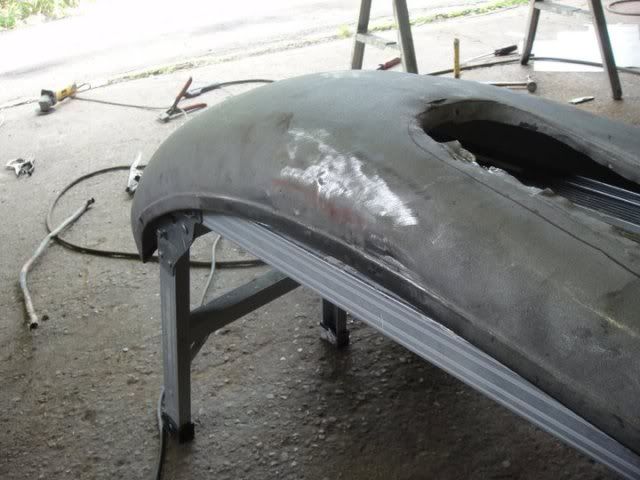
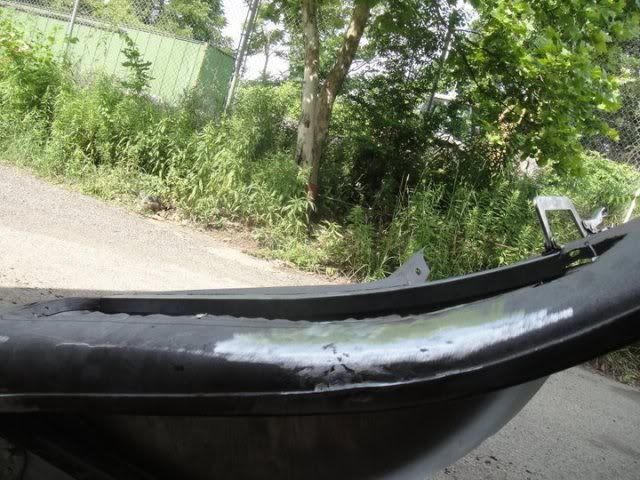
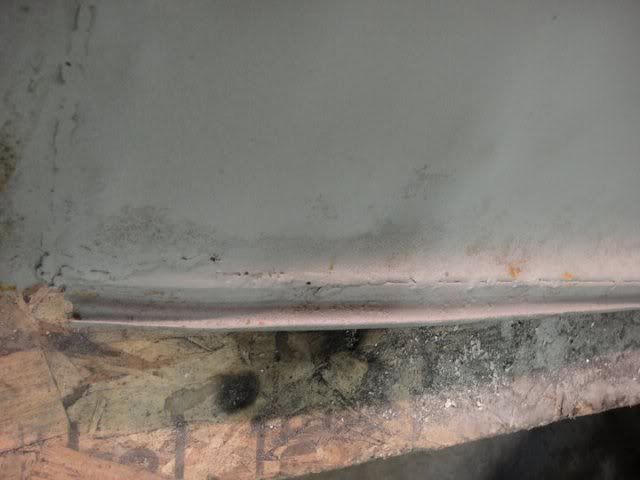
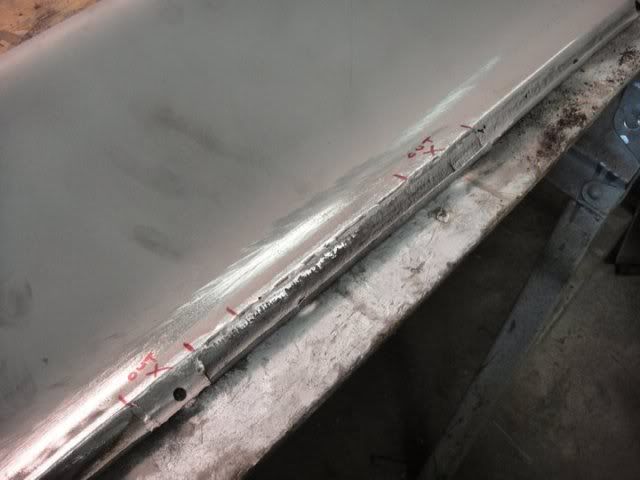
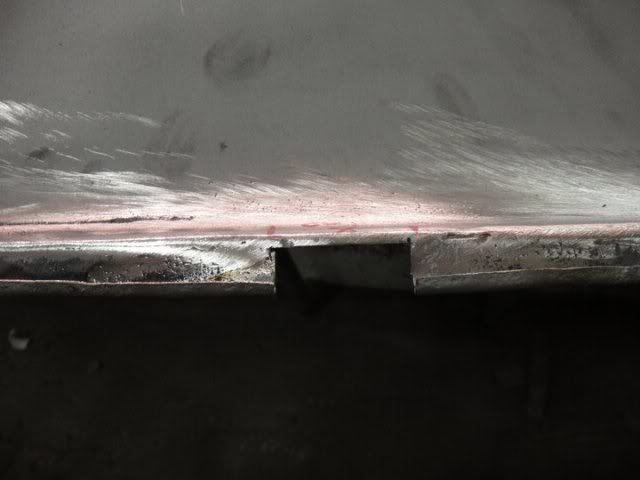
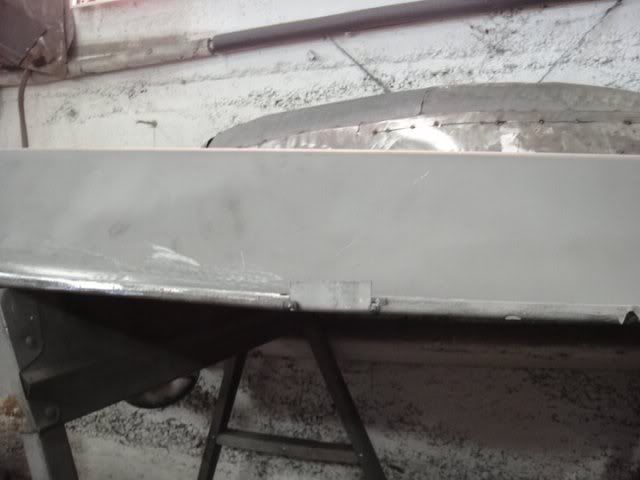
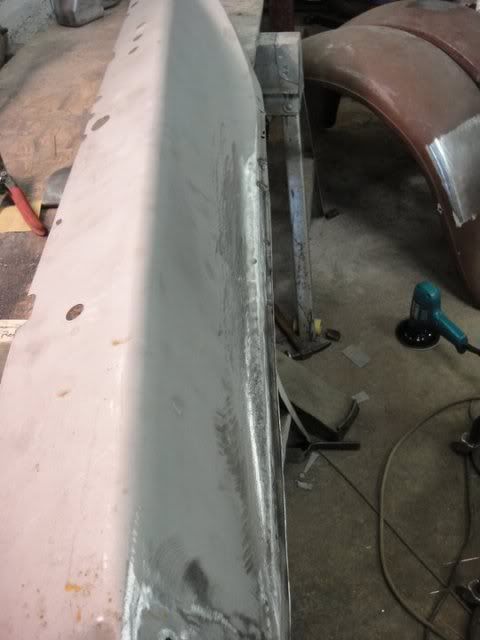
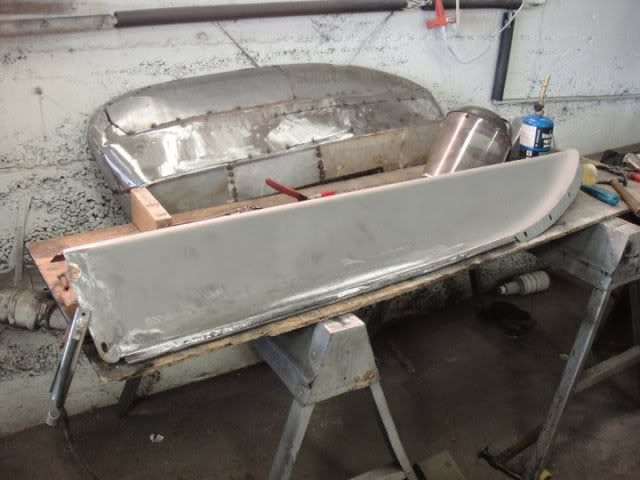
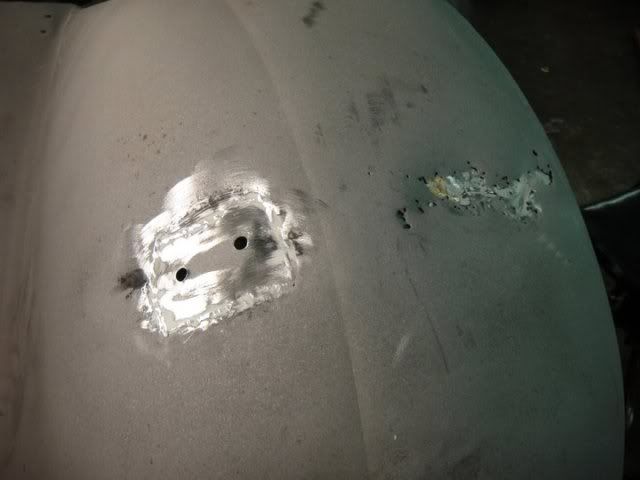
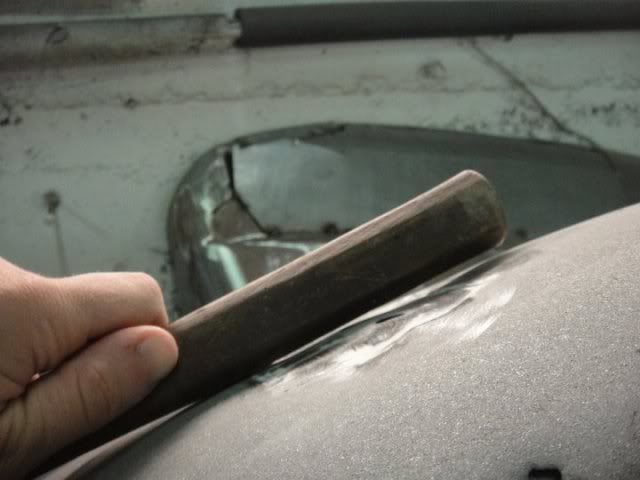
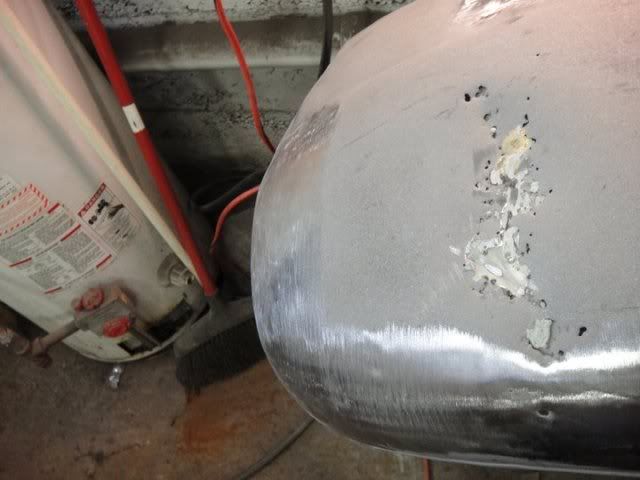
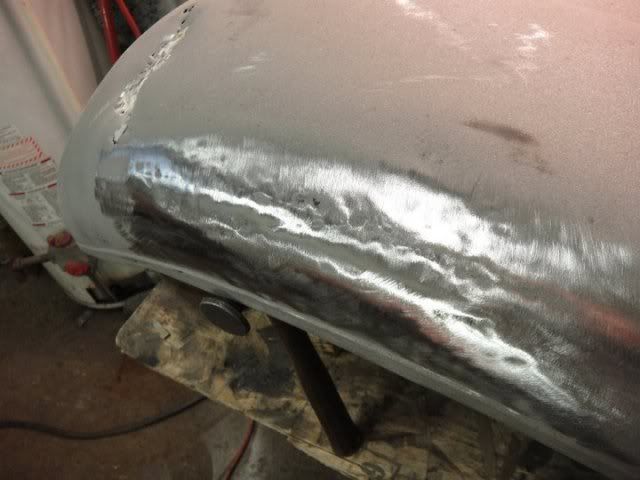
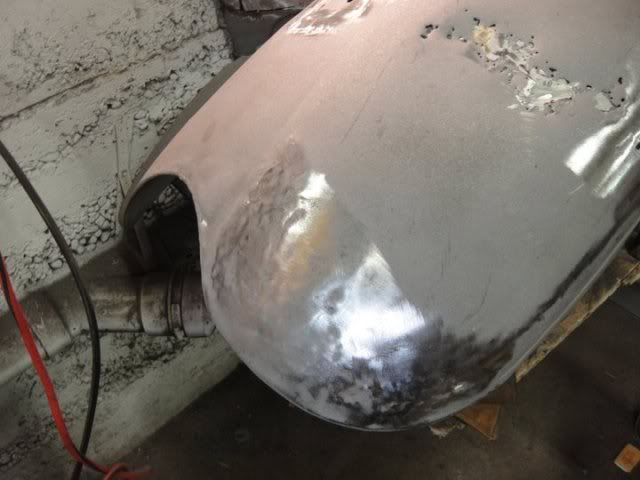
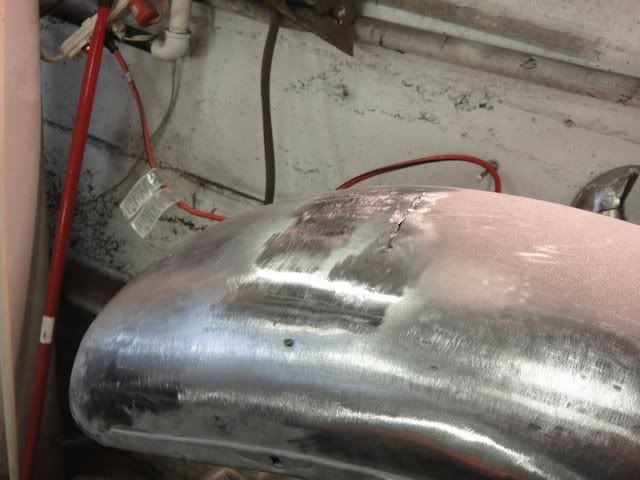
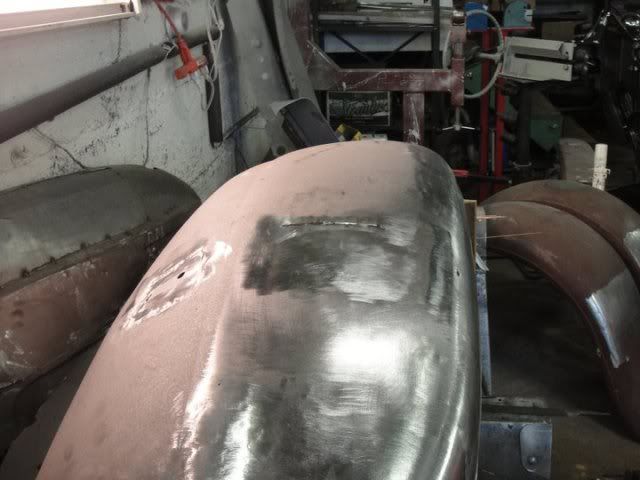
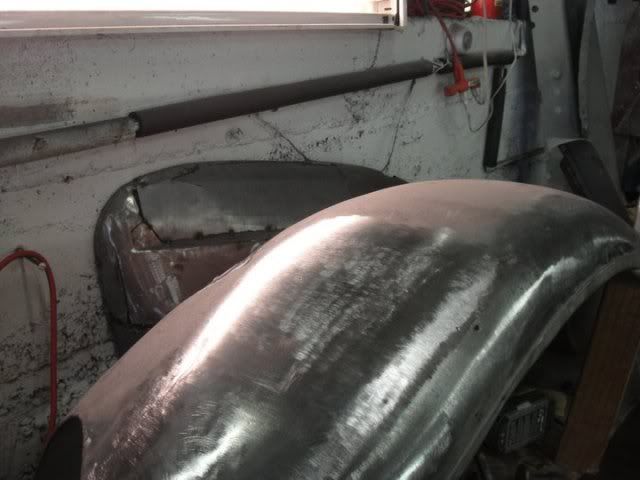
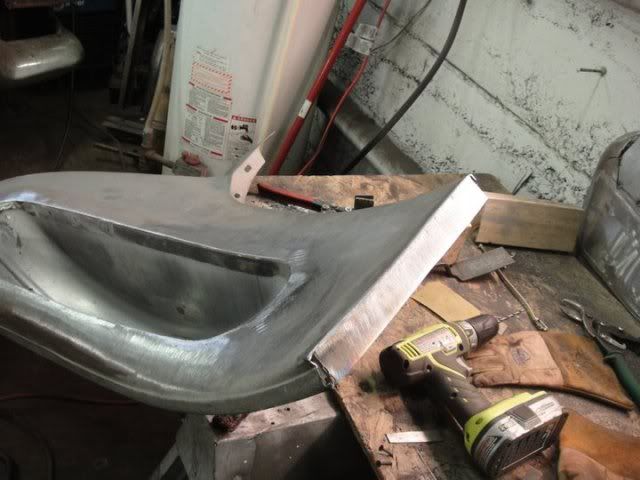
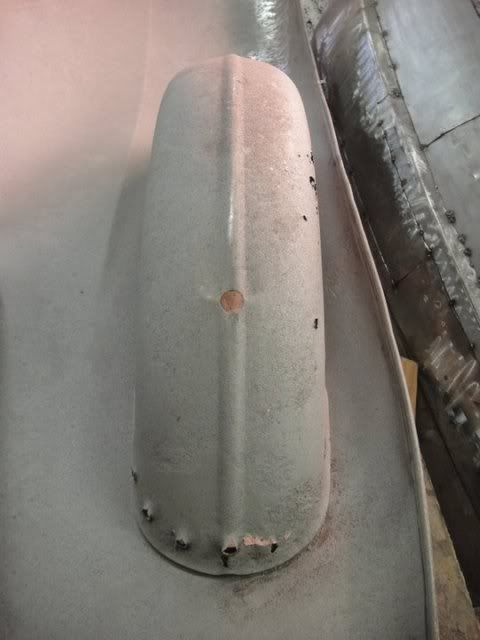
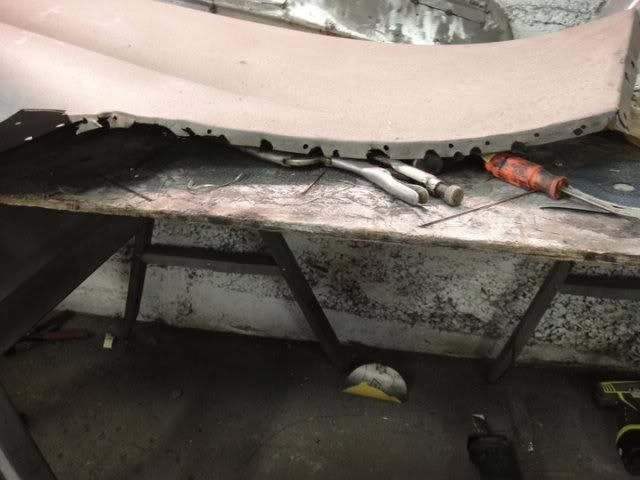
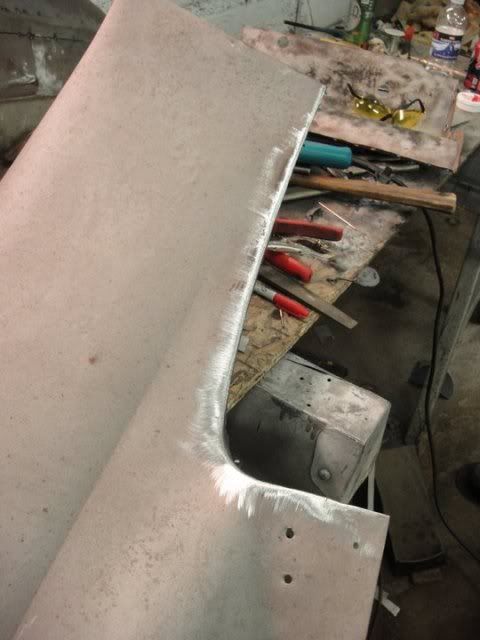
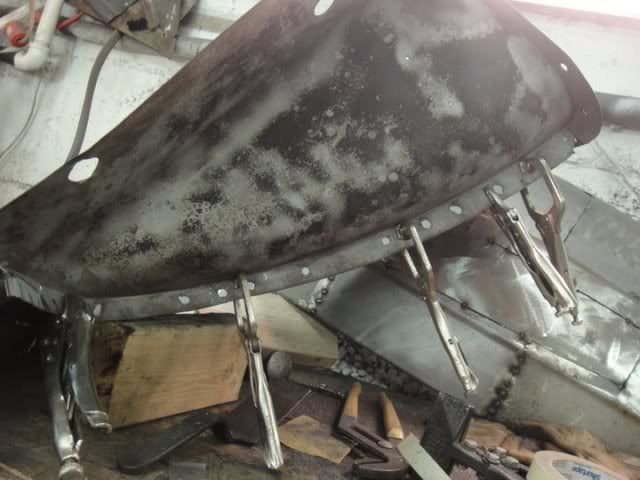
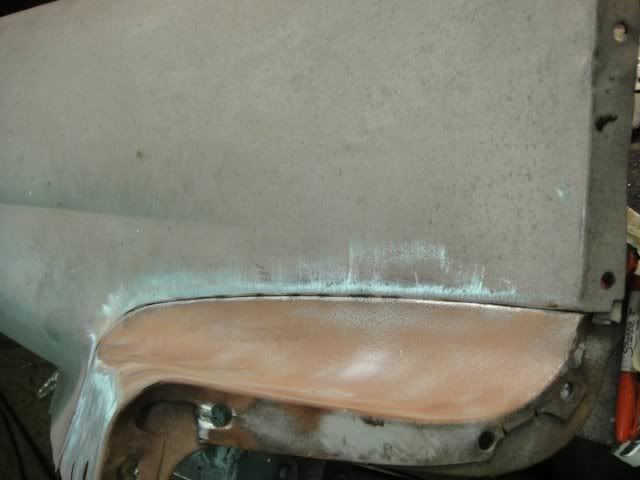
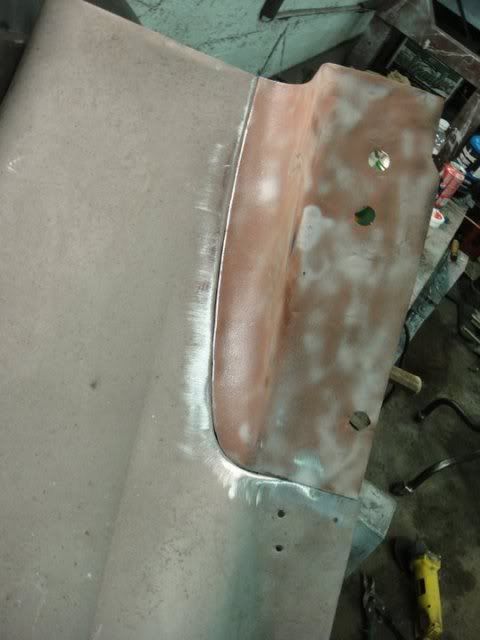
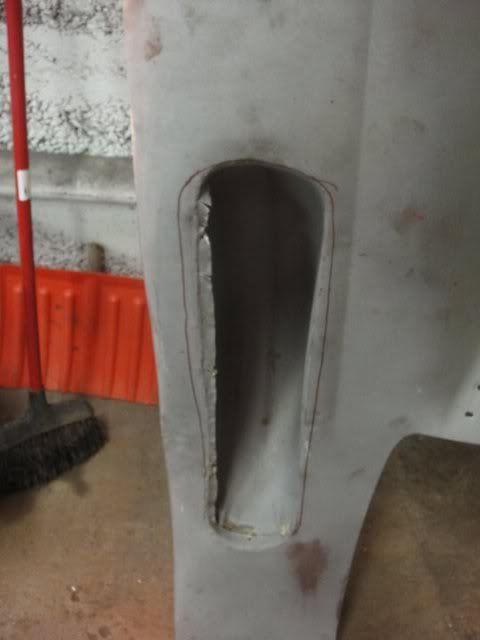
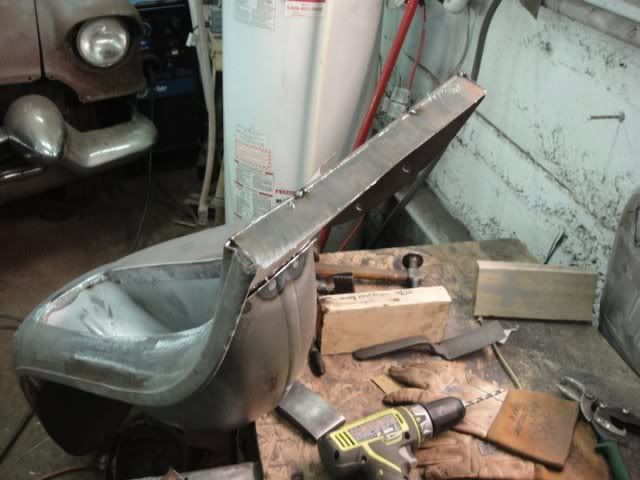
well these are a set of splash aprons that looked decent until i got em back from the blasters.sand blaster always finds all kinds of nice things for me to fix!

223371_215931651757948_100000233430919_802474_1229651_n.jpg


229591_215931698424610_100000233430919_802475_2211570_n.jpg


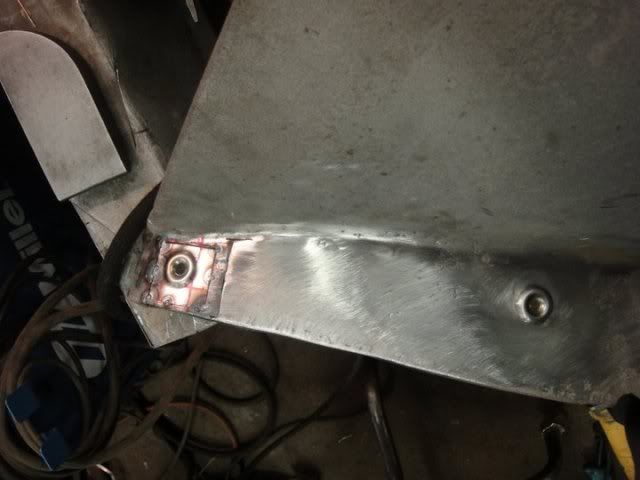
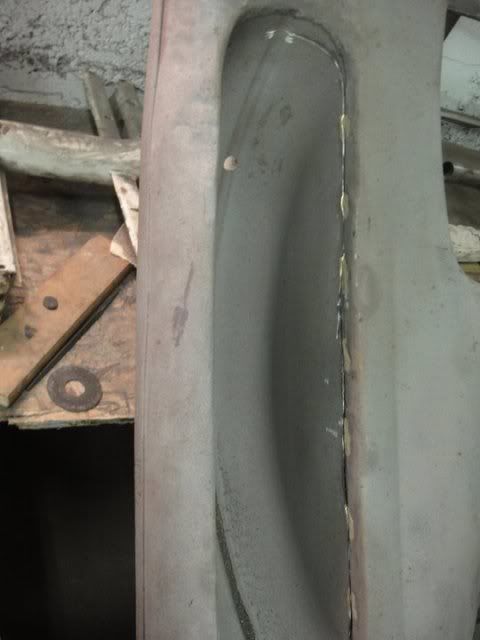
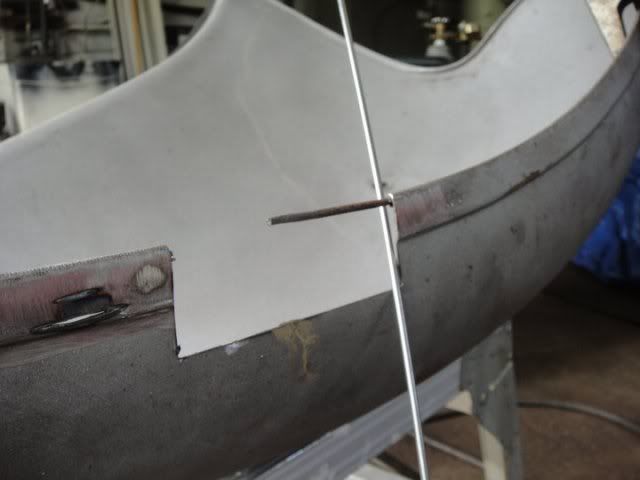
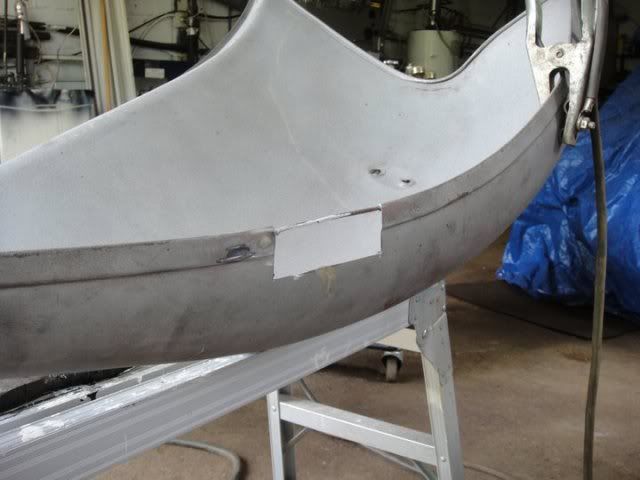
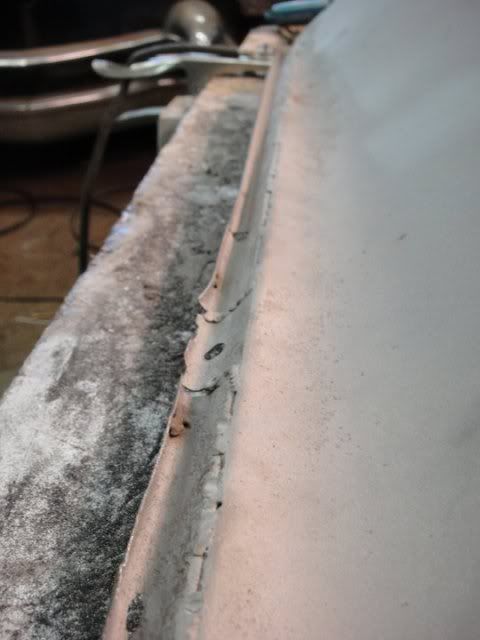
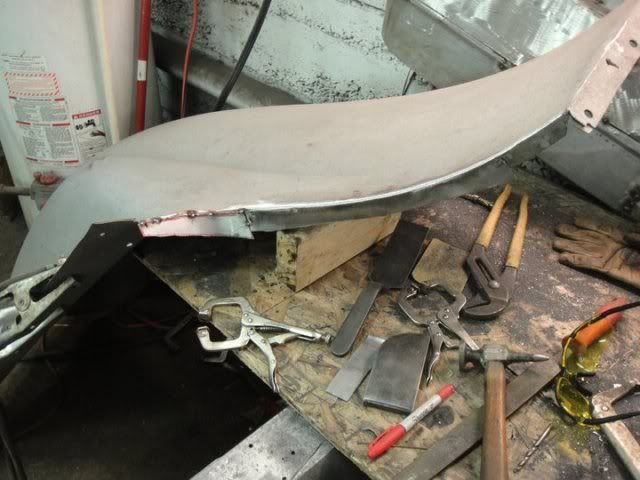
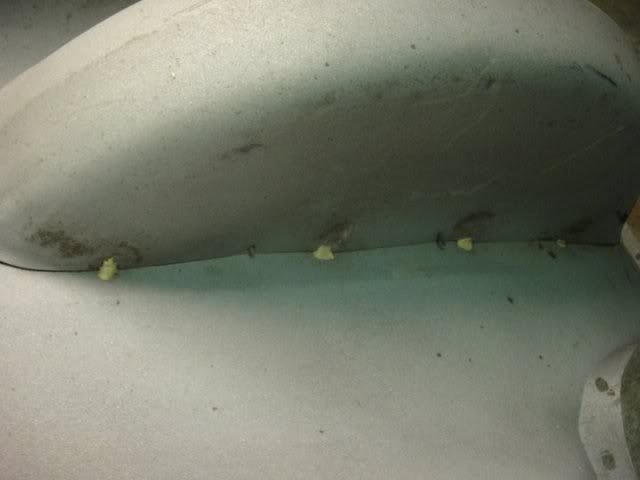
this was all lap tacked i guess you could call it.

228631_215931758424604_100000233430919_802477_5724929_n.jpg


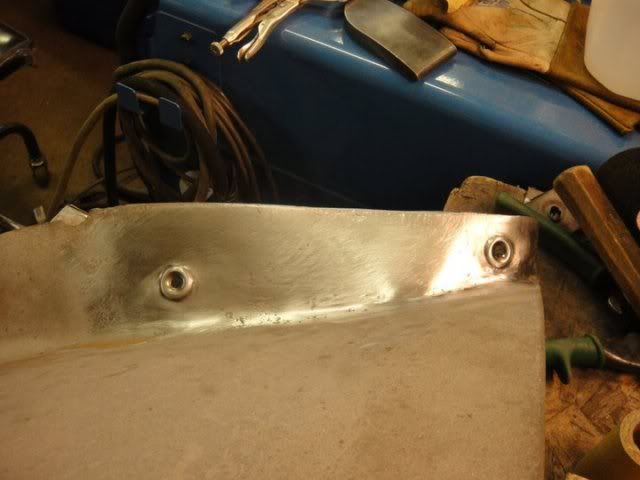
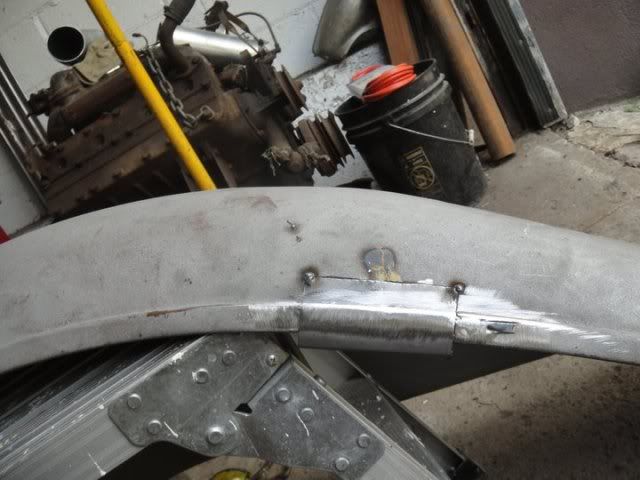
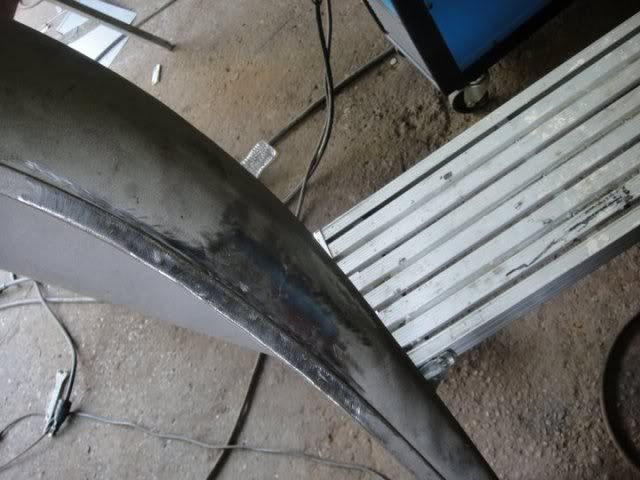
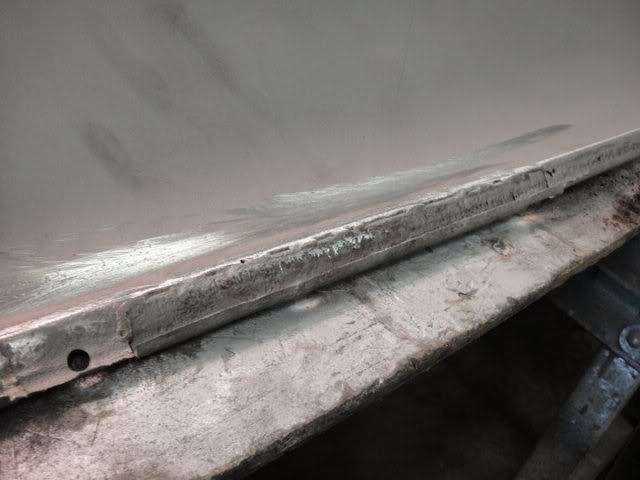
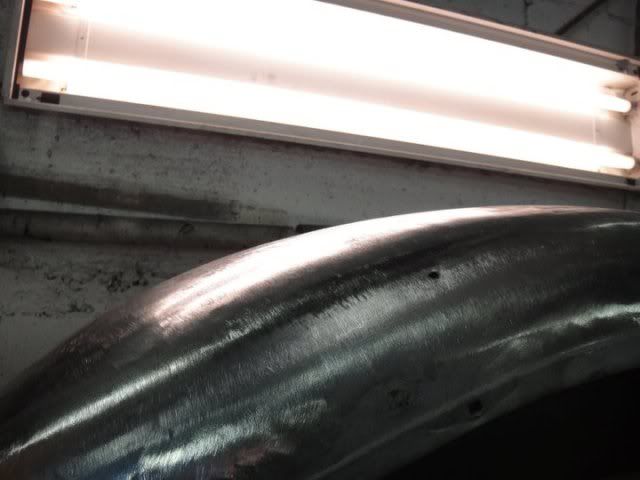
i ran a grinder down the slit to make it a butt weld

222331_215931795091267_100000233430919_802478_2541404_n.jpg


225446_215931848424595_100000233430919_802479_6018870_n.jpg


222781_215931875091259_100000233430919_802480_6521965_n.jpg


226381_215931891757924_100000233430919_802481_8283929_n.jpg


226846_215931928424587_100000233430919_802482_6081934_n.jpg
 
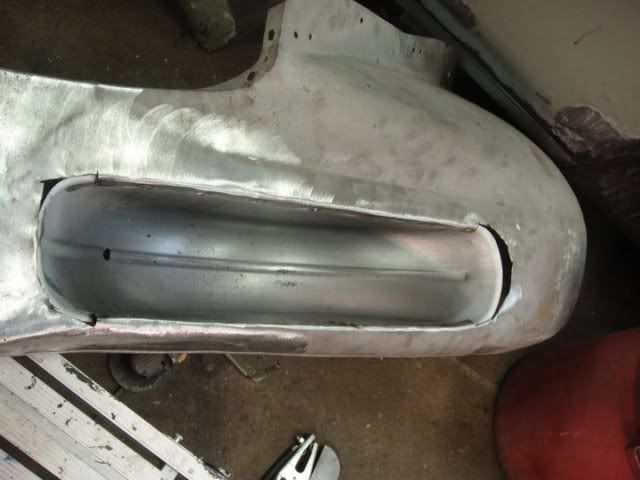
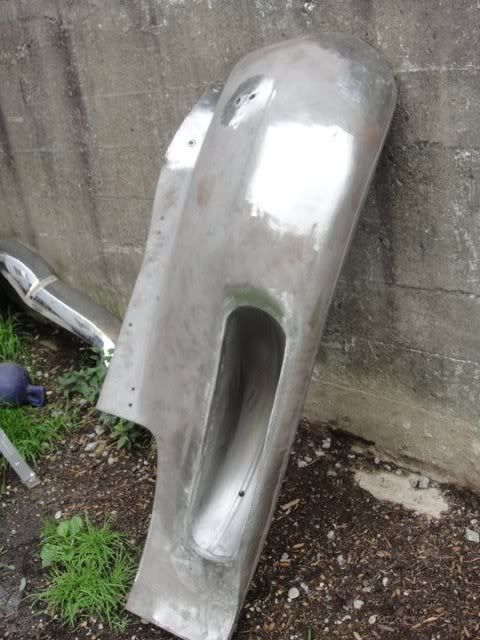
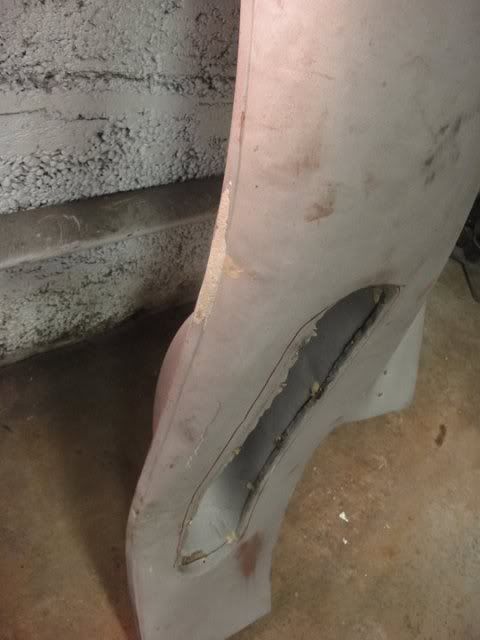
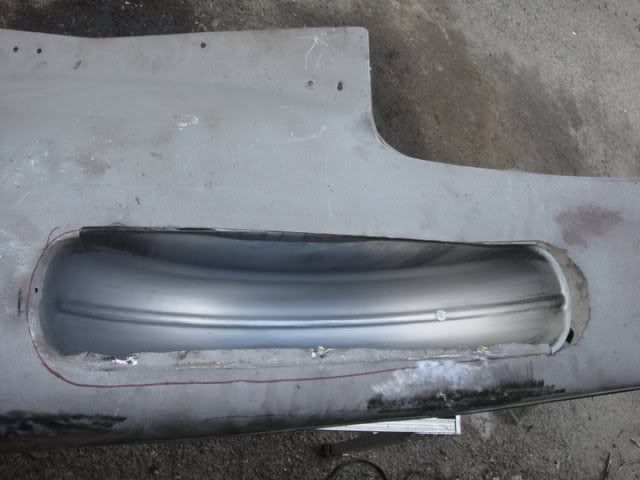
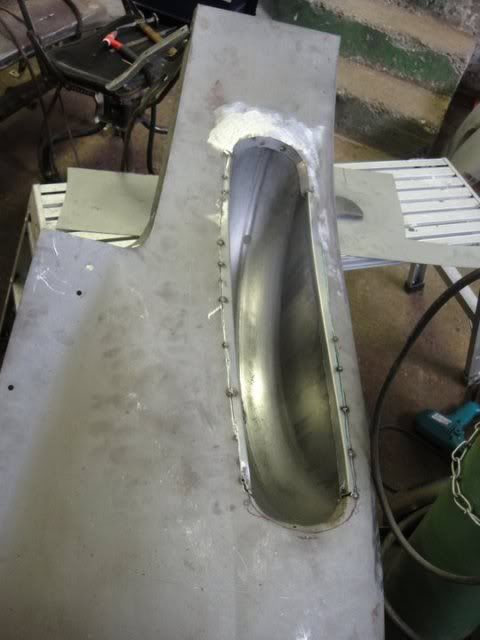
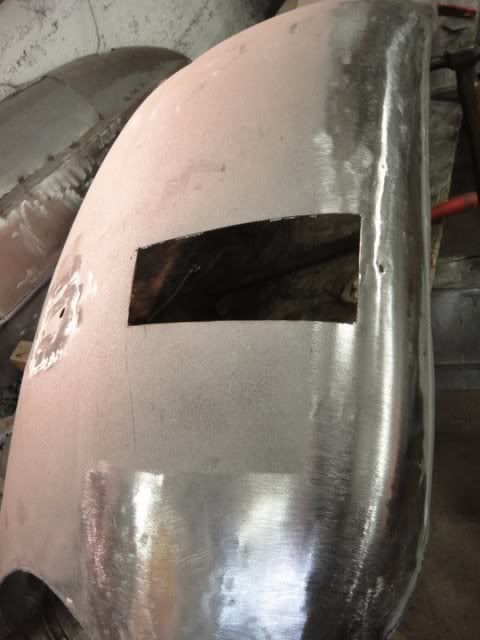
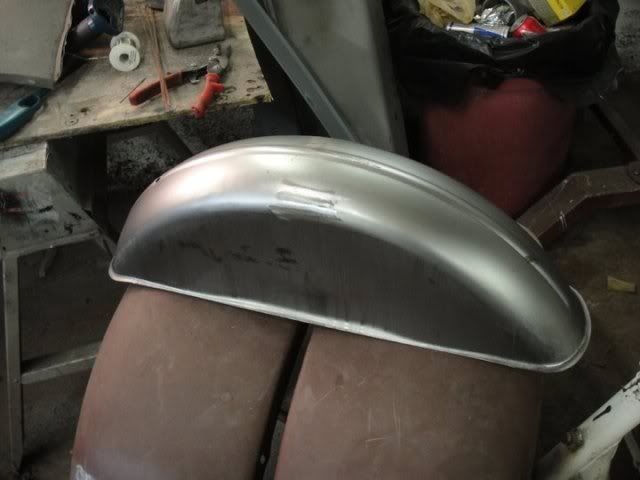
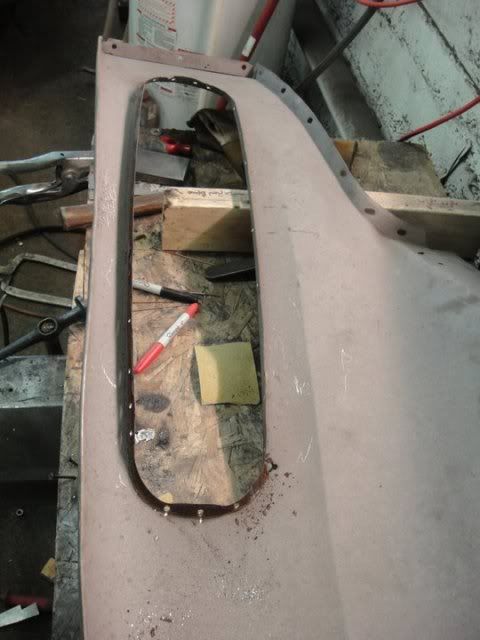
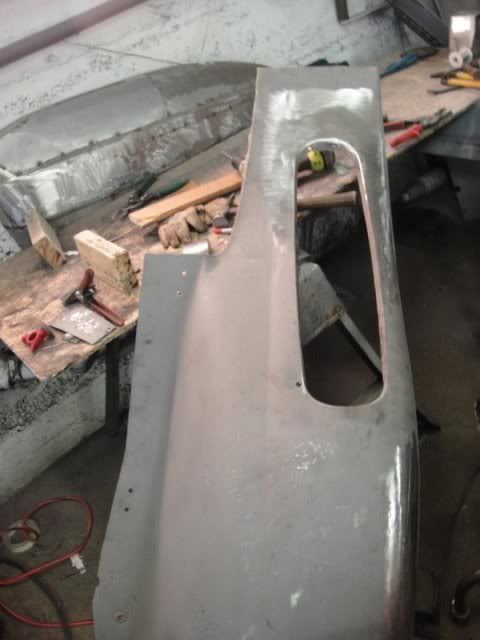
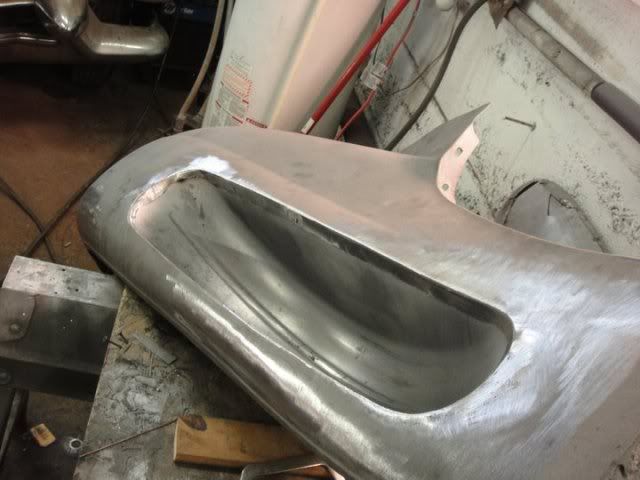
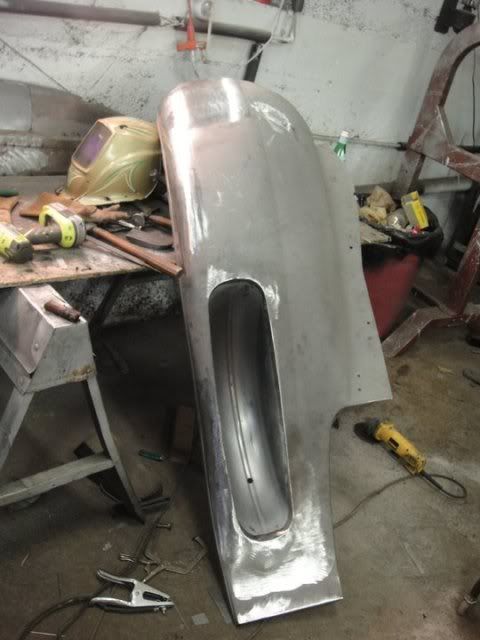
heres a fender i did recently with the hole for the tire.

yeeeeah i dont even know what causes damage like that.

226791_218523104832136_100000233430919_824042_123140_n.jpg


230526_218523068165473_100000233430919_824041_649950_n.jpg


247880_218523228165457_100000233430919_824045_5632782_n.jpg


231184_218523144832132_100000233430919_824043_3328932_n.jpg


230892_218523171498796_100000233430919_824044_7928626_n.jpg


228220_218523258165454_100000233430919_824046_5779600_n.jpg


250446_218523298165450_100000233430919_824047_5879426_n.jpg


gettin there

228615_218523414832105_100000233430919_824051_858407_n.jpg


249254_218523378165442_100000233430919_824050_6391297_n.jpg


229523_218523464832100_100000233430919_824052_7514639_n.jpg


250488_218523498165430_100000233430919_824053_1453020_n.jpg


rear brace where it meets the running board

249456_218523994832047_100000233430919_824065_6362731_n.jpg


247947_218524028165377_100000233430919_824066_5299890_n.jpg


225896_218524078165372_100000233430919_824067_1397022_n.jpg


new pan had to be put in since the old one has seen better days

225531_218523591498754_100000233430919_824056_5077254_n.jpg


225351_218523671498746_100000233430919_824058_575525_n.jpg


45 spot welds later

248783_218523708165409_100000233430919_824059_1700162_n.jpg


248638_218523821498731_100000233430919_824062_6979496_n.jpg


226975_218523948165385_100000233430919_824064_2941049_n.jpg


249938_218524134832033_100000233430919_824069_4136982_n.jpg
 
Last edited:
This is one of the best posts I have seen in a long time. Having done all of this kind of work, I studied each picture carefully. Superb! It is great seeing these repairs done correctly. Tons of work, but it is done right when you are finished-no doubts, no bondo, no cheating. Just solid and beautiful. Well done! Keep showing us more.
 
Very inspiring and instructive. Your posts show what and how, and they set a standard for the work. Thanks for keeping it up. Rancho.
 
Flop I have a question. When showing shots of your sheet metal patches, it is evident that you work and finish weld one edge at a time. Subsequent shots show the original tack welds and the patch is finished one side. Can you educate me on this method?, as I have always tacked all around until the joint is complete, (keep the heat down by spacing the welds) then finished the grinding/filing until I am happy.
 
thanks greg!

Bob that would be an 8 hour long youtube video on this fender!

thanks rancho.little too much info Milton hahaha

Farrell this method works for me. but if ya think about the jumping around method on a panel that is 4 by 4 inches your are still gonna heat up the whole area anyway. i love working a panel from one side to the other.i can make the finished work keep going.hard to explain but sometimes you get the right amount of crown /warpage from the heat.this just works for me .

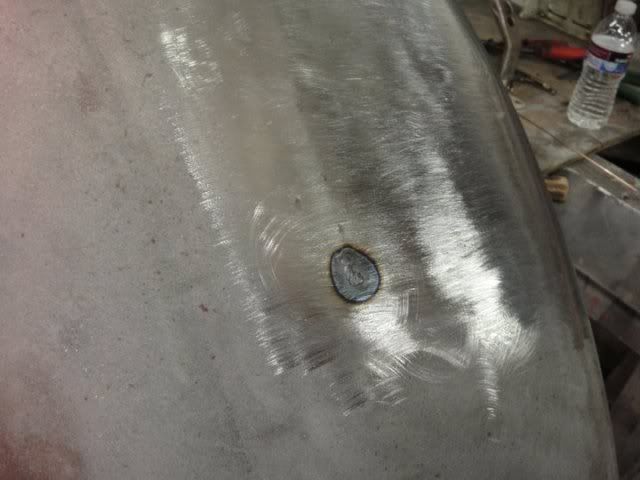
i never seem to get pin wholes with a tig i get occasional pits though. i do a ton of hammer and dolly work on the weld and on the edge of the weld.
 
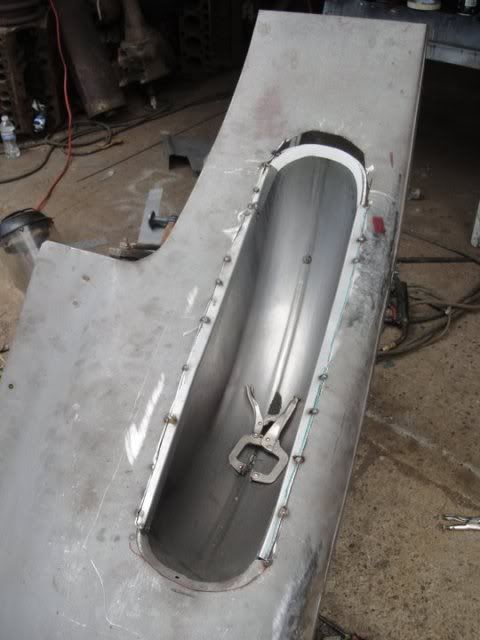
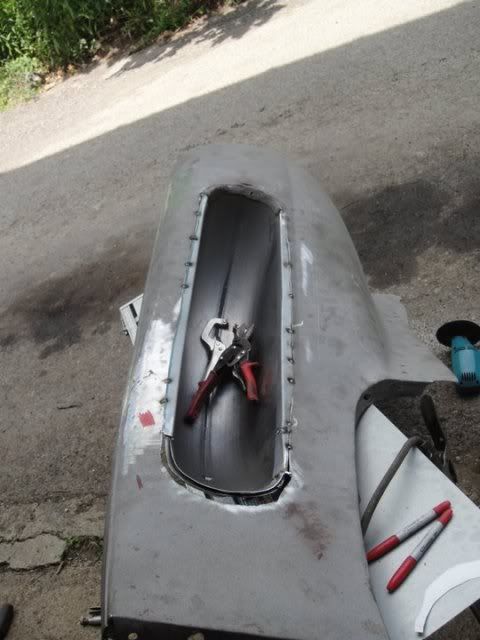
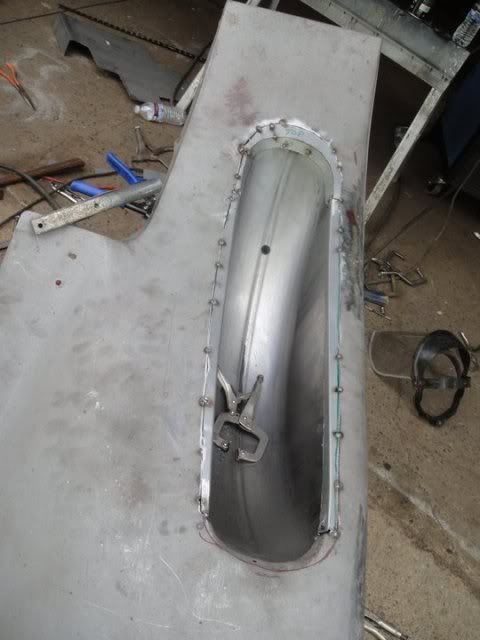
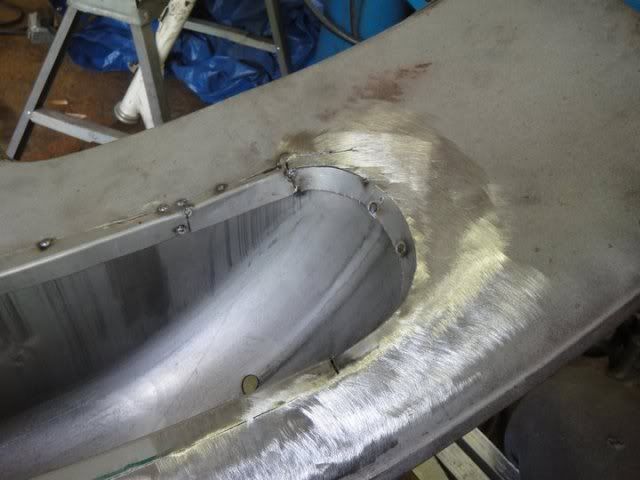
well heres another fender that was in nice shape but a hack job of removing the spash pan that was attatched

253157_219274788090301_100000233430919_829976_990166_n.jpg


getting it together

248347_219274831423630_100000233430919_829977_6438858_n.jpg


251752_219274861423627_100000233430919_829978_4184589_n.jpg


clamped

252302_219274921423621_100000233430919_829980_6392640_n.jpg


254352_219274971423616_100000233430919_829981_6292193_n.jpg


250972_219274884756958_100000233430919_829979_7812113_n.jpg
 
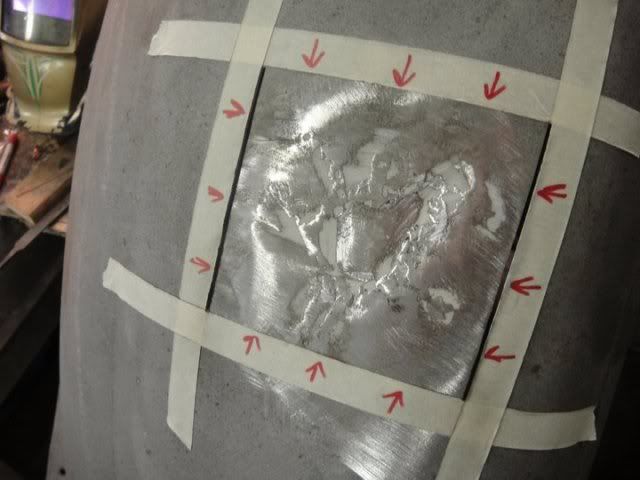
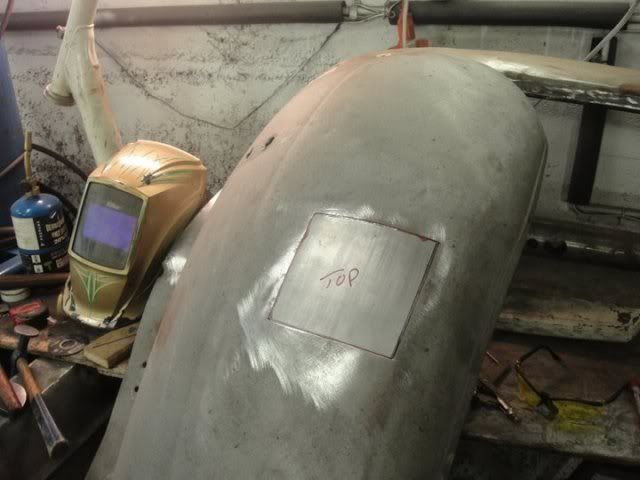
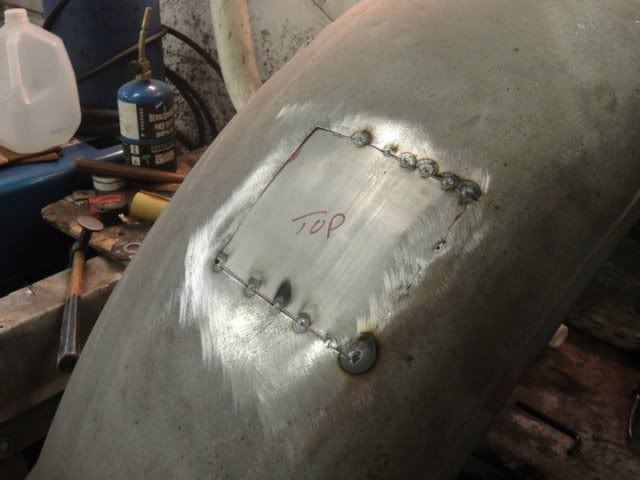
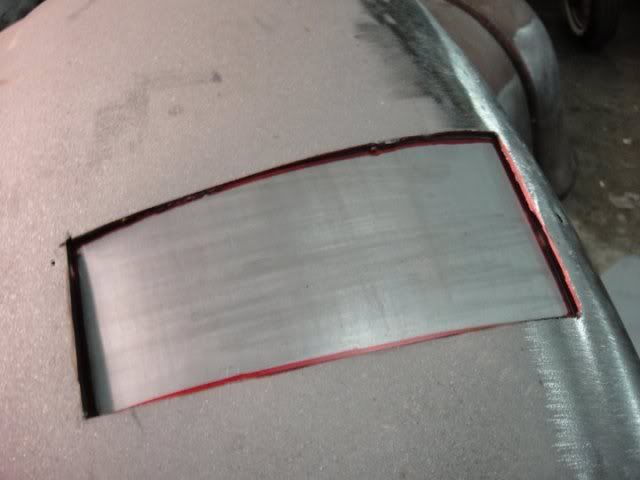
justa little patch i put in in

this fender is a train wreck but he wants it fixed so fixed it will get

260263_222859604398486_100000233430919_858201_2220179_n.jpg


254888_222859647731815_100000233430919_858203_680600_n.jpg


248668_222859697731810_100000233430919_858204_3656985_n.jpg


250058_222859744398472_100000233430919_858205_7231282_n.jpg


ill show the rest when its gets finished up !
 
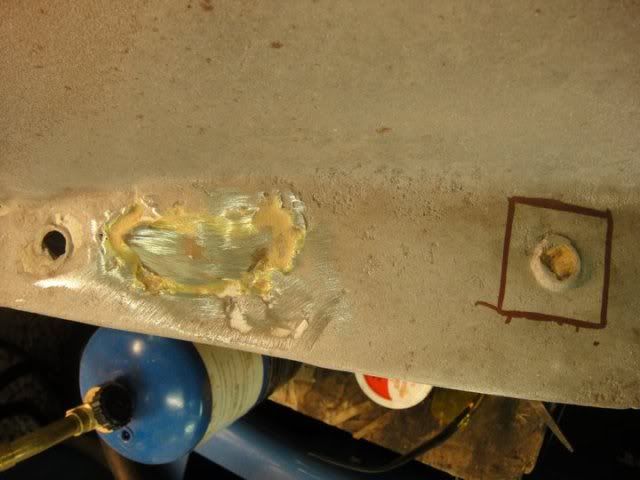
mmmmm brass and double paneled...needless to say that got cut out

253905_223923980958715_100000233430919_864499_5687927_n.jpg


249458_223924024292044_100000233430919_864500_311221_n.jpg


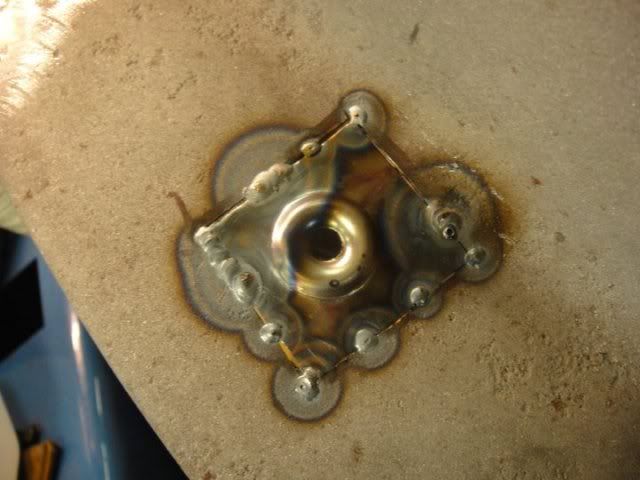
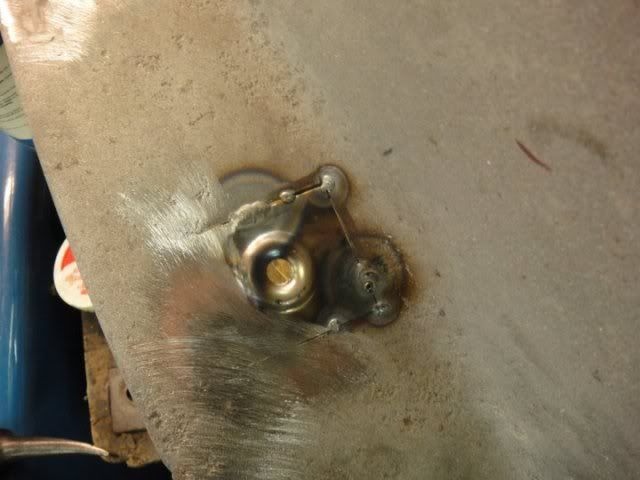
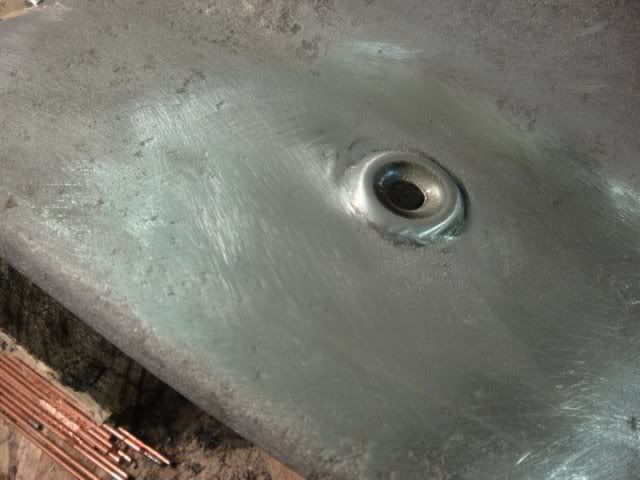
new holes getting lined up and welded in.measured from 3 different place on a very nice model a fender so it should be pretty close to the right spot

254465_223924050958708_100000233430919_864501_6929115_n.jpg


one high spot i see haha.ill take care of that tomorrow

253913_223924150958698_100000233430919_864503_7639836_n.jpg
 
this is good stuff. Nice work, I am gonna be doing a bunch of patch panels soon and this is really helpful.
 
Hi Flop, just sent you an E-mail to get a price quote for you to work your magic on my 1930 Model A 4dr sedan rear fenders....Your work is ausome.....Dave
 
glad i could help ollin

thanks steve!! appreciate the kind words!

hopefully we get to work together soon dave!


heres the finishing touches to the fender

finished up another fender this morning

some more stellar work

261720_233475936670186_100000233430919_882899_7885682_n.jpg


patch i made .a little english wheel action on it

262999_233475976670182_100000233430919_882900_2287988_n.jpg


264934_233476026670177_100000233430919_882901_1059069_n.jpg


last weld on it

261624_233476073336839_100000233430919_882902_4332702_n.jpg


270253_233476116670168_100000233430919_882903_151671_n.jpg


270139_233476136670166_100000233430919_882904_8084950_n.jpg


260411_233476180003495_100000233430919_882905_1447445_n.jpg


badly brazed in

269699_233476210003492_100000233430919_882906_2819054_n.jpg


had to put a new pan in it as well.
the ends were really bad they had to be cut out of the fender

261543_233476853336761_100000233430919_882910_244977_n.jpg


and thats where my camera died

but here it is finished up.the customer said the fender was gonna be junk i said naaaah its fixable now he has a perfectly good usable fender!

262267_233476893336757_100000233430919_882911_6475627_n.jpg
 
Hi Flop, just sent you an E-mail to get a price quote for you to work your magic on my 1930 Model A 4dr sedan rear fenders....Your work is ausome.....Dave

There's a line forming... :)

I just drove from Winchester VA to Pittsburgh yesterday to drop off my '29 rears to have Flop save them for me.
After the all the paint and filler was taken out when blasted it became even more evident that it was not something I could handle. Maybe I'll see his progress on them here!!
 
thanks again steve

yours are next miles!

his fender is another fine specimen of fantastic work

261451_234569249894188_100000233430919_890969_3161012_n.jpg


261215_234569436560836_100000233430919_890972_860081_n.jpg


mmm brass and screws!

269092_234569336560846_100000233430919_890971_8117468_n.jpg


270847_234569573227489_100000233430919_890974_3950683_n.jpg


264470_234569516560828_100000233430919_890973_6082453_n.jpg


the bead rod was broke as well

263160_234569646560815_100000233430919_890975_407925_n.jpg


264432_234569709894142_100000233430919_890976_3610467_n.jpg


used my bead roller to make the step

270446_234569773227469_100000233430919_890977_4328679_n.jpg


267549_234569856560794_100000233430919_890978_2100089_n.jpg


268452_234569923227454_100000233430919_890979_7690238_n.jpg


next fix the mess and get the pan to fit

264905_234570033227443_100000233430919_890980_2150262_n.jpg


just used the break to make the bend and a little shrinker stretcher action to get the curve.

260375_234570103227436_100000233430919_890981_3851749_n.jpg


i have to use a paper template to make this i can never get it in one piece ...

264643_234570179894095_100000233430919_890982_250487_n.jpg


269023_234570233227423_100000233430919_890983_2045513_n.jpg


264418_234570283227418_100000233430919_890984_452782_n.jpg


267739_234570429894070_100000233430919_890985_4768986_n.jpg


only 4 more feet of welding to go haha

263186_234570529894060_100000233430919_890987_7105340_n.jpg
 
Back
Top