
You are using an out of date browser. It may not display this or other websites correctly.
You should upgrade or use an alternative browser.
You should upgrade or use an alternative browser.
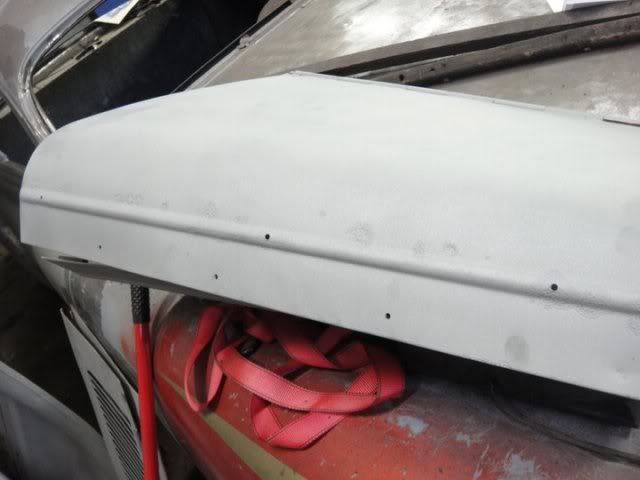
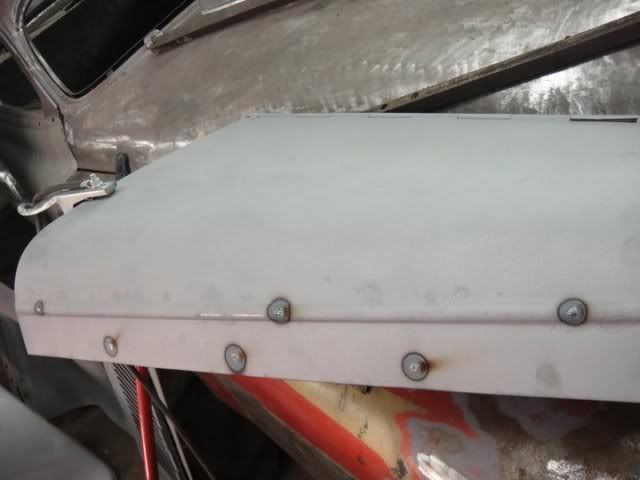
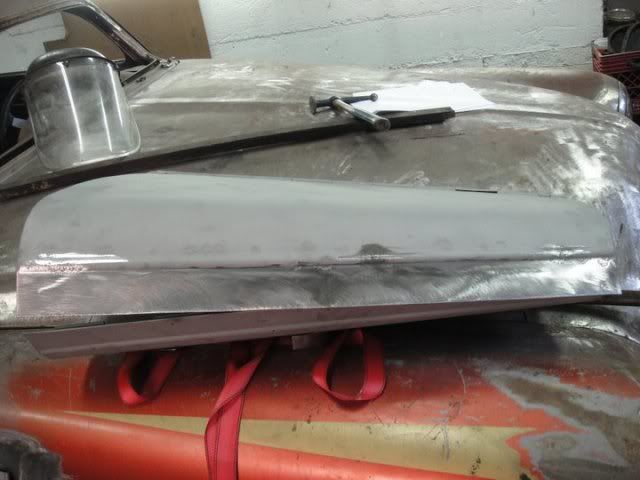
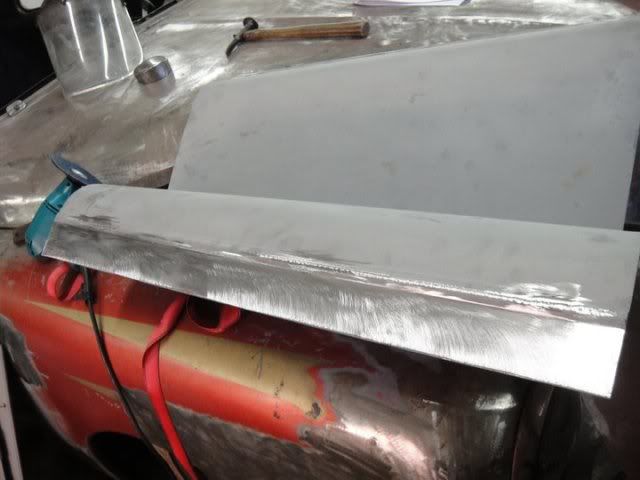
1930 Ford Sheetmetal Work
- Thread starter Flop
- Start date

Jason in TX
Well-known member
I am sure glad that is not my car being used as a workbench! You gotta be kidding!
Geez! No thanks.
It might be his car. And he might be able to fix whatever happens to it if something does.

ratamahata
Well-known member
Oh!! that's the good taste of something made by yourself, That´s have another value!!

Model A Man
Well-known member
You have a lot of talent for a 25 year old. I keep looking at all the pictures over and over hoping some of your talent will rub off on to me. Love the work. thanks for posting
SkimmerBob
Senior Member
Awesome work there Flop. Thanks for sharing. I'm looking forward to the fender repairs.
thanks everyone glad yu guys are enjoying the work if ya have any questions feel free to ask
finished up the first set of fenders
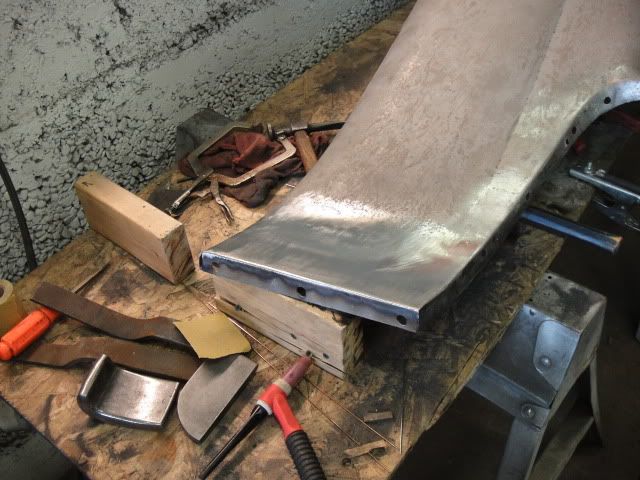
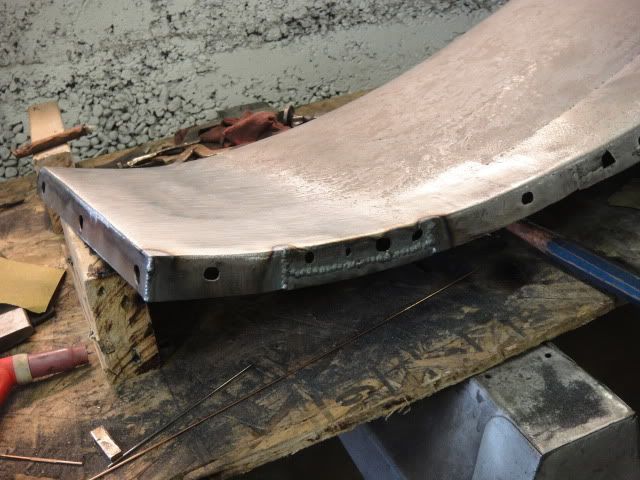
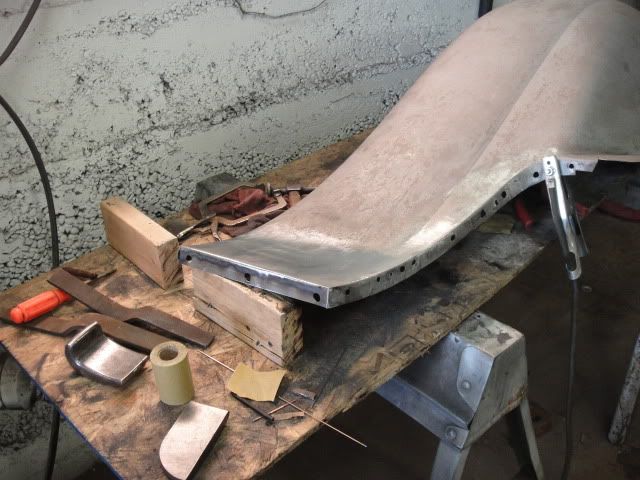
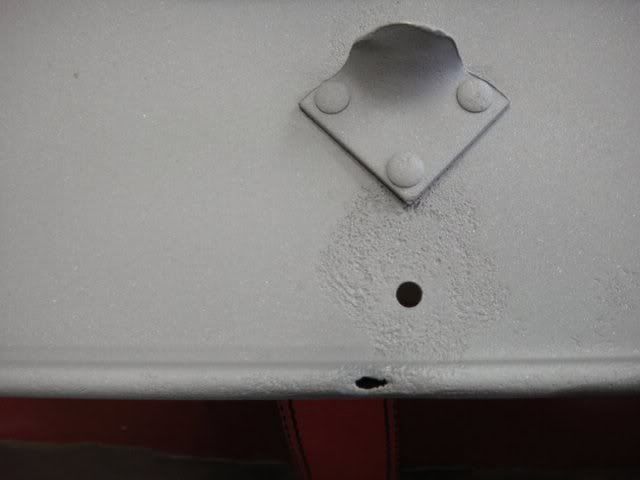
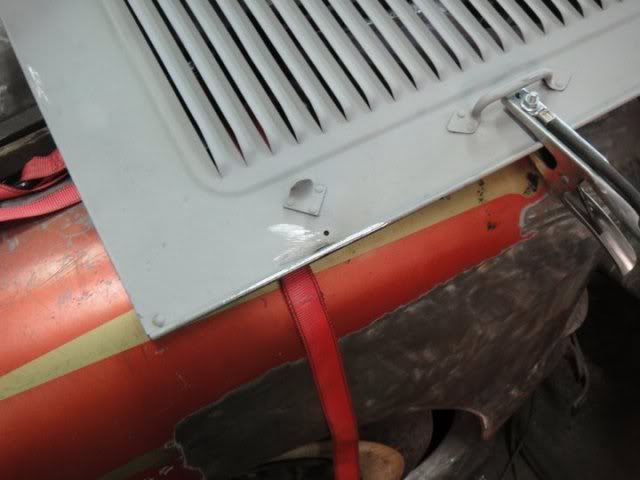
can figure out why these holes were here
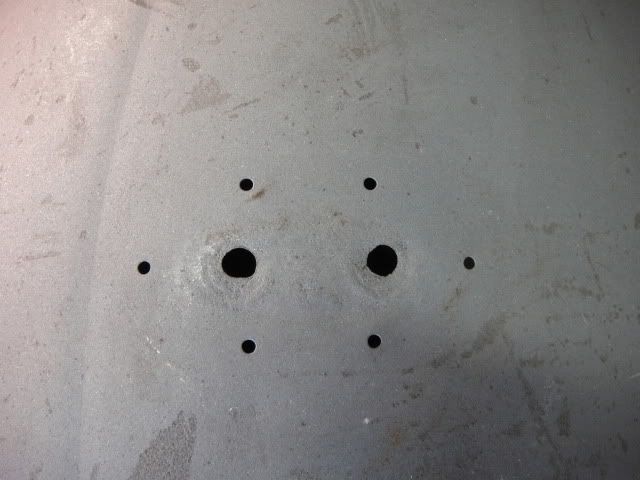
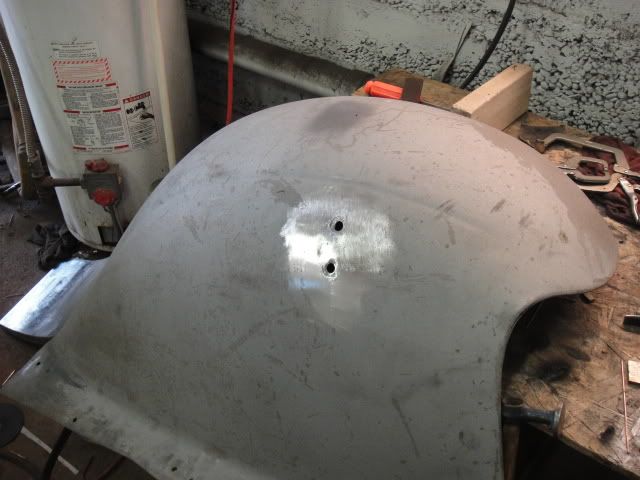
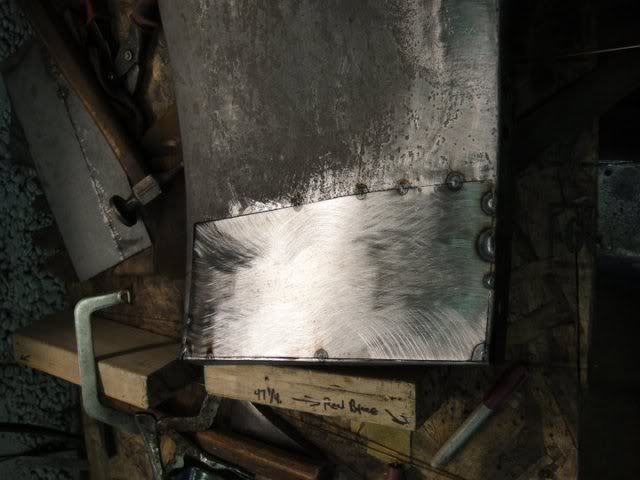
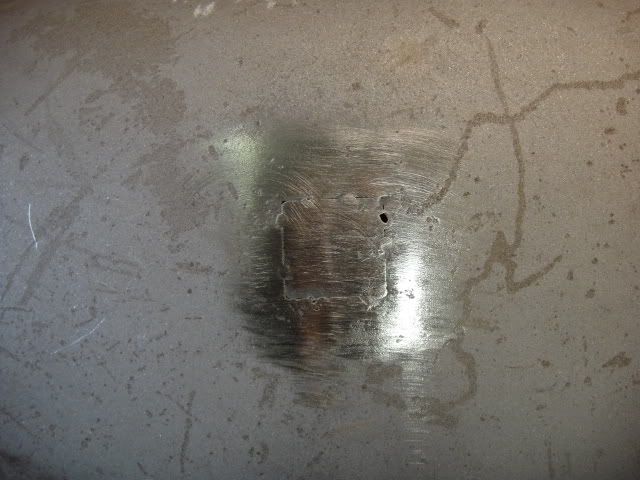
small patch
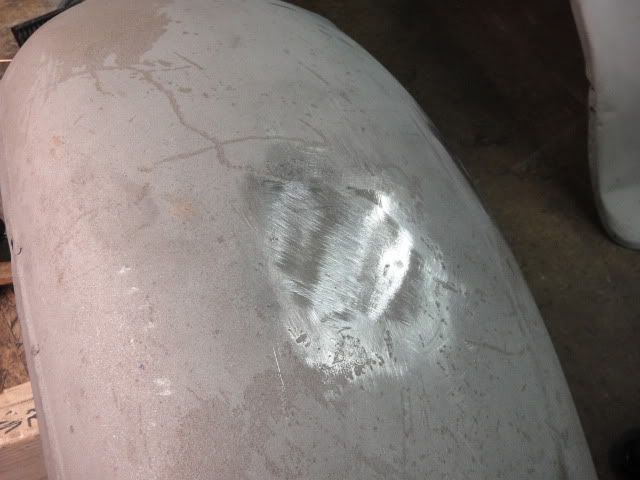
a small tear where the fender support goes
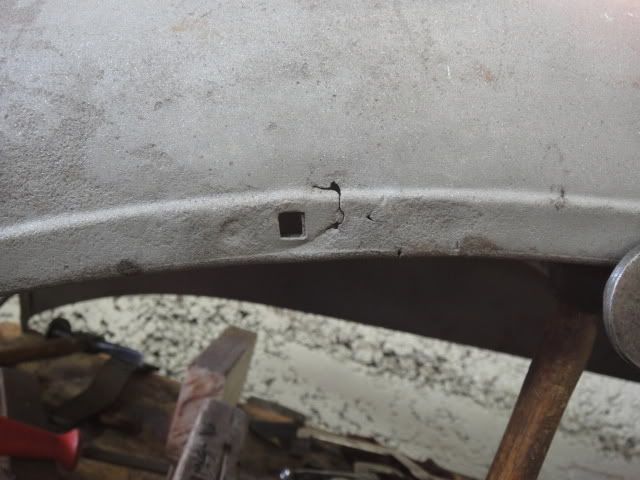
took out the reinforcement thing by drilling 2 spot welds. cleaned up the rust and hit it with weld thru primer
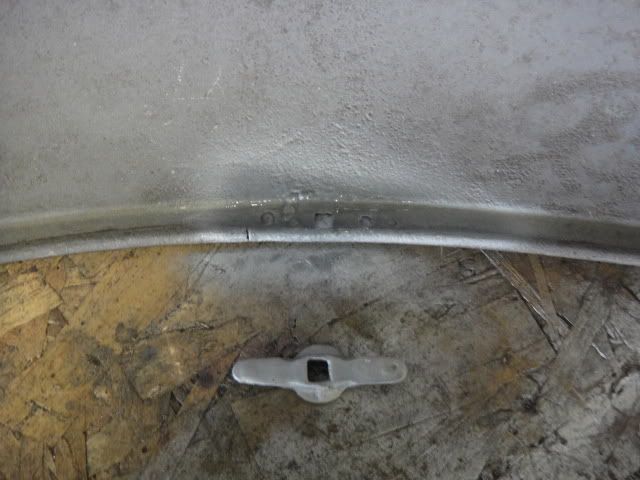
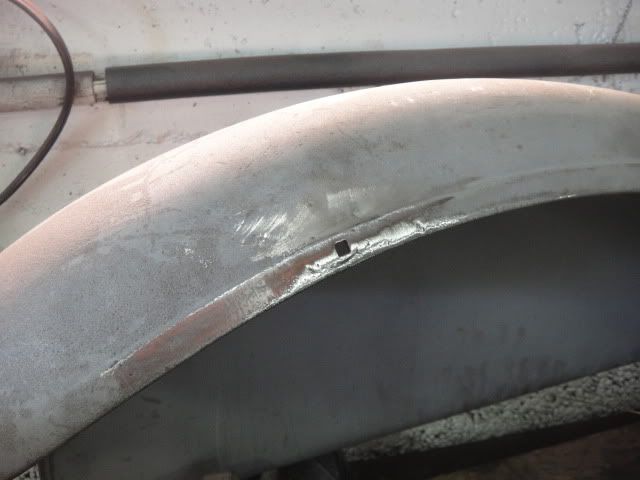
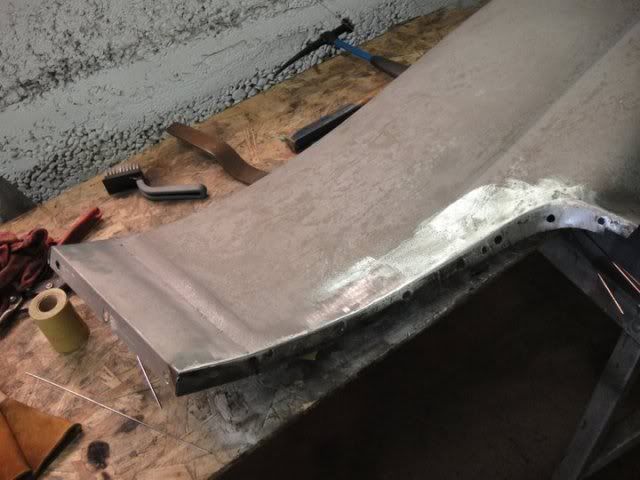
a tear on the edge of the fender
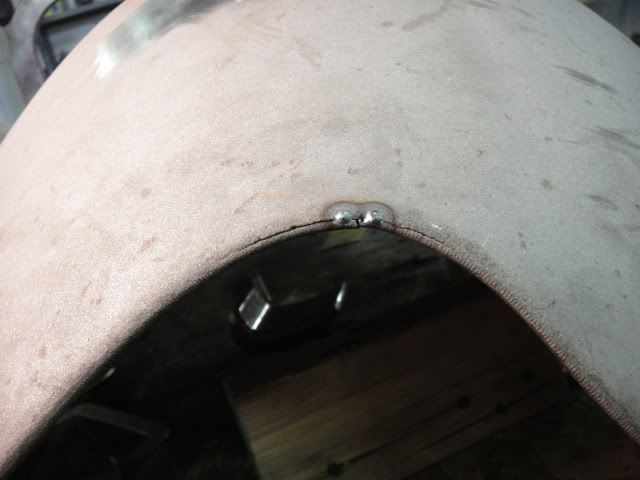
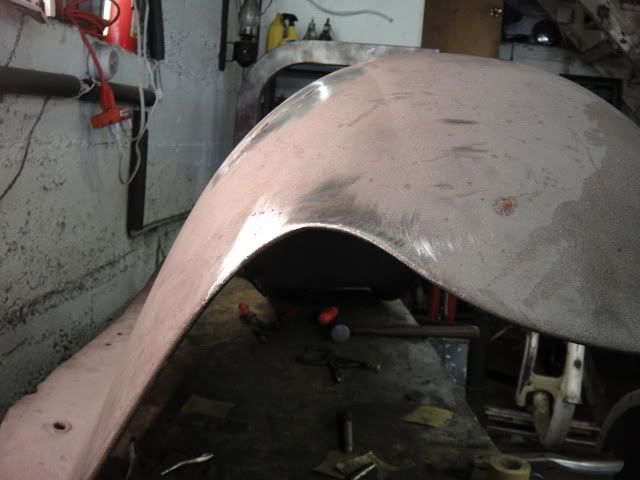
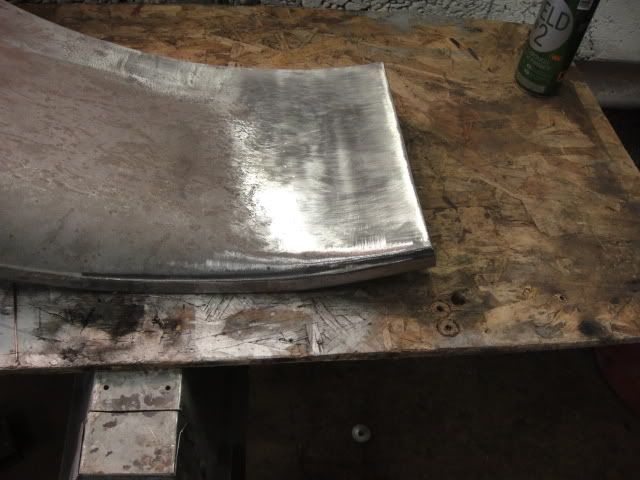
a new reinforcement bracket for the fender where it meets the running board
again both hit with weld thru primer
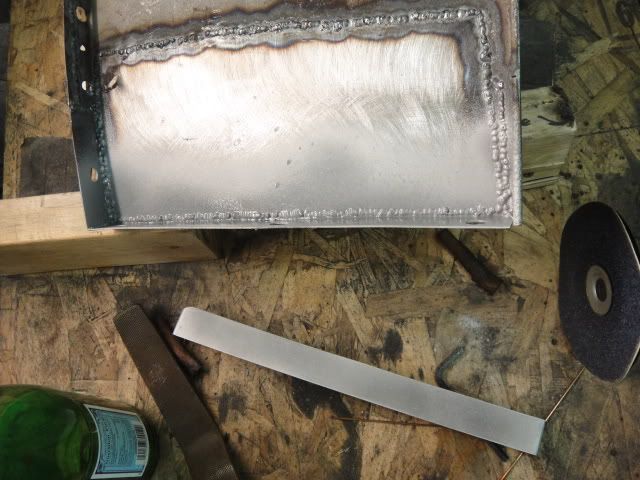
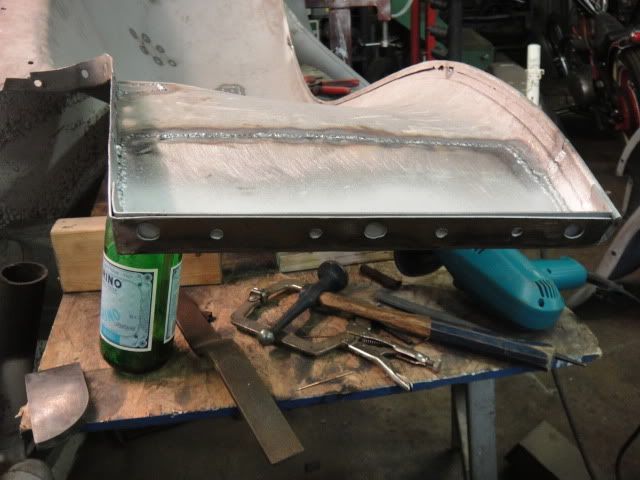
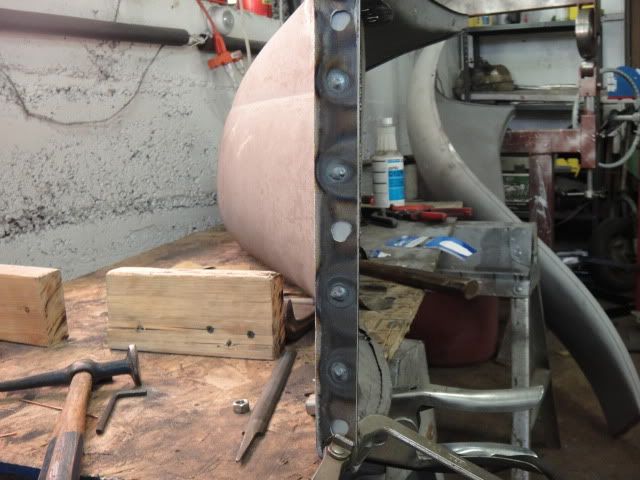
one more full set to go!
finished up the first set of fenders
can figure out why these holes were here
small patch
a small tear where the fender support goes
took out the reinforcement thing by drilling 2 spot welds. cleaned up the rust and hit it with weld thru primer
a tear on the edge of the fender
a new reinforcement bracket for the fender where it meets the running board
again both hit with weld thru primer
one more full set to go!
Last edited:
broken motor mount. guess 80 or so yeras of service took its toll.
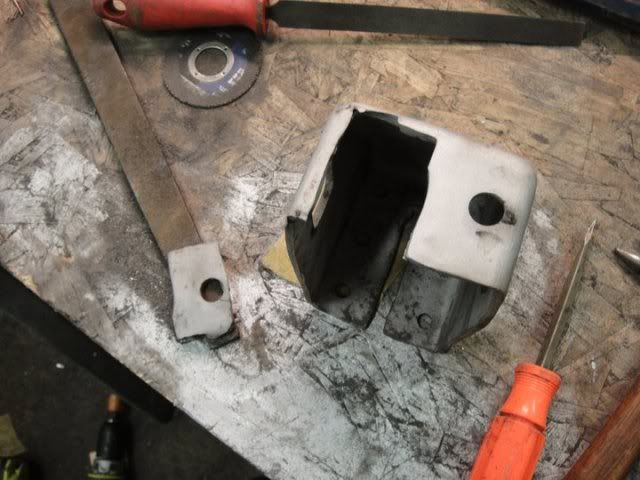
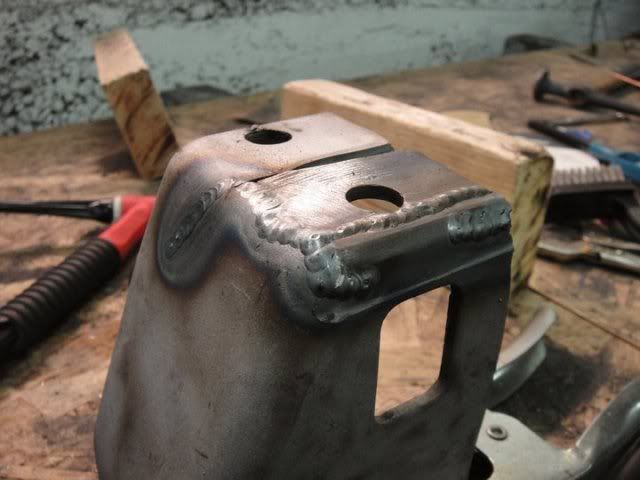
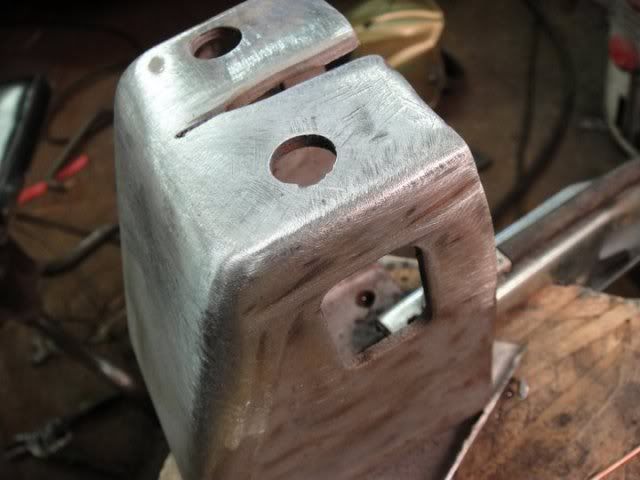
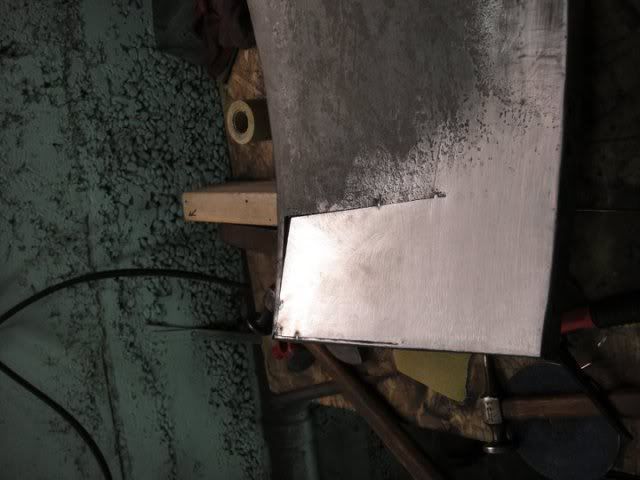
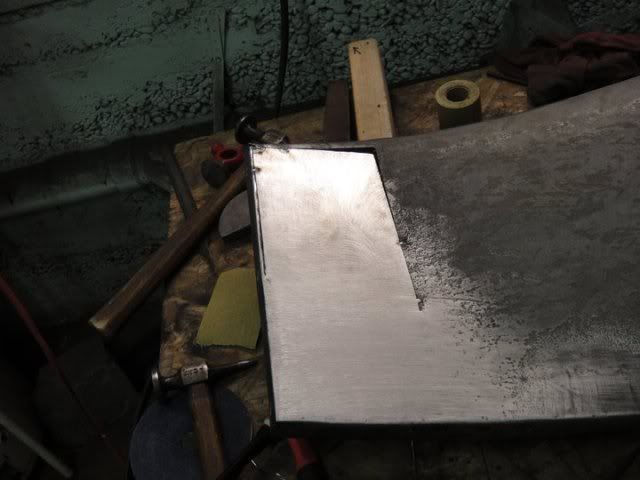
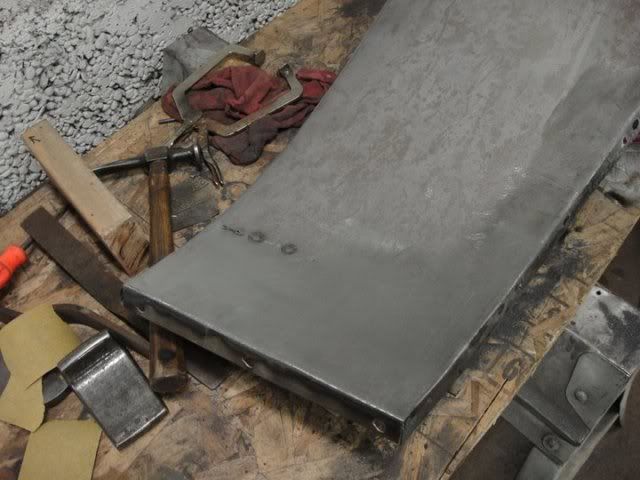
these fenders looked killer until i went to start on filling the old taillight holes
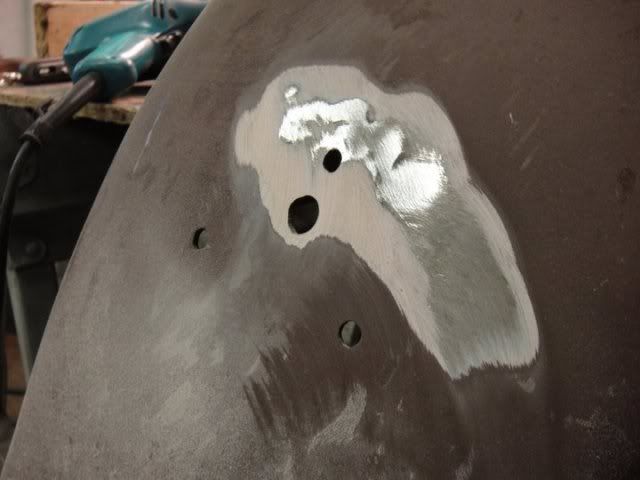
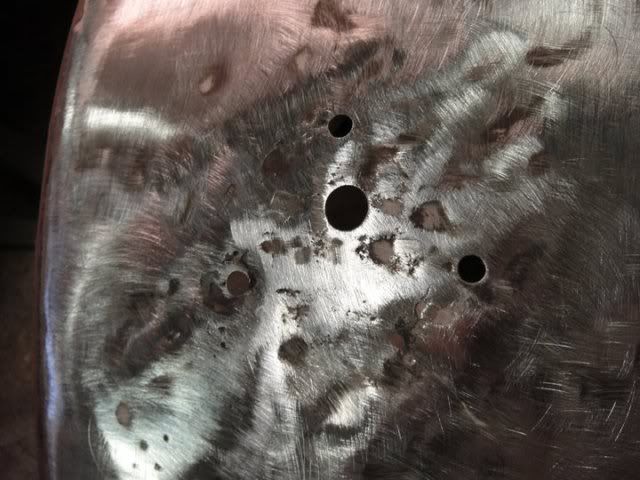
ohhhh its so nice of you to plastic up both sides of the fender to hide some mess
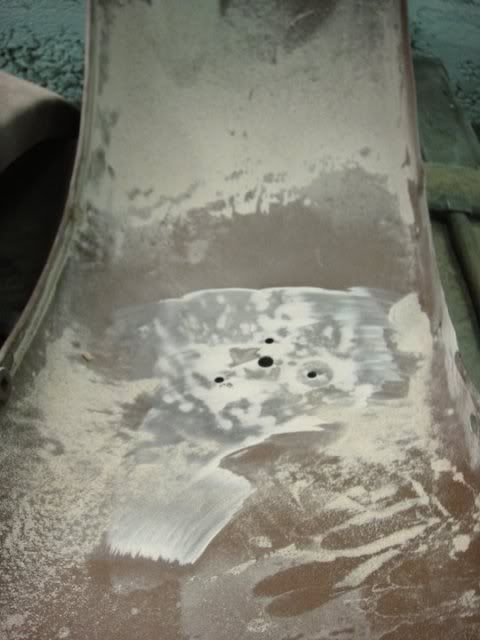
a little hammer and dolly work to get thing baack to normal before cutting out the area with the holes.
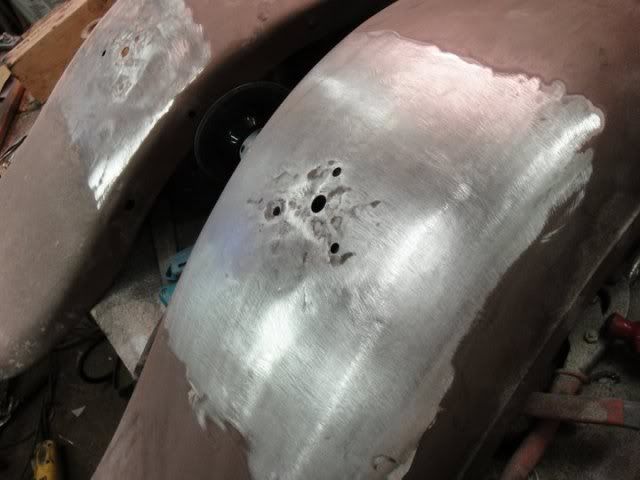
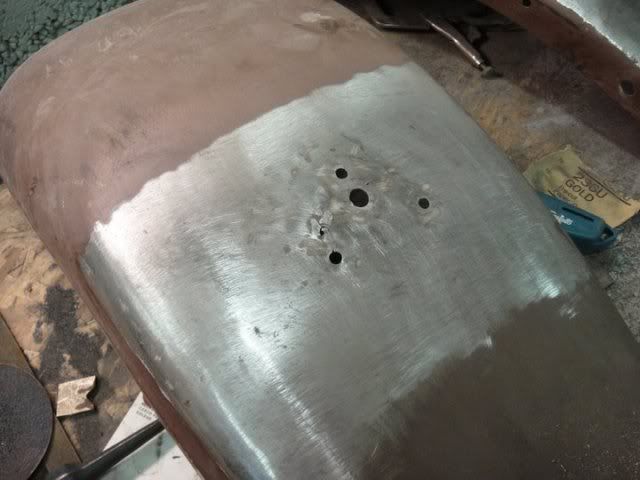
these fenders looked killer until i went to start on filling the old taillight holes
ohhhh its so nice of you to plastic up both sides of the fender to hide some mess
a little hammer and dolly work to get thing baack to normal before cutting out the area with the holes.
Last edited:
ratamahata
Well-known member
Very nice welded seam
Kevin in NJ
Well-known member
You are doing nice work.
I have a couple of suggestions based on my experience.
You really want to do all the front and rear fender repairs on the frame with the brackets set up. You can lock in deformities that will make fender installation almost impossible. I had to undo some beautiful bodywork on a pair of fenders I bought. They were done off the frame and would not fit at all!!!
It appears you were putting in a flat piece of metal at the tail of the fender. The 30-31 fenders are a compound curve in that area. The metal should be formed first before welding in place.
From looking at your welding, do not try a TIG welder unless you can afford to buy one. You are not far from putting in panels with little or no grinding- just some hammer on dolly planishing. You are likely to find a TIG welder to be a wonderful change.

d.j. moordigian
Well-known member
Flop,
Nice work! What size tungsten an filler rod are you using? The front fender, plus other
parts look hot/too much rod, for an easy clean-up.
Dudley
Nice work! What size tungsten an filler rod are you using? The front fender, plus other
parts look hot/too much rod, for an easy clean-up.
Dudley

rollingsculpture
Senior Member
very inspiring you keep tackling the hard stuff and come up looking good! what is weld thru primer and where do you get it?

Mike V. Florida
Well-known member
Fixing the rear motor mounts, now you're just showing off.
thanks guys.
dj the tungsten is 3/32nds filler is prob. double the size of a .023 piece of mig wire. i use alot of rod for sure. i like to make sure i get it over lapping the seam to act as a filler i dont know why just have the best results that way.as far i heat i am set on 70 amps and have never been into the pedal id say more then half way.
thanks kevin . the front fender with the tear on the edge was was tacked in place on the car and the matched to a perfect unaltered a fender and both had the same curve in the front .
rolling... weld thru primer is a primer you can weld through.i put it in areas like behind brackets that get spot welded etc.
thanks mike

CWPASADENA
Well-known member
VERY NICE WORK!!!!
Where were you when I was doing the sheetmetal on my car????
Chris
Where were you when I was doing the sheetmetal on my car????
Chris
i would have to kno the date you were doing your sheetmetal chris! 
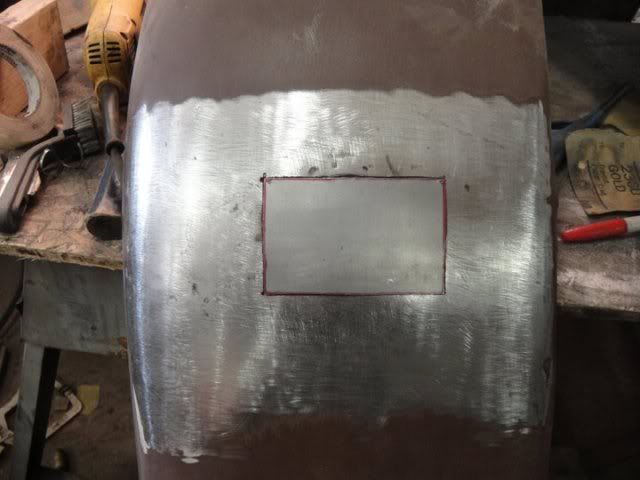
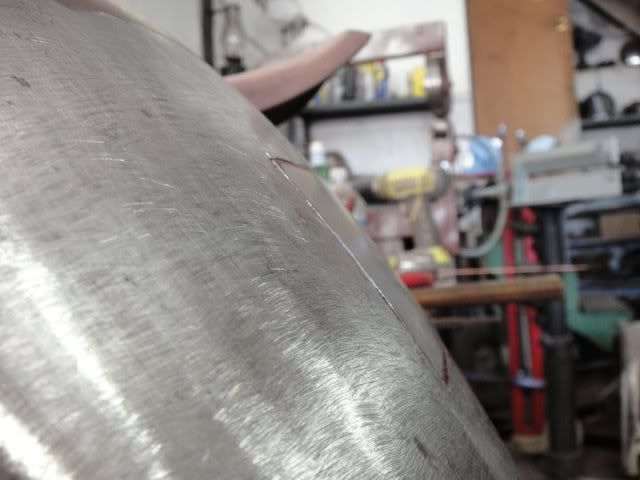
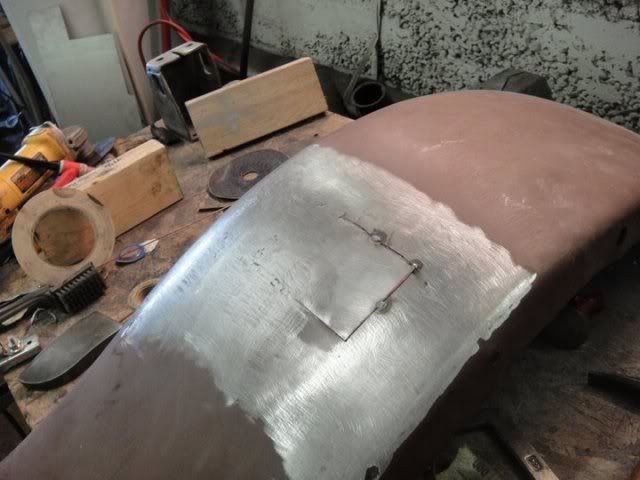
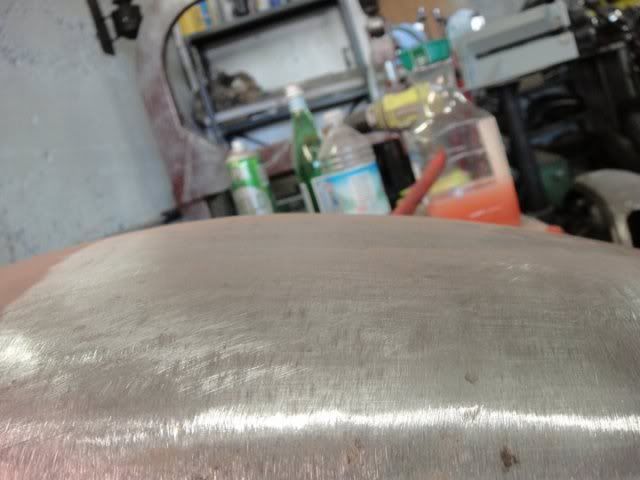
finished up the rear fenders with the bad holes. i guess these were on a roadster because he said the whole in the top of the passenger side was for a step.
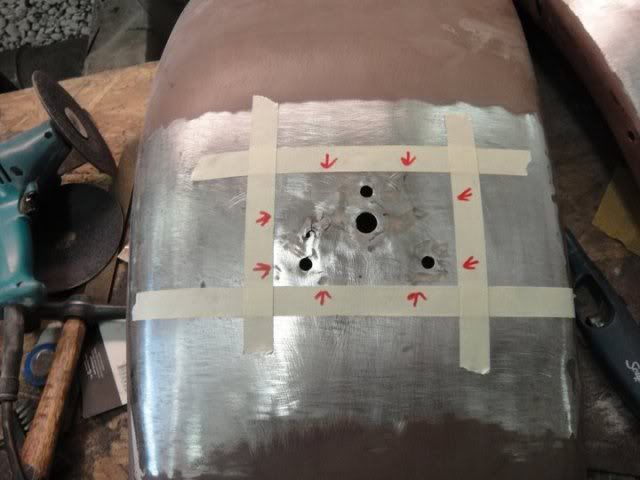
other fender
4 really reaaly bad condition front fenders with spare tires holes next and a set of splash pans.
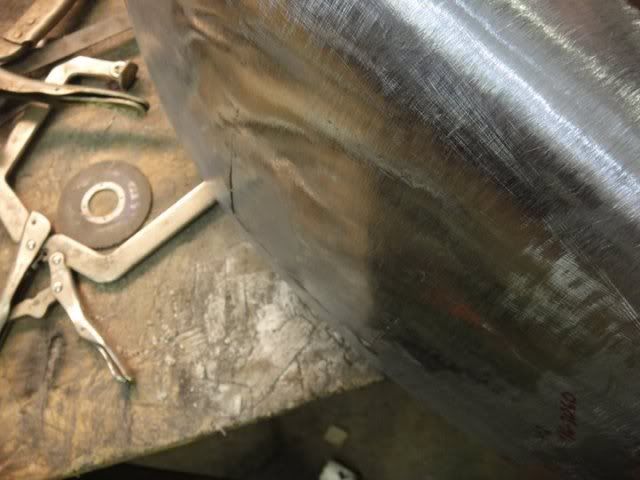
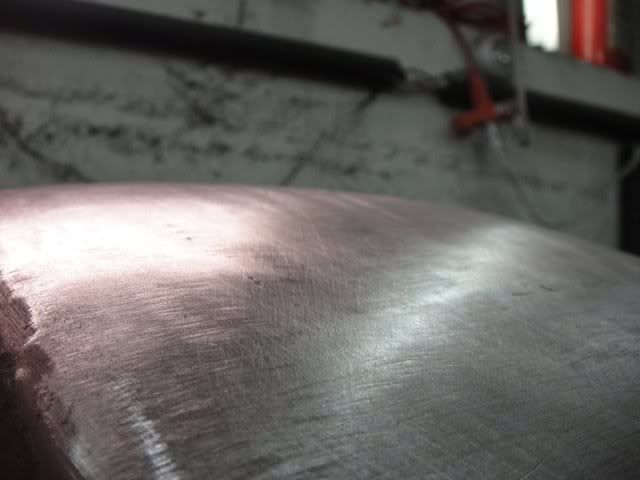
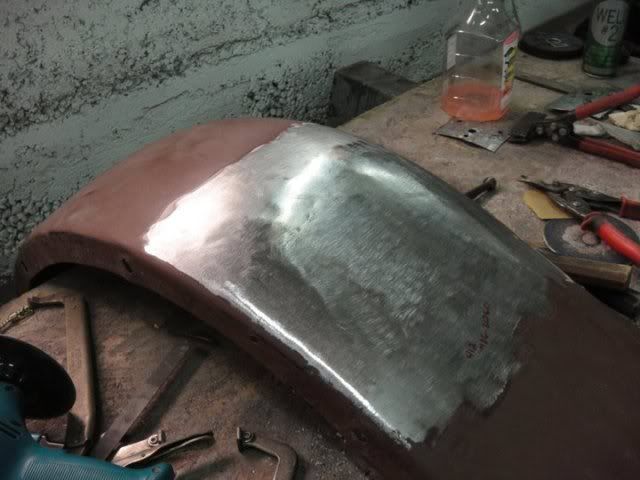
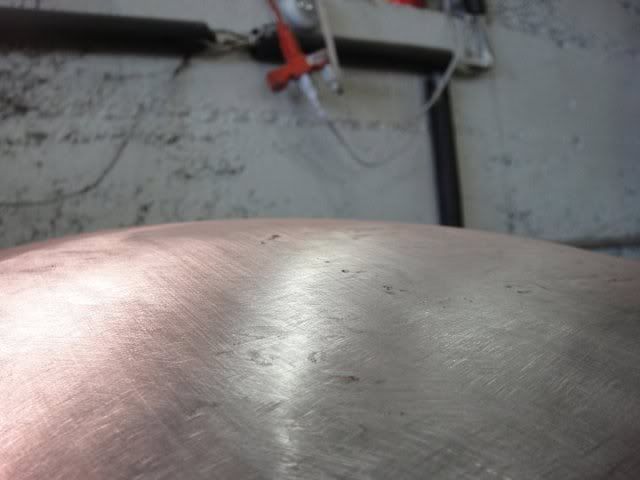
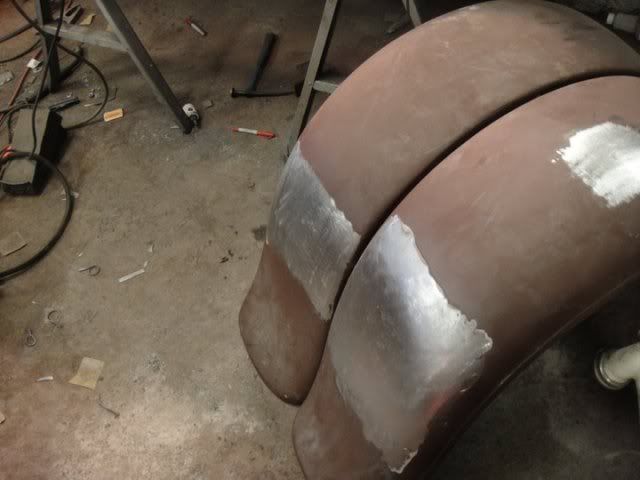
finished up the rear fenders with the bad holes. i guess these were on a roadster because he said the whole in the top of the passenger side was for a step.
other fender
4 really reaaly bad condition front fenders with spare tires holes next and a set of splash pans.
Last edited:

eystein
Well-known member
i would have to kno the date you were doing your sheetmetal chris!
finished up the rear fenders with the bad holes. i guess these were on a roadster because he said the whole in the top of the passenger side was for a step.
you guys are probably sick of all this model a sheetmetal by now sorry for the uninteresting posts as of late.
Flop !
Your posts are probably one of the most interesting there are on FordBarn !!
Keep up the good work, and keep posting !!

Stretch Cab
Well-known member
I agree. They say a picture is worth a thousand words but along with your commentary to help understand what we are seeing is an added bonus!

Mike V. Florida
Well-known member
Don't you dare stop!!!