1930 Ford Sheetmetal Work

Yo Flop, I have been in the sandblasting game for 35 years. so that is why I cringe at disc sanding panels.

That coupe paint looks pretty good.

I take it you do not have a sandblaster and I figure your old sand paper is clogging with paint and causing heat before you get to metal, as well as the sand marks in panel..

Try a heat gun and a sharp putty knife to melt paint off.

Then if you must, it will be a very light lick over with 120 grade.

Get a 2 inch wide putty knife and cut it back to about 1 1/2 inches LONG and round the edges off, so it is short and very stiff.

Heat the paint and you will know when it gets soft enough to peel off in sheets, way before any excess heat will warp panel.

Start on an angle with knife under paint and blow heat forward and keep going.

You would do that 1/4 panel in about 15 minutes.

Thick paint is best for heat, not so good with thin paint.

Some types of paint don't react too well to heat, then you must resort to stripper if you do not have a blaster.

If I have to strip a panel smooth, no blast profile for paint tooth, I run over with an orbital sander with worn out 36 grit.

Gives a perfect tooth for primer.


Here is one of my old videos. I will make a better one next time I have to blast and get dirty.

(apologies for work behind hand a bit, because I was holding cam with one hand while blasting and thinking the lens was getting peppered.

I will cover the cam with plastic next time for a better view).

 
Wow Pooch, ...maybe it was a good thing your hand WAS there to protect the camera lens from ricocheting media!! I DO agree with your assessment regarding stripping using a disc.


One thing in FLOP's defense regarding the paint stripping is when doing a customer project, often times the 'how', --or 'what' he wants to do it is not an option. There are things we do that might cause others to question why we did it that way when the true answer is either we did not have the budget to do it the proper way, ...or the customer did not want it done that way.

30cab, check for a PM.

.
 
Just to add, I did not use this plastic bottle blaster when I was doing it full time.

I sold all my industrial gear when I retired.

The bottle is just an example of how to make a clog free suction/gravity fully adjustable set up.
 
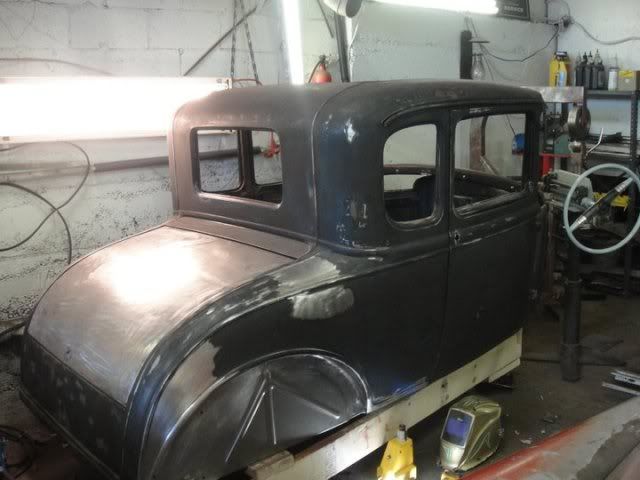
just about finished up with the body today besides bending the edges over the subframe on the new patches.

the passenger quarter was the last piece.

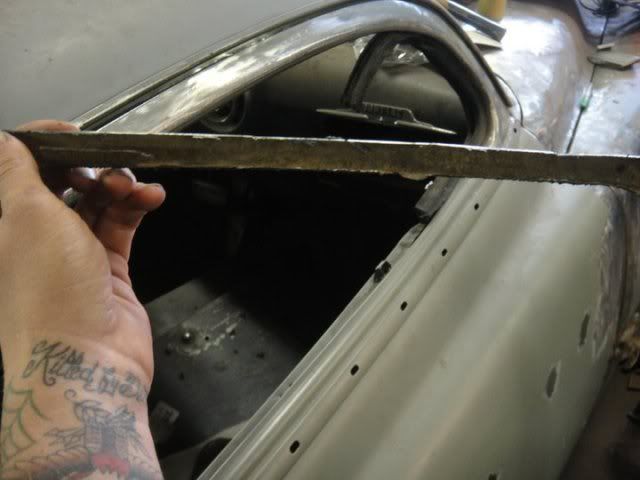
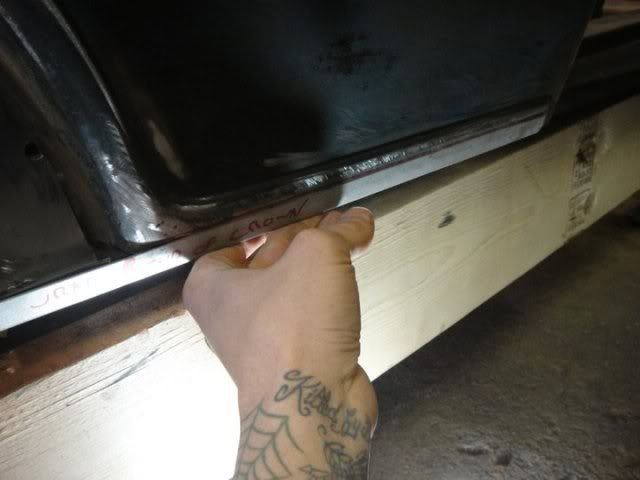
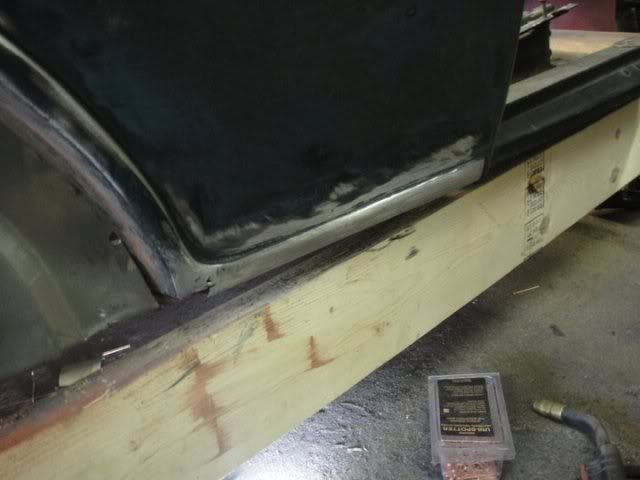
really solid but the break where it wrapped under neath was gone

made a new piece for it

167721_182367405114373_100000233430919_569543_2749043_n.jpg


165557_182367328447714_100000233430919_569541_6044476_n.jpg


couldnt figure out how to make it in one long piece so 2 pieces it was

162786_182368371780943_100000233430919_569556_5729177_n.jpg


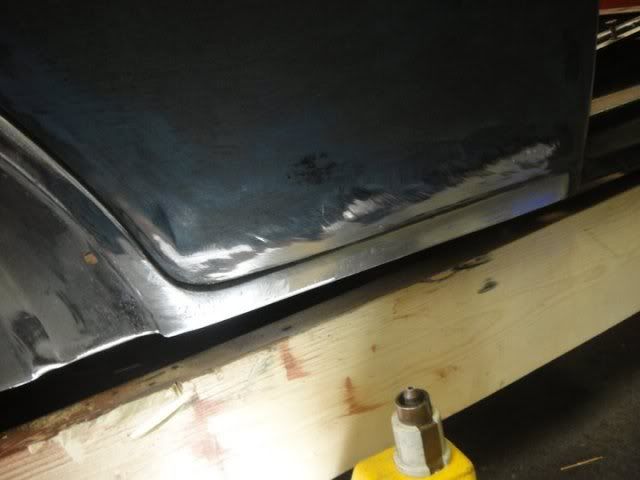
just about done except for the edge it still needs some more smoothing where it wraps into the wheel well

163469_182368421780938_100000233430919_569559_3214533_n.jpg


and we are just about done with the body!!

63253_182369048447542_100000233430919_569562_1695037_n.jpg
 
Awesome work as usual Flop. How's the Pontiac coming along? I noticed a few cameo shots in this thread.;)
 
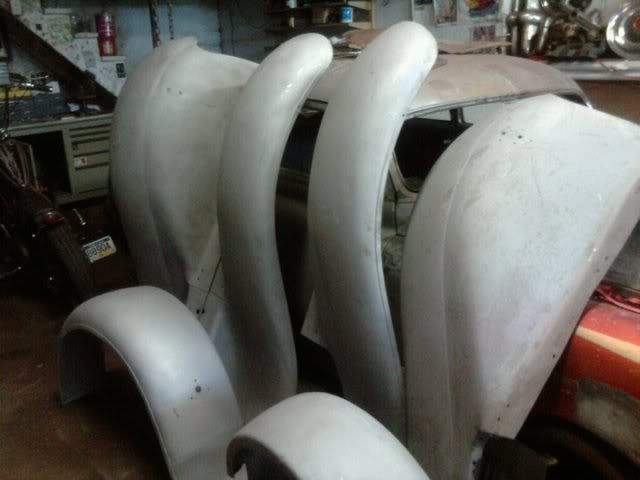
thanks again guys. not done yet still got some little stuff and fenders to fix

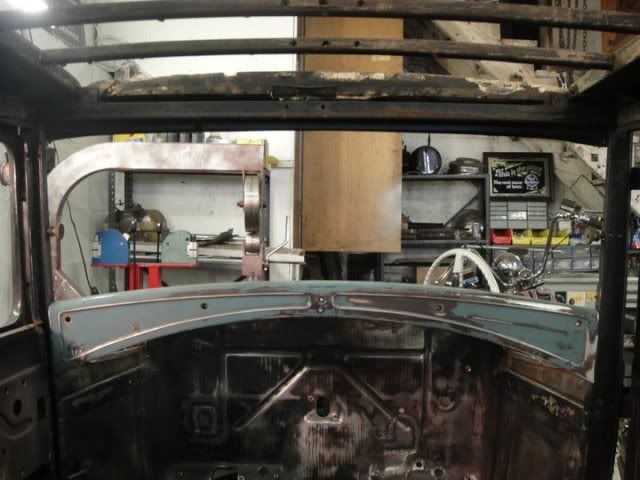
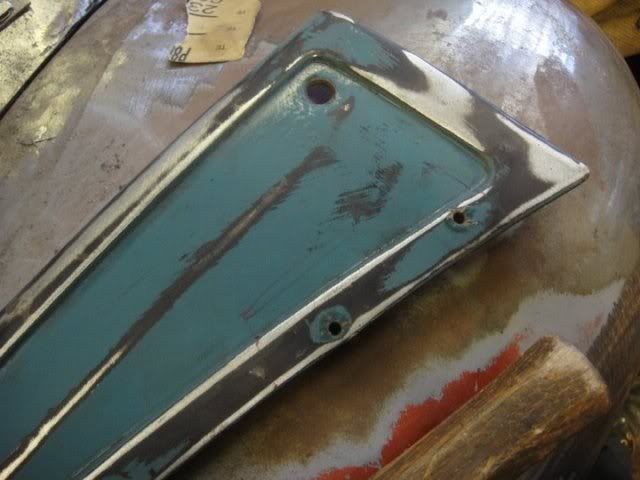
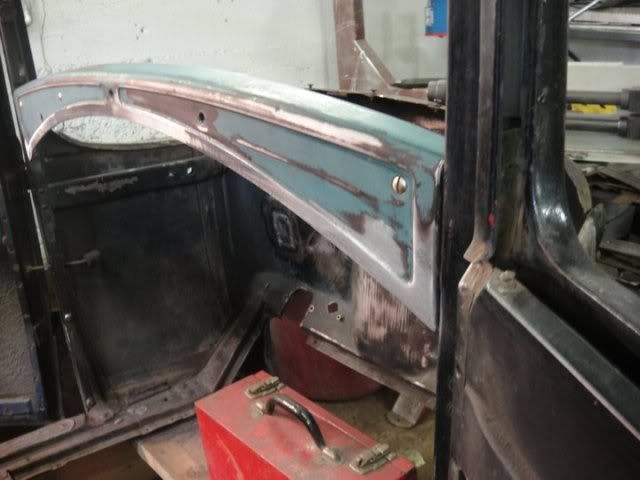
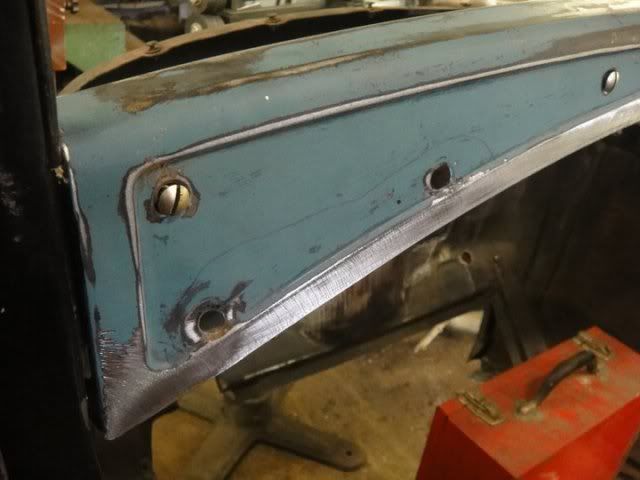
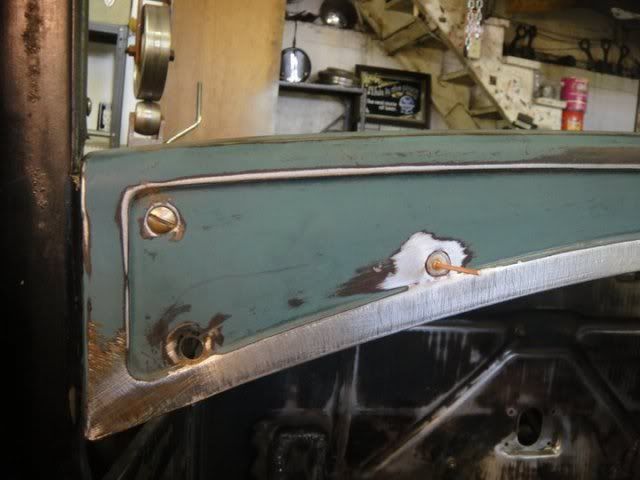
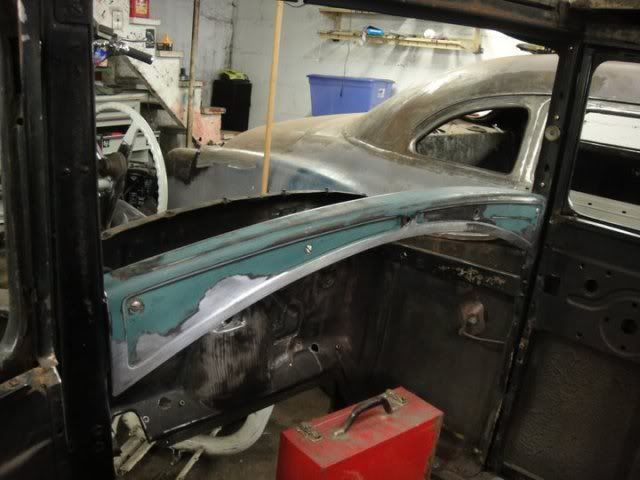
dash needs some extra holes filled thats the next small project .is the passenger side of the dash supposed to have the reveal in it .you can see it where the sanding marks are.if it not its a hell of a perfect creas put in some how .

163154_183118121705968_100000233430919_576066_2338752_n.jpg


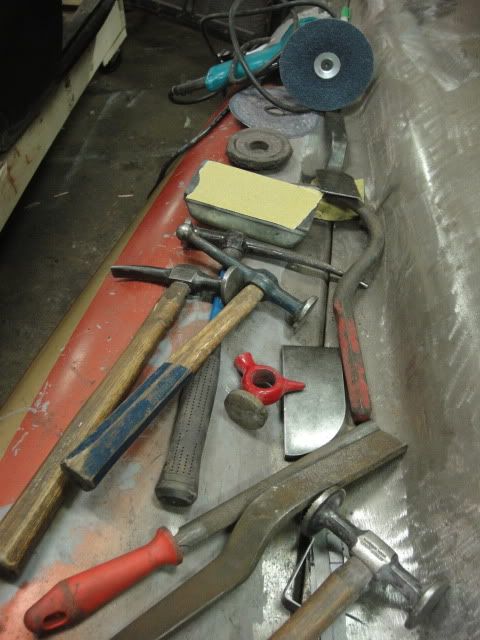
heres a pic of what everyones been asking for. what tools i use to do this stuff. once again i have no compressor use a 4500 rpms sander and a 4 1/2 inch grinder with the rubber backer cut way down so ya get less grinder marks


DSC03272.jpg


Druss pontiac is being neglected havent touched it in months .
 
Last edited:
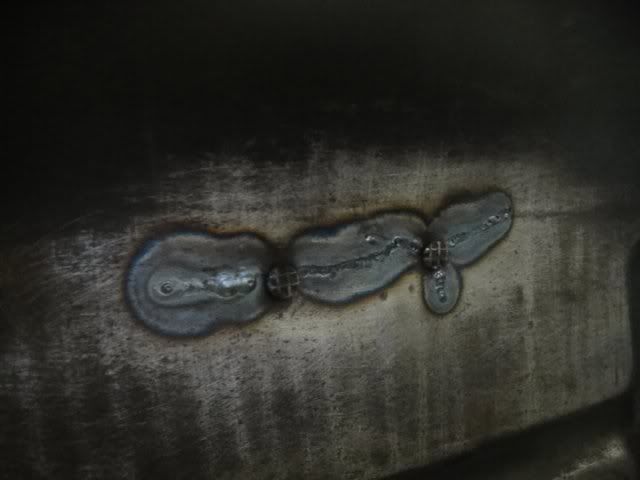
also tiged up some stress cracks behind the bracket that holds the support rod to the rad

163104_180189961998784_100000233430919_552544_942801_n.jpg


164037_180190008665446_100000233430919_552545_7666935_n.jpg

Just a suggestion:

It appears you are working on an early '30. These firewalls had a bad habit about cracking around the radiator rod mounts. Ford later made a revision and added reinforcements to the back side of the firewall to help keep this from happening. You may want to think about adding something to reinforce this area. I have a early '30 Tudor that had this same problem and did not want it to re-occure so I reinforced this area when I did the repair.

Just a thought.

Chris

Yes, I didn't want to be the one that said something but since Chris mentioned it, this is true. Honestly, it appears the way this has been repaired will very likely allow the crack to return since there is no welded strength around the rivets and it appears the ending-hole was not drilled to eliminate the continued spreading of the crack.

Below is a few images showing the cracks drilled, vee-ed, and filled. The reinforcing plates are added to the back side and the 4 holes are plug welded and metalfinished smooth to look more like a spot weld. The firewall rivets are heated & bucked in with a 3X gun to entirely fill the firewall hole first, then it is ground nearly flat on the backside and then waffled. The reason it is done that way is so the shank of the rivet can be red hot during installation for maximum swelling. The waffle tool is designed to be used cold, so thus it is done in two stages.

.
 

Attachments

  • DSC01593.JPG
    DSC01593.JPG
    150.3 KB · Views: 205
  • DSC01904.jpg
    DSC01904.jpg
    92.4 KB · Views: 201
  • DSC01909.jpg
    DSC01909.jpg
    92.1 KB · Views: 221
  • DSC01908.jpg
    DSC01908.jpg
    88.8 KB · Views: 205
About to go through all the same exact repairs on the coupe. Wish I could just drop it off! I'll be referring to this post a whole lot!
 
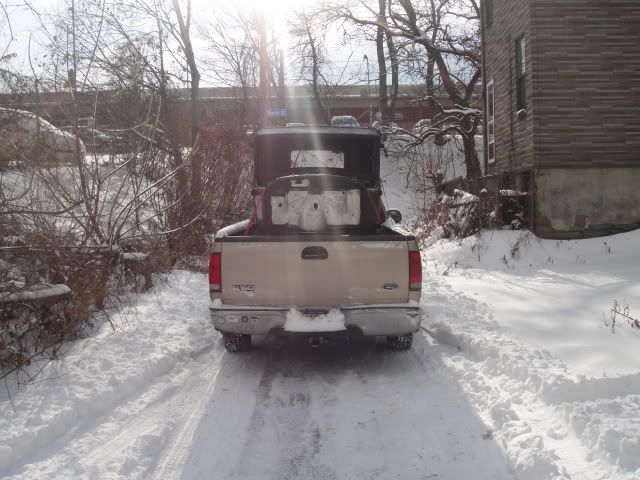
of course it went to the sandblaster on the snowiest day of the year

DSC03309.jpg


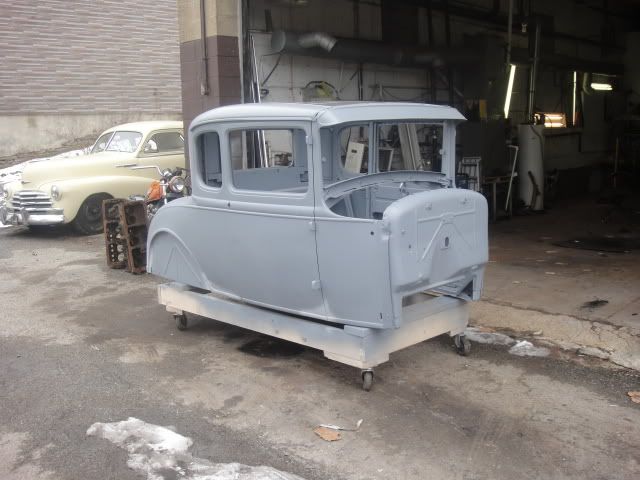
and this is what it looked like when it came back and headed back to its owner

this is just in epoxy primer no body filler

DSC03386.jpg


here is a short video of the car on youtube as well

http://www.youtube.com/watch?v=hXVHPi9836c
 
Last edited:
Jason I have between 40 and 50 hours into the car on the sheetmetal work.

Mike I have the shriknking tip it work well for a small shrink.
 
Back
Top