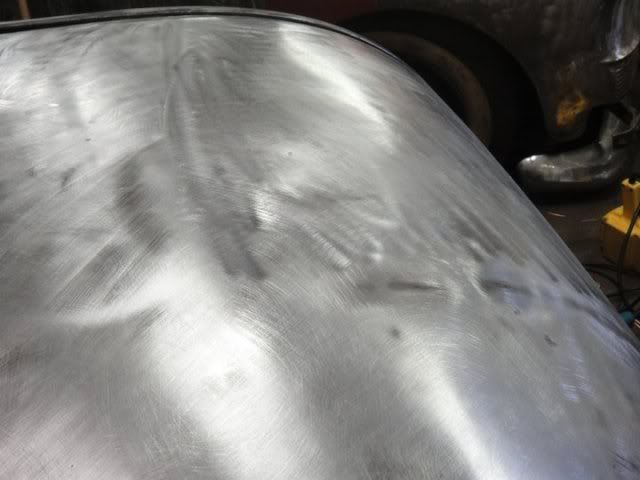
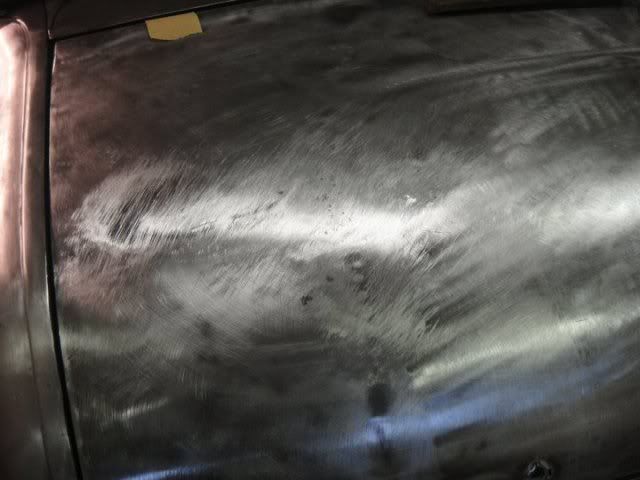
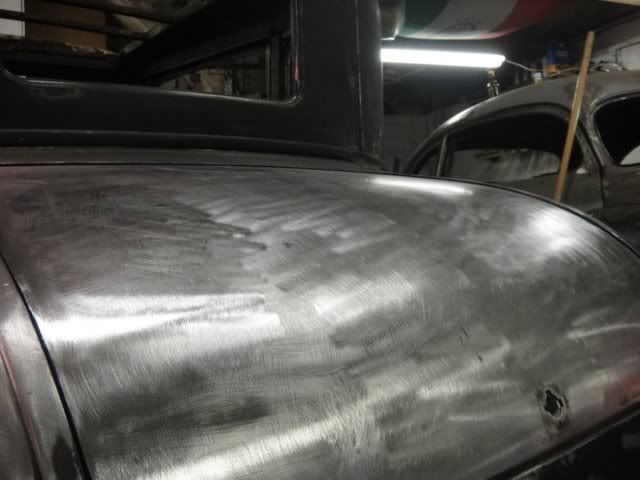
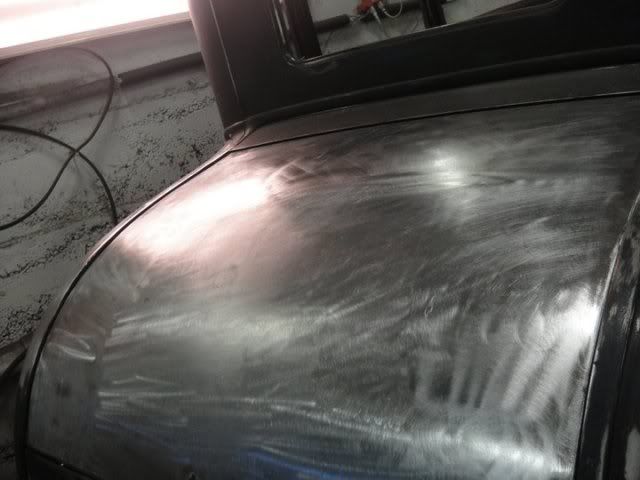
1930 Ford Sheetmetal Work

Flop

Well-known member
Hey guys new to posting to the ford barn. 25 years old from Pittsburgh.

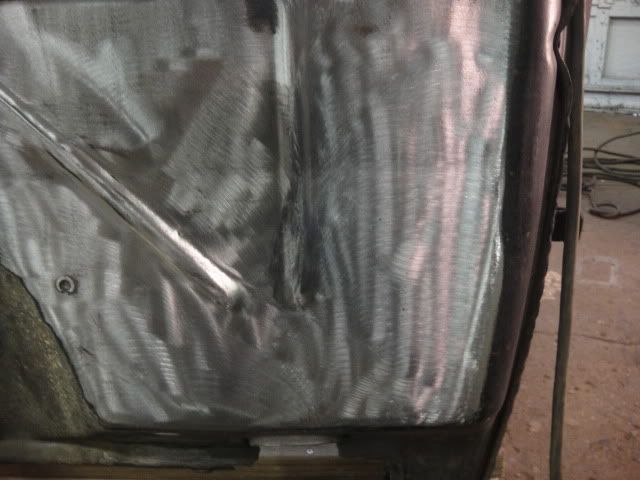
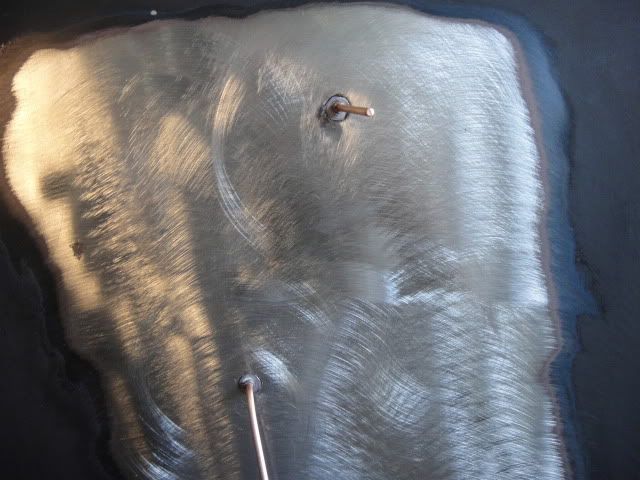
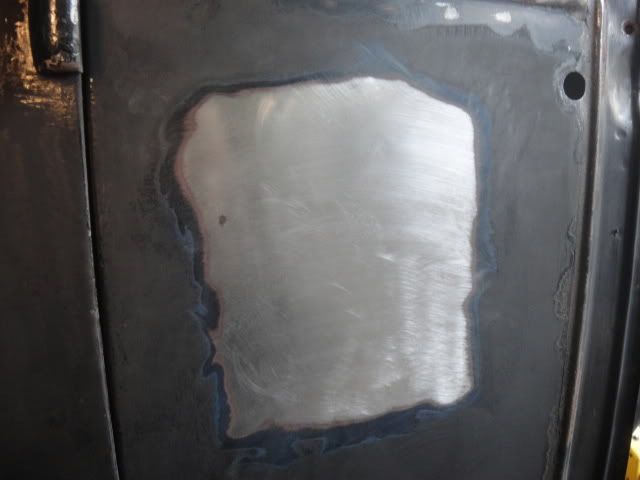
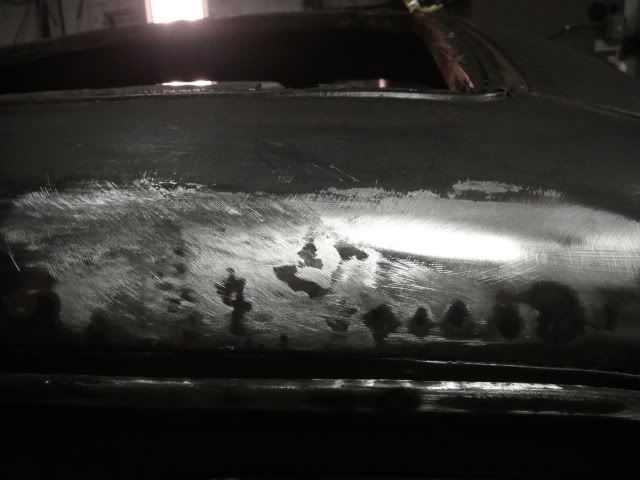
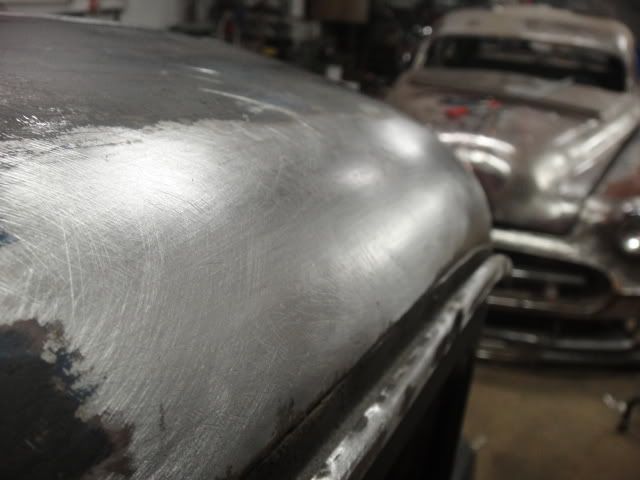
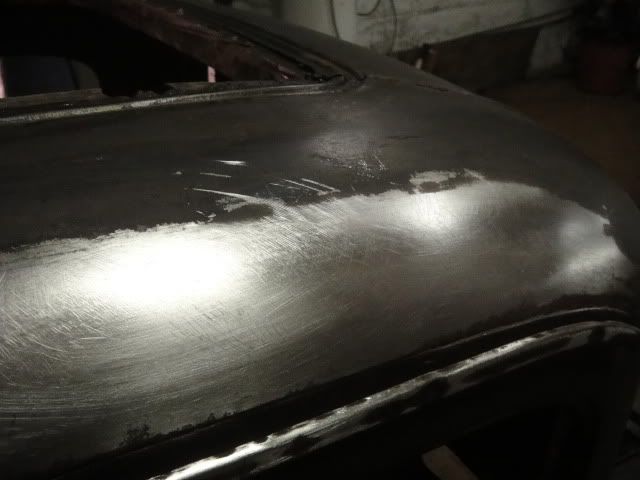
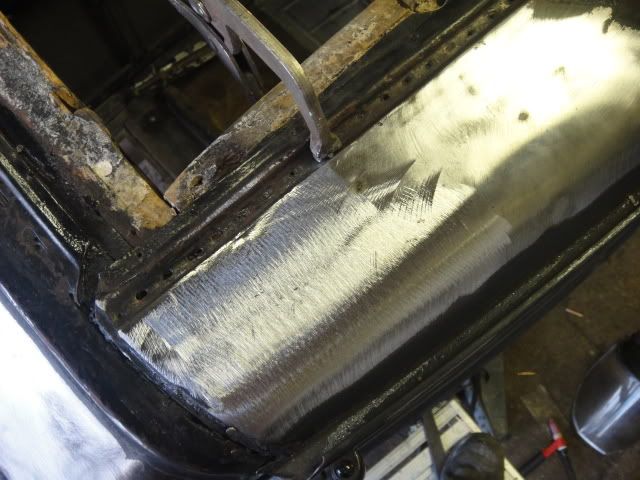
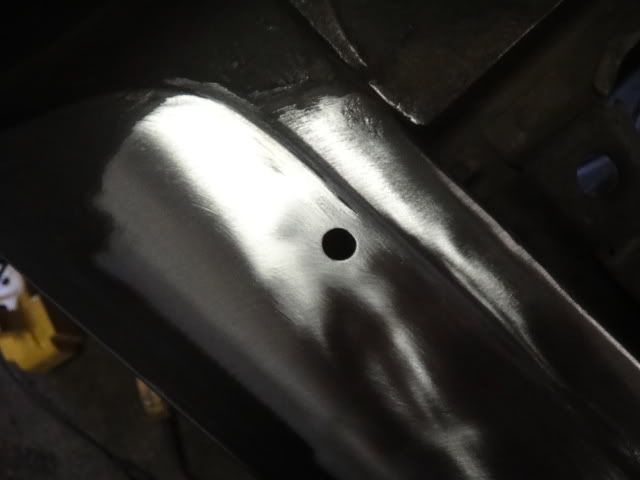
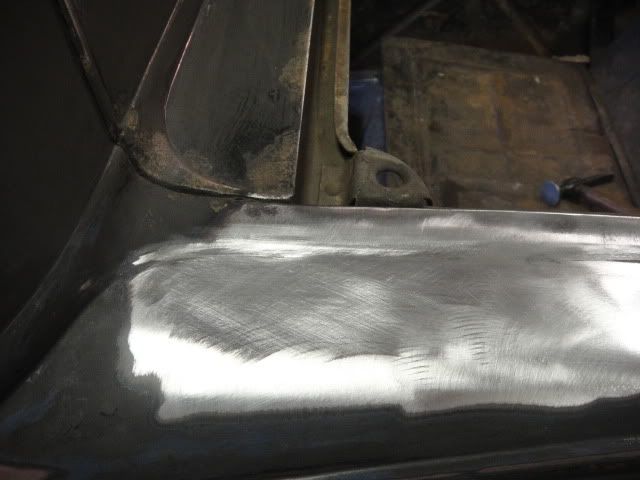
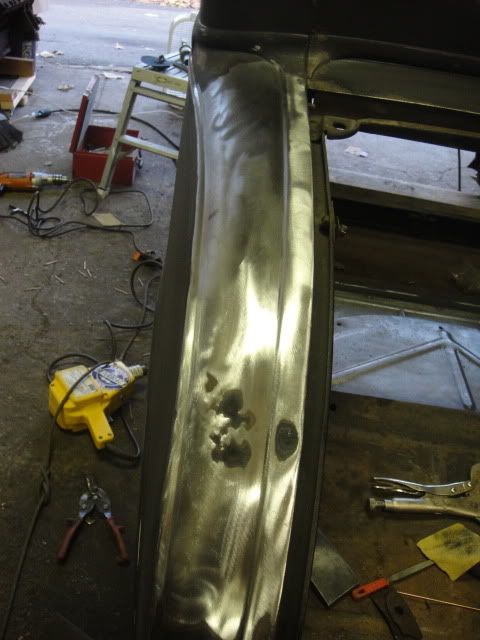
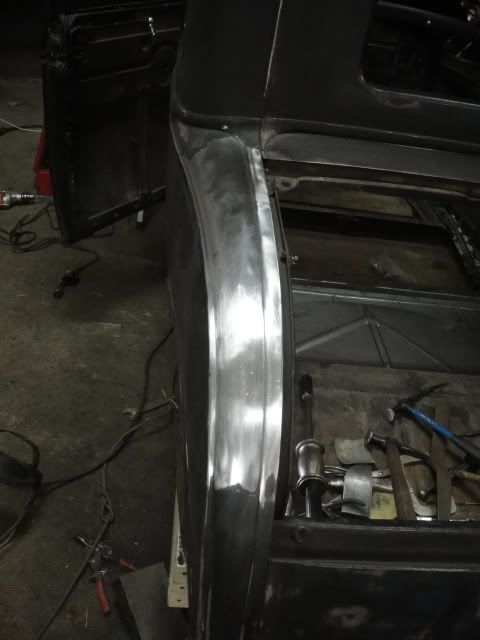
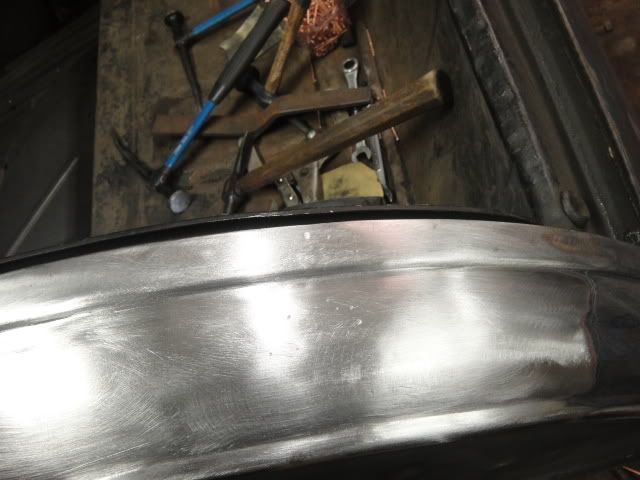
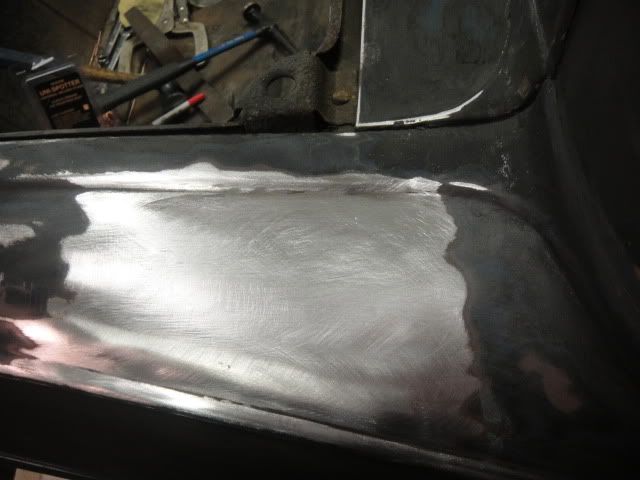
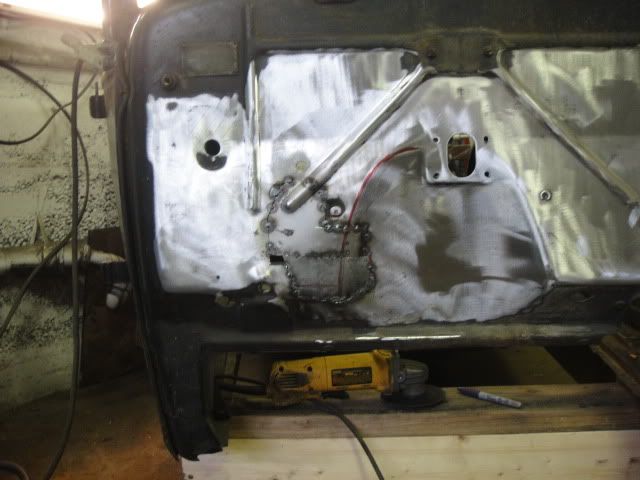
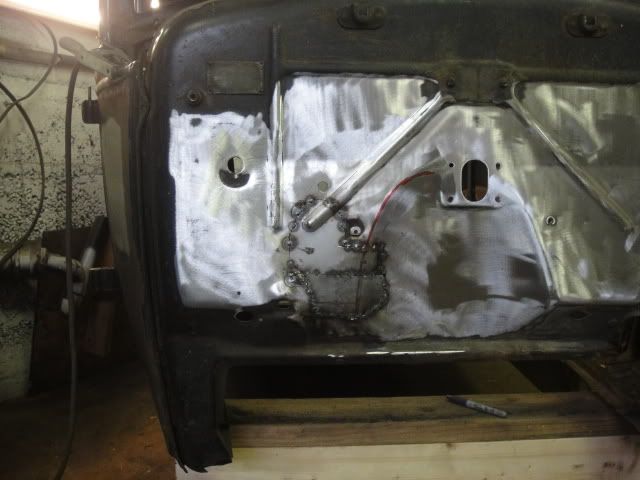
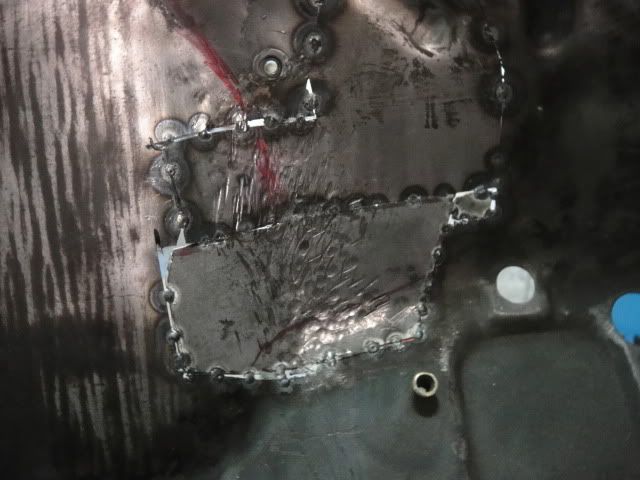
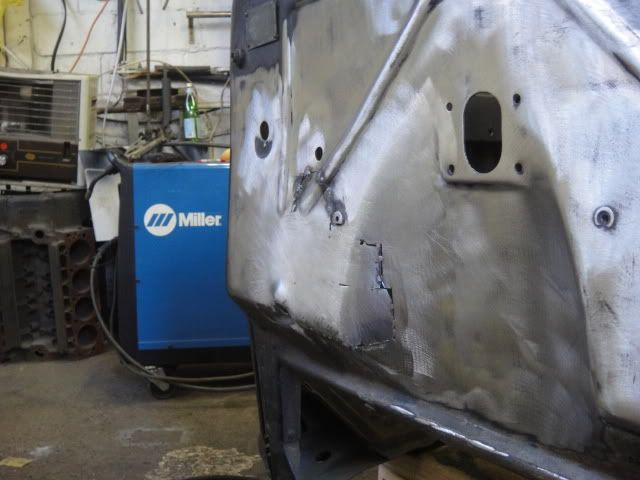
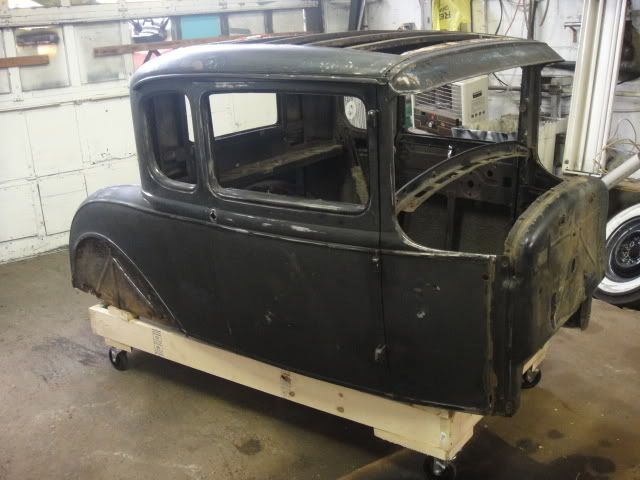
Customers car. He wants it all stock. Just figured you guys would enjoy some sheetmetal work and the fiasco of new patch panels that i am going through. All the sheetmetal work is tig welded and as close to metal finished as possible.

DSC02821.jpg


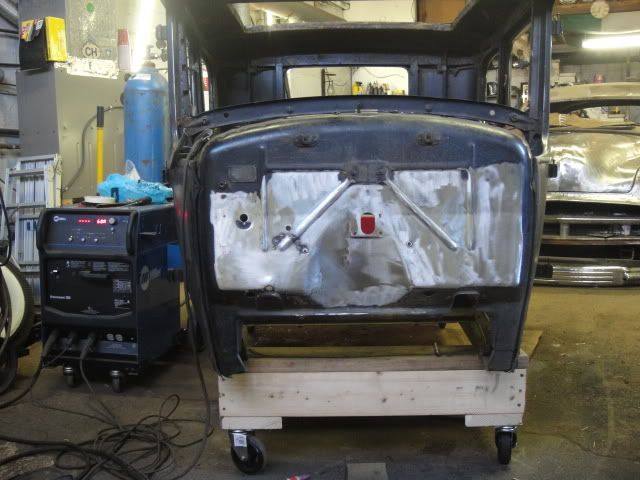
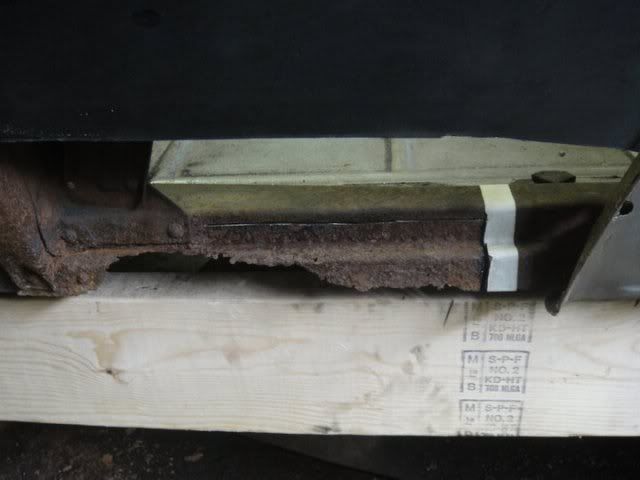
needs typical patch panels but man is this car solid

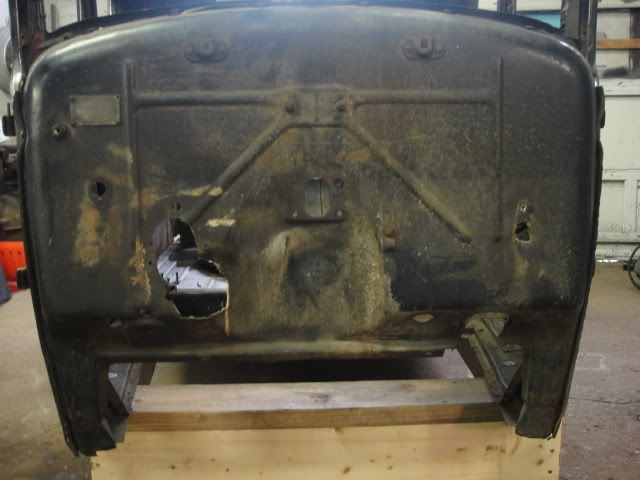
mess
DSC02822.jpg


DSC02823.jpg


DSC02824.jpg


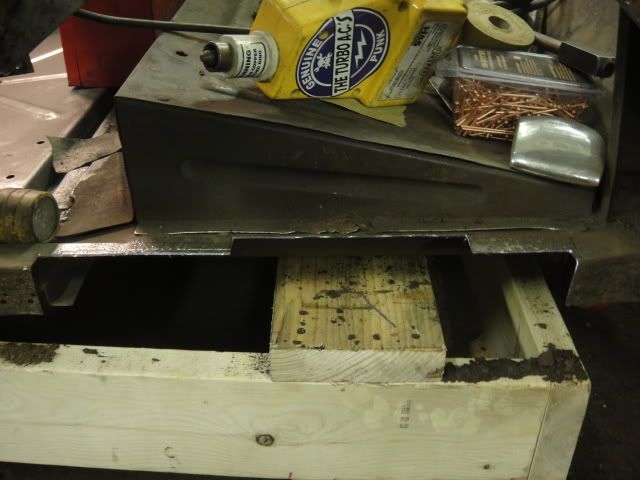
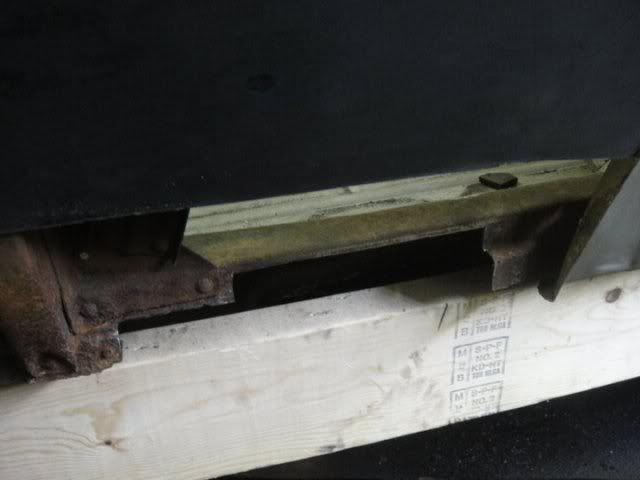
needs some sub frame work

DSC02825.jpg


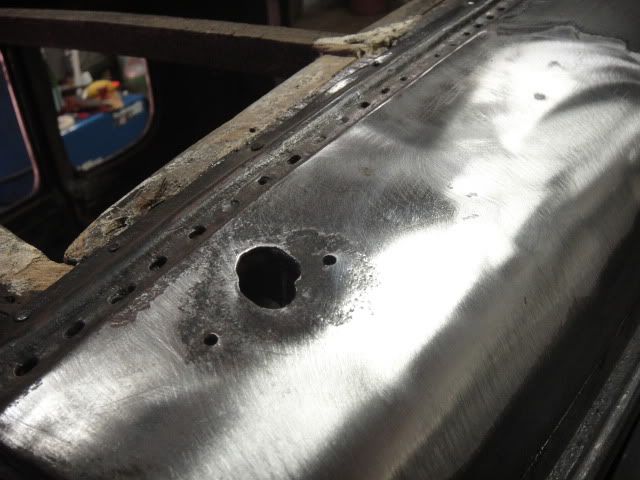
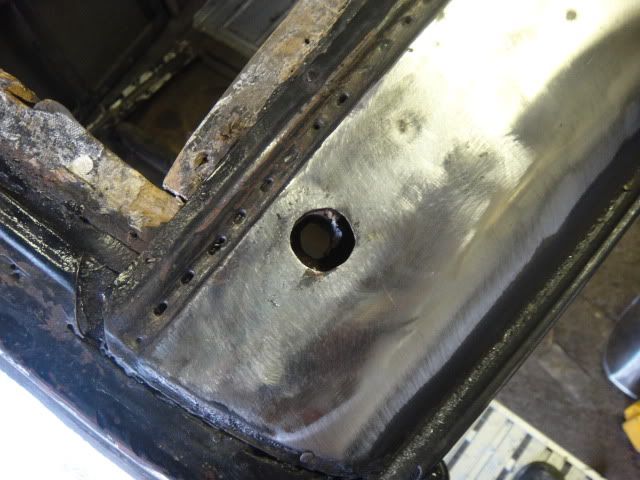
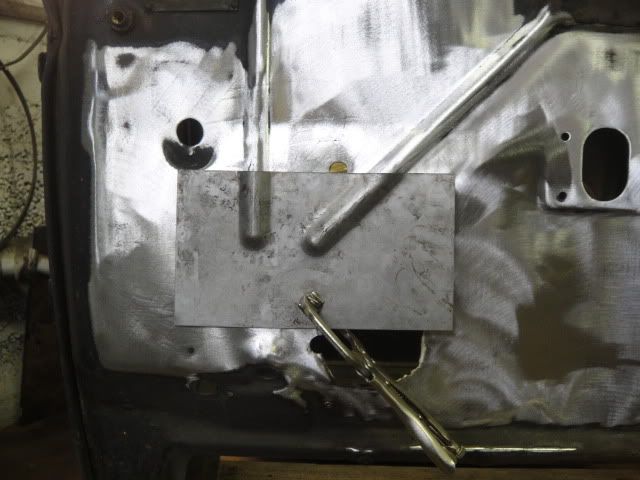
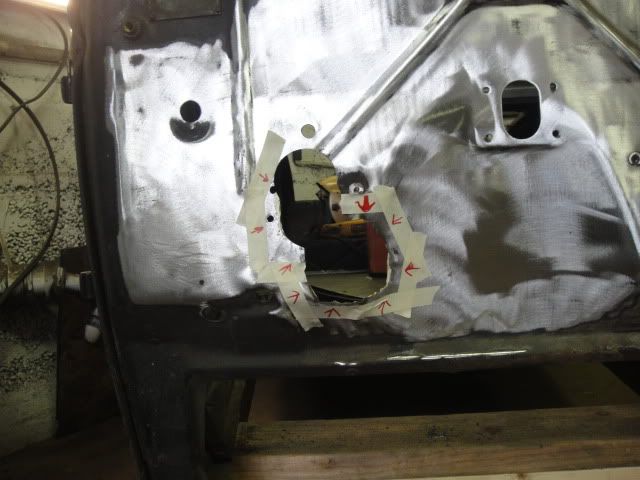
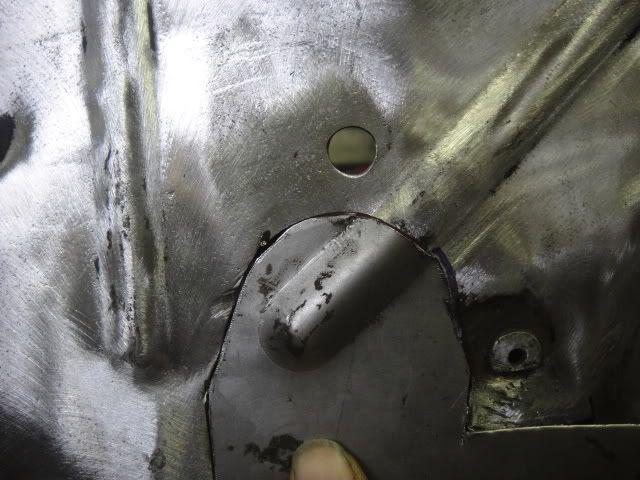
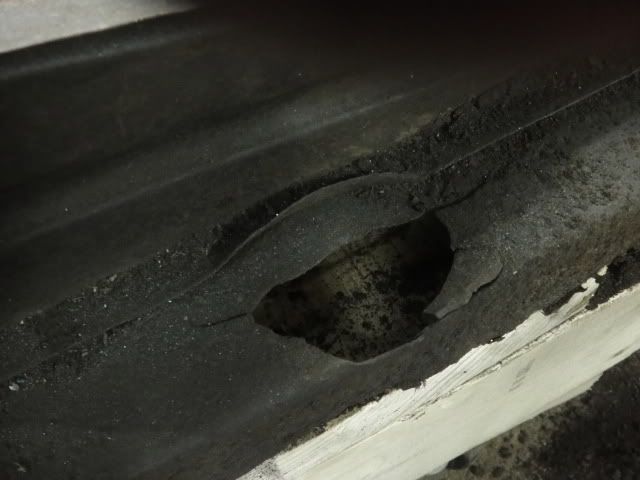
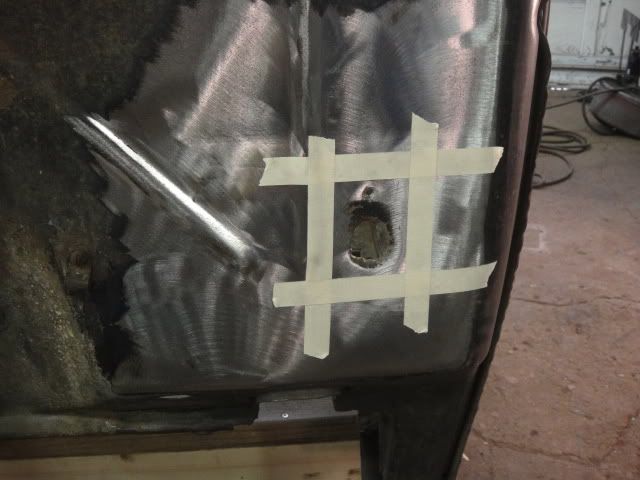
gotta fix this hole.seems like ti was made with a chisel
DSC02826.jpg


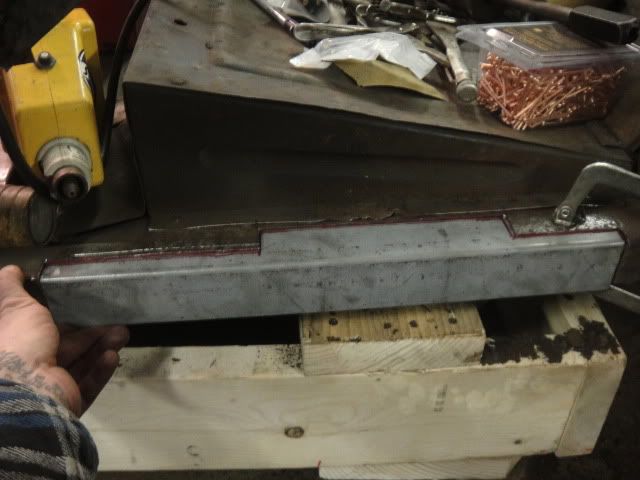
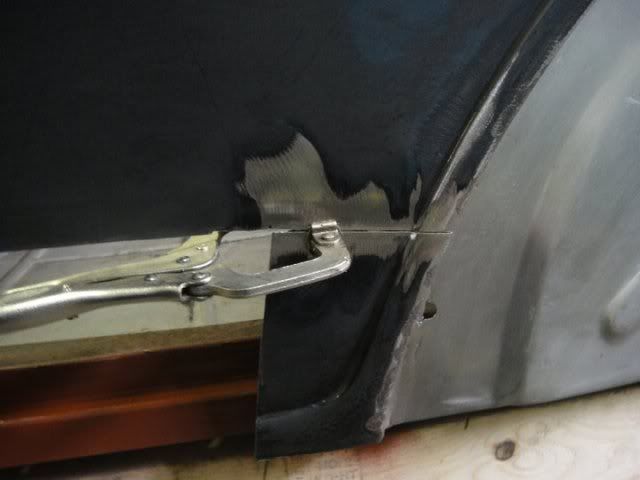
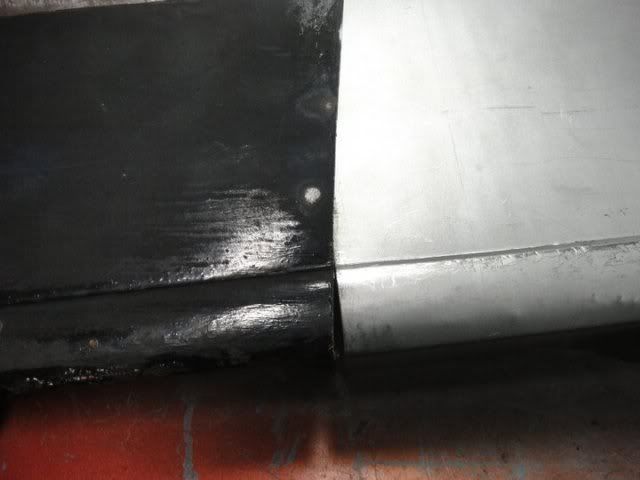
tight gaps are important

DSC02828.jpg


see what i mean by tight?! see that little slit
DSC02829.jpg


DSC02831.jpg


this is gonna be a pain in the ***!!
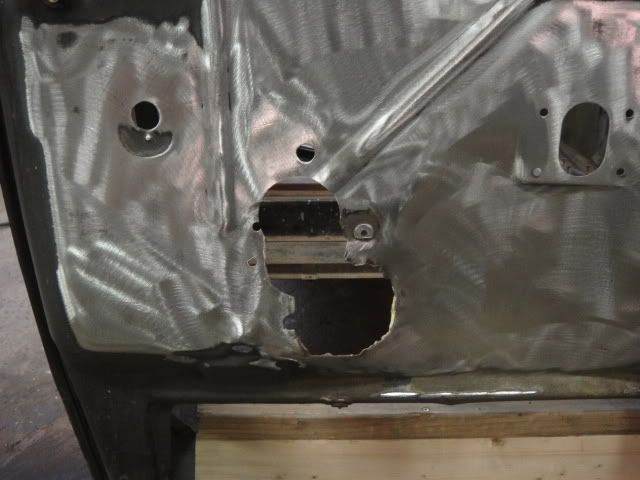
DSC02833.jpg


the ol tape and bondo trick

DSC02835.jpg


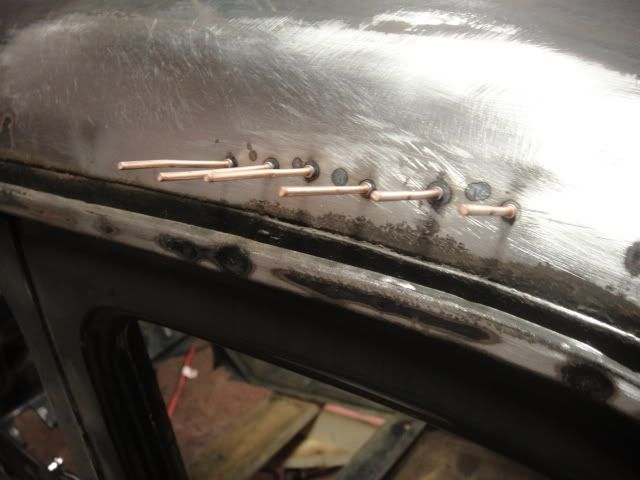
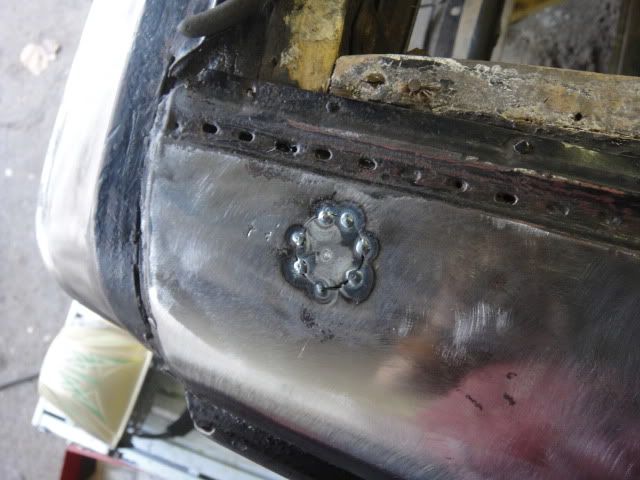
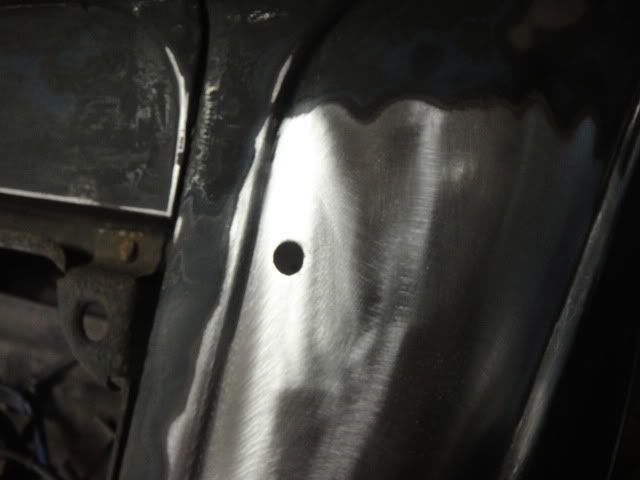
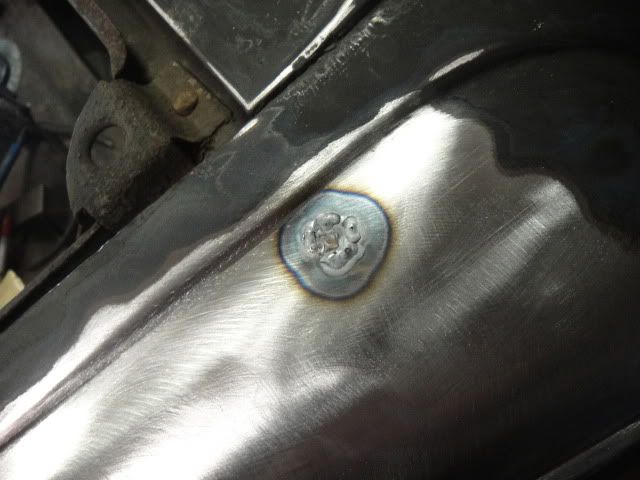
fillin some random holes

DSC02845.jpg


DSC02846.jpg


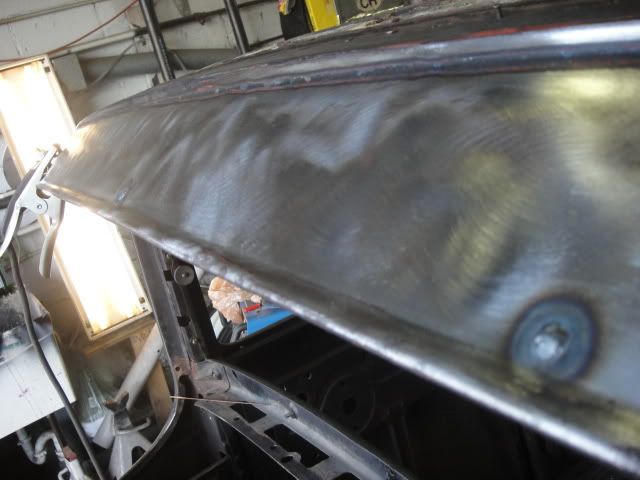
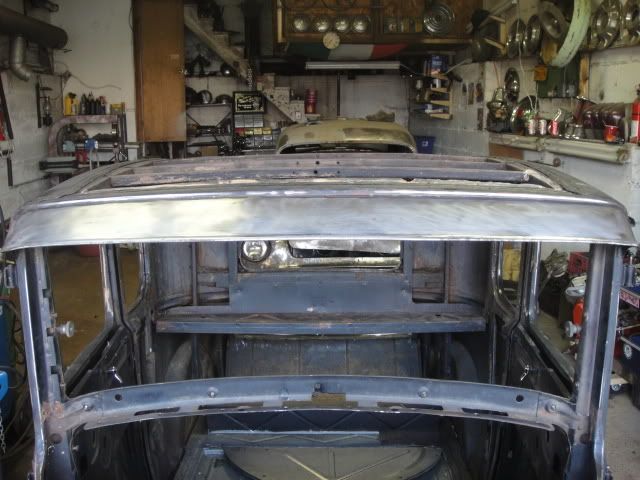
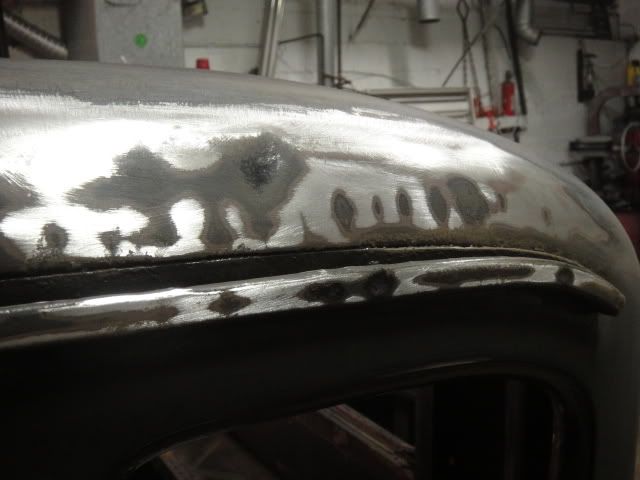
some holes in the visor

DSC02837.jpg


DSC02840.jpg


DSC02841.jpg


some kinda mess from ages ago

DSC02855.jpg


DSC02856.jpg


DSC02859.jpg


DSC02866.jpg
 
Last edited:
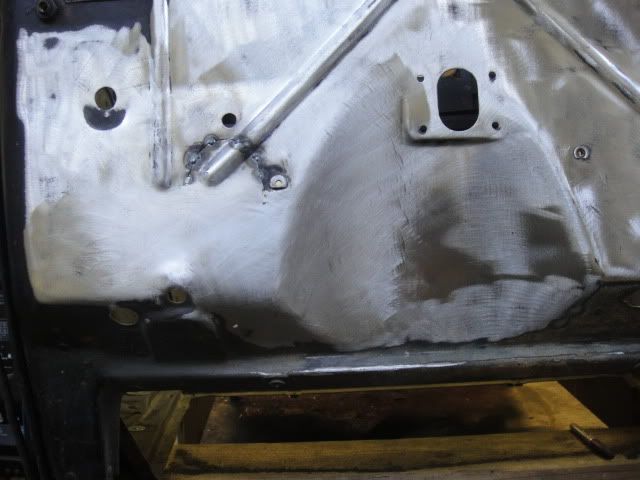
and we are donnne

DSC02867.jpg


my guess was an antenna?

DSC02854.jpg


DSC02868.jpg


DSC02869.jpg


DSC02870.jpg


more random taped up holes i found.

DSC02871.jpg


DSC02872.jpg


some more damage

DSC02874.jpg


DSC02875.jpg


a few marks left from the stud gun

DSC02876.jpg


DSC02877.jpg


DSC02878.jpg


DSC02880.jpg


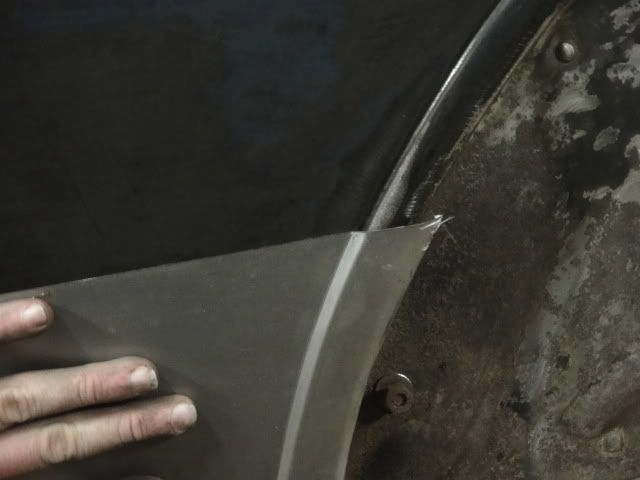
these are gonna be no fun. body line doesnt match to save its life

DSC02882.jpg
 
Last edited:
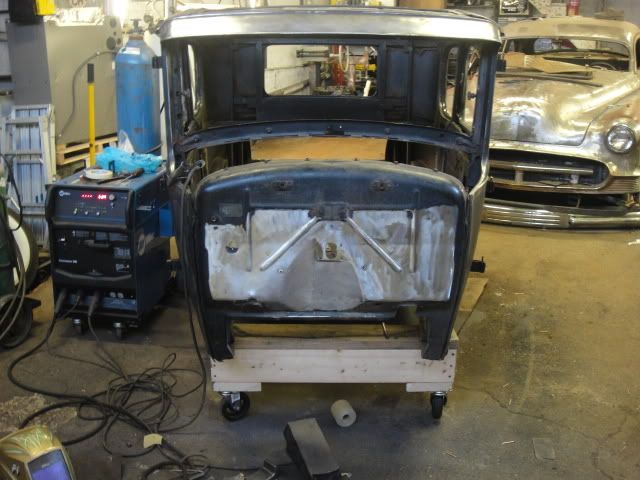
1 thing i learned is you can really beat 16 gauge sheetmetal.

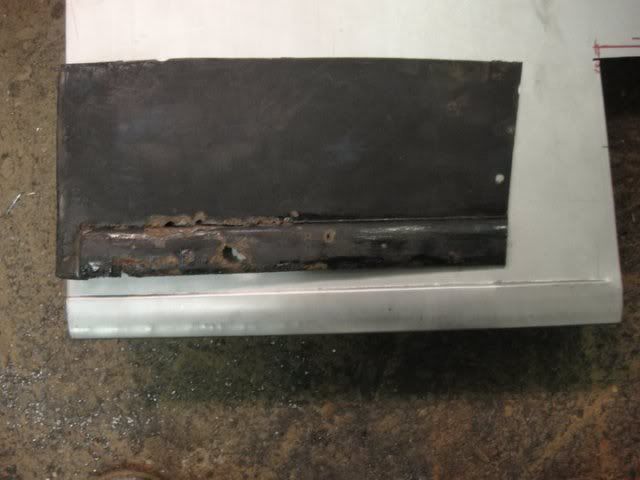
heres another poorly made non fitting heater hole patch panel.

DSC02884.jpg


the mess im working with

DSC02885.jpg


fit

DSC02886.jpg


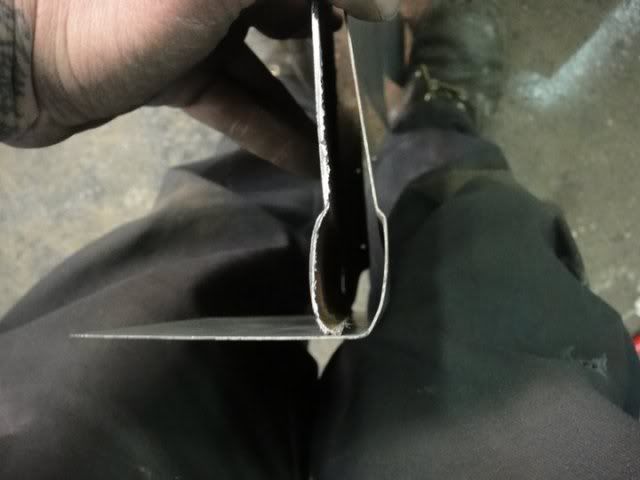
notice the extra 1/8 inch of bead

DSC02887.jpg


the blue line is how wide it should be.i hammered the hell outa the area on the other side of the blue line to flatten it out so the beads matched

DSC02888.jpg


DSC02889.jpg


the bottom piece was really no fun

DSC02891.jpg


DSC02893.jpg


DSC02900.jpg


DSC02904.jpg


what i ended up with
 
Last edited:
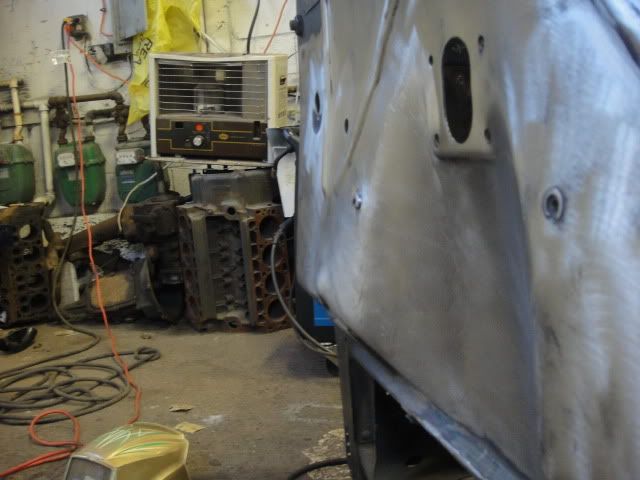
i really have no idea how it came out this clean but hey im not complaining!!

DSC02938.jpg


DSC02940.jpg


DSC02943.jpg


DSC02947.jpg


DSC02949.jpg


DSC02950.jpg


DSC02951.jpg


DSC02954.jpg


next im onto the patch panels...joyyyy!!
 
Last edited:
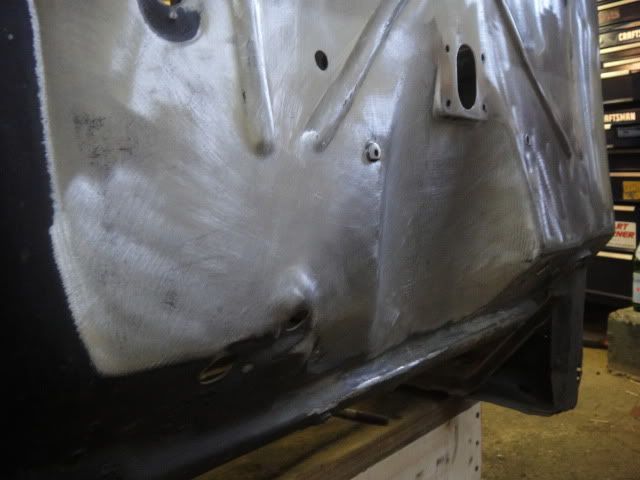
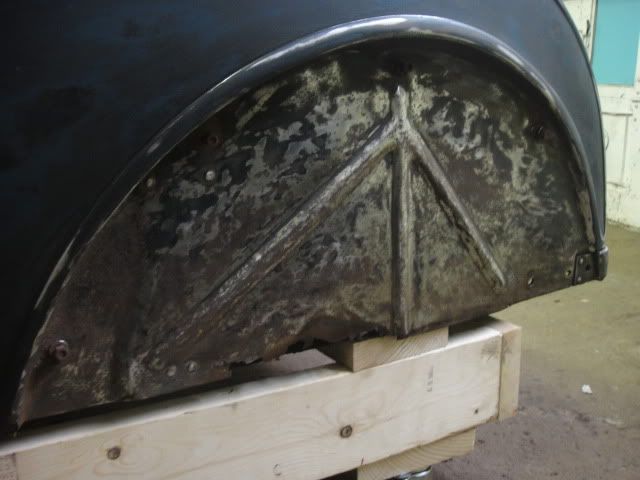
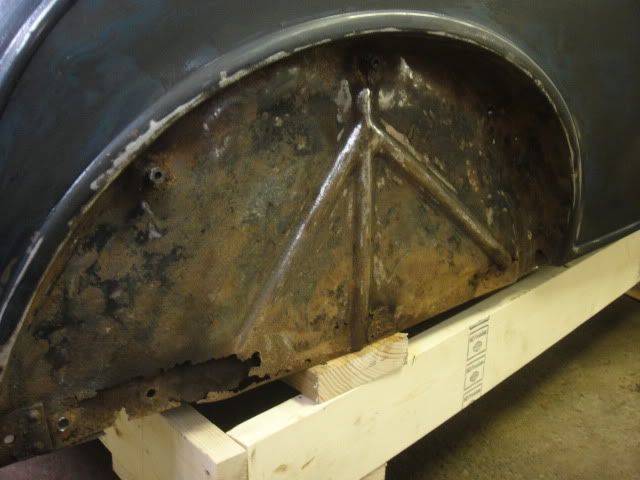
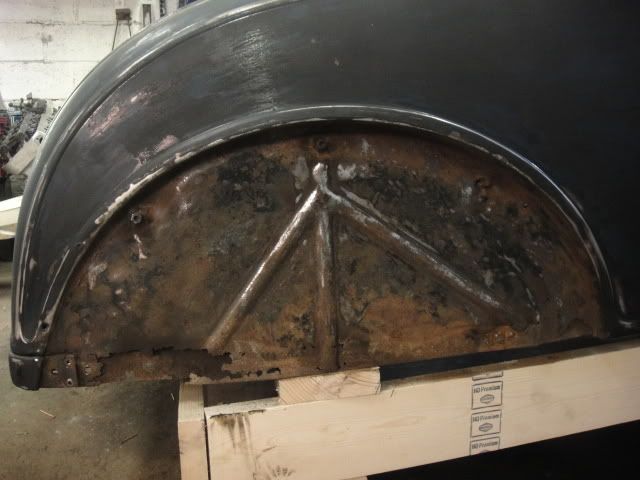
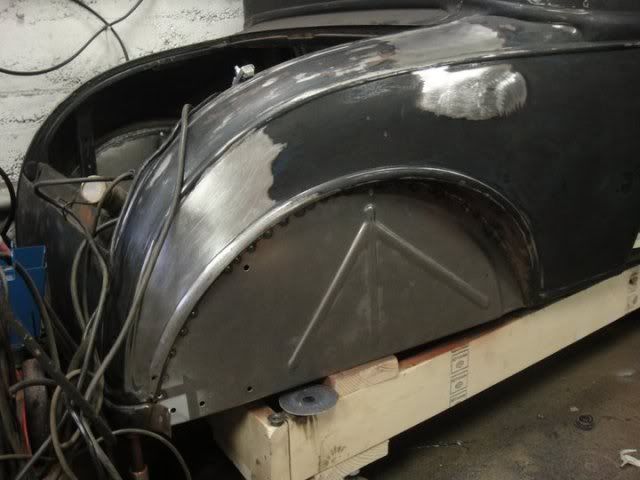
wheel well time. customer decided to put the patch panels we had in for the wheel wells

DSC03000.jpg


trim trim trim

mess mess mess

DSC03001.jpg


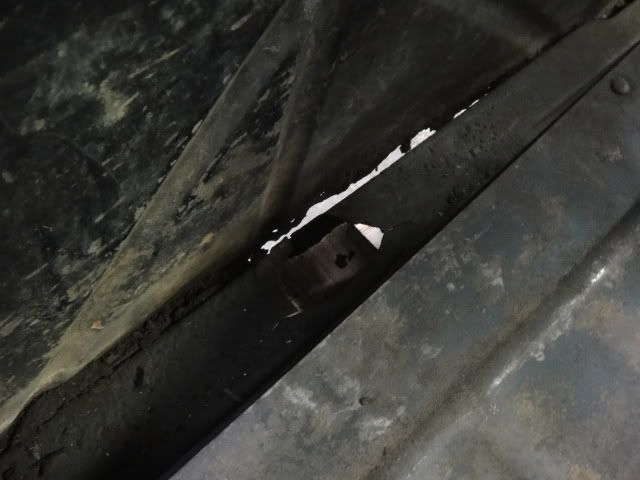
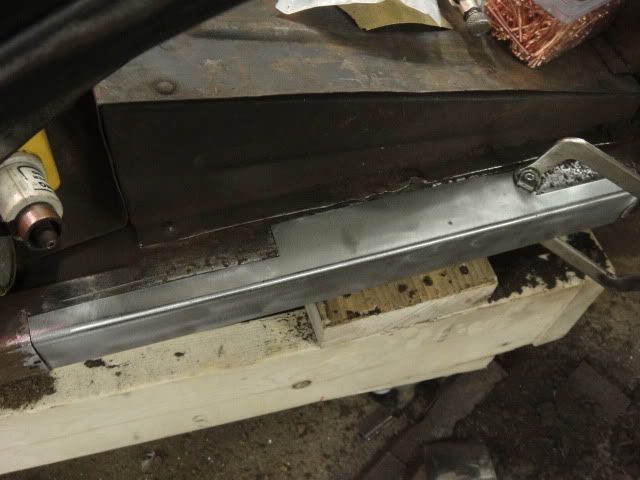
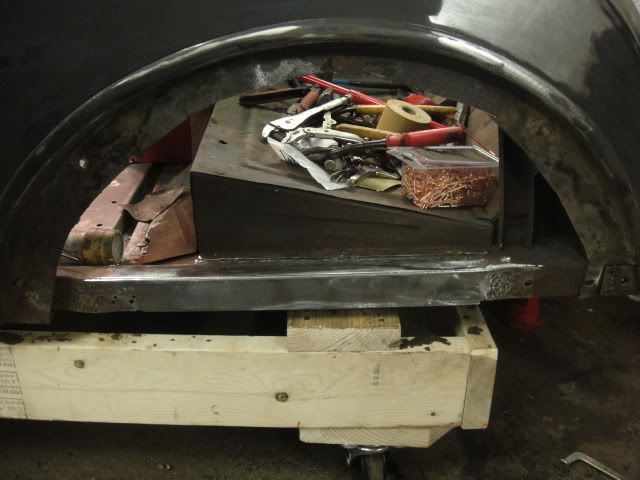
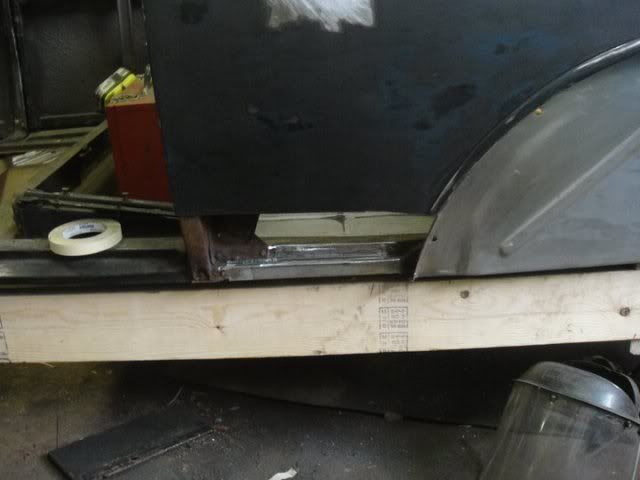
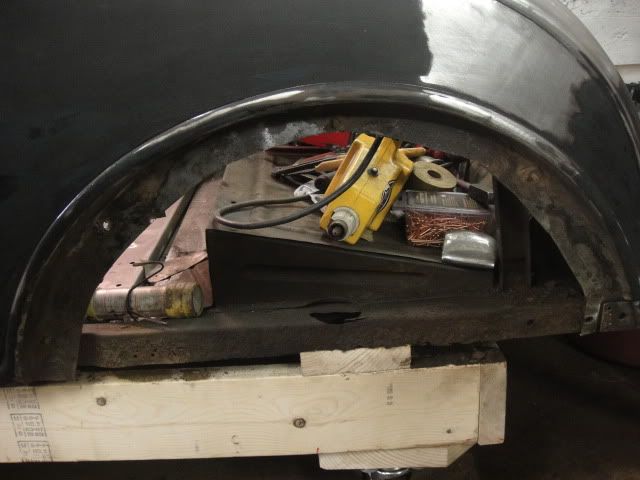
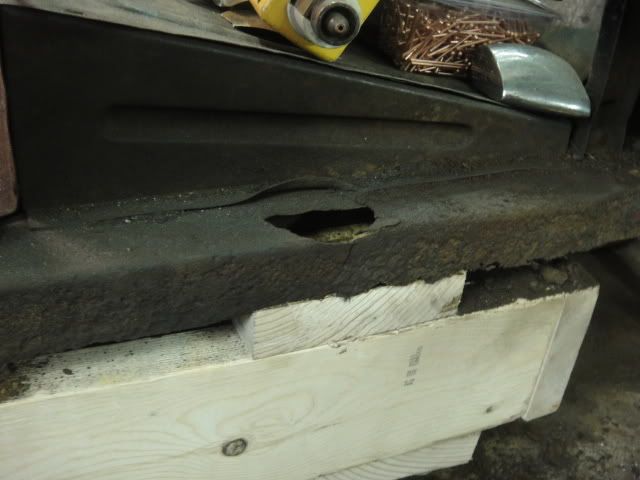
subframe cracked and thin

DSC03003.jpg


DSC03004.jpg


cut it out!

DSC03006.jpg


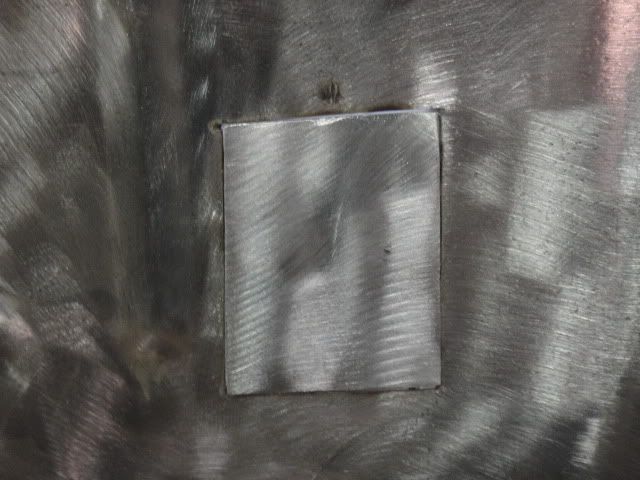
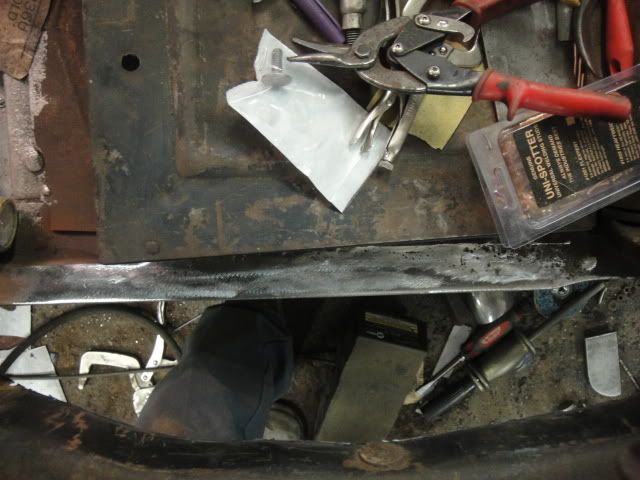
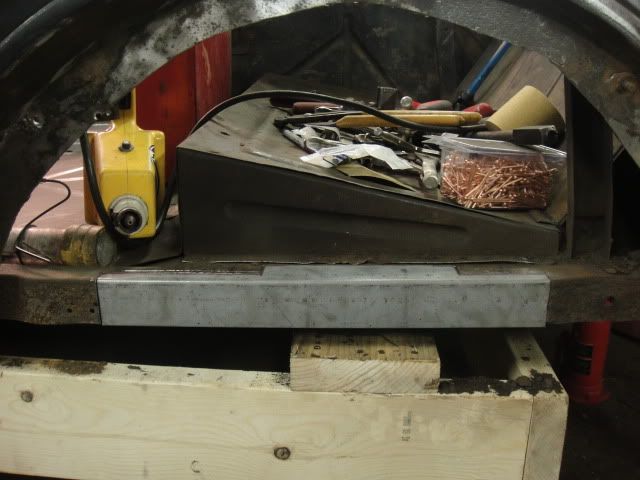
patch

DSC03008.jpg


look mom no clamps!!! got a nice tight fit

DSC03009.jpg


DSC03010.jpg


welded up

DSC03013.jpg


didnt get a pic of the bottom trimmed down

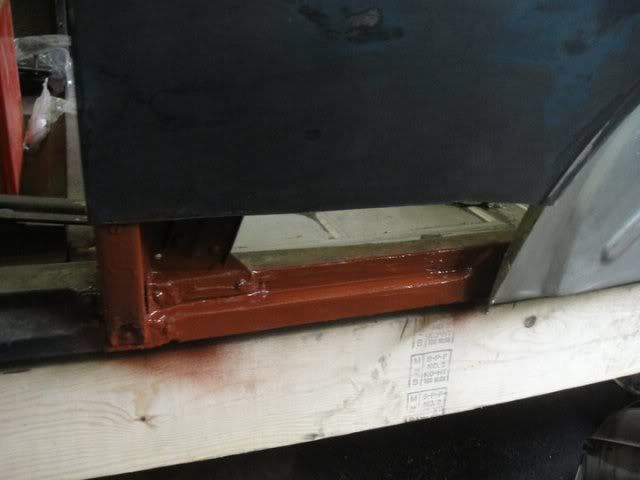
DSC03018.jpg


doneeee

DSC03019.jpg


onto the wheel well next
 
Last edited:
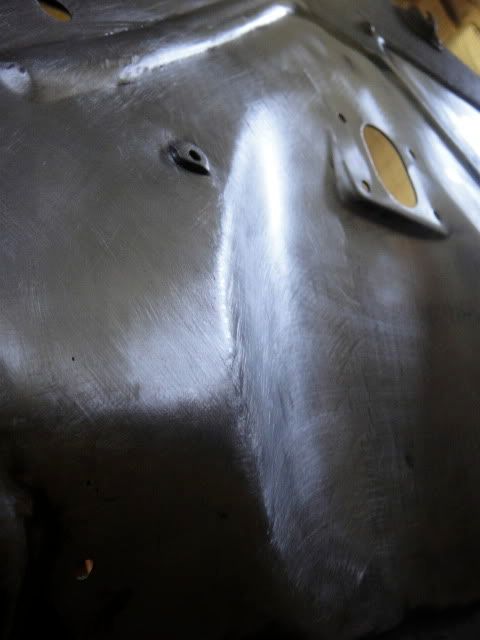
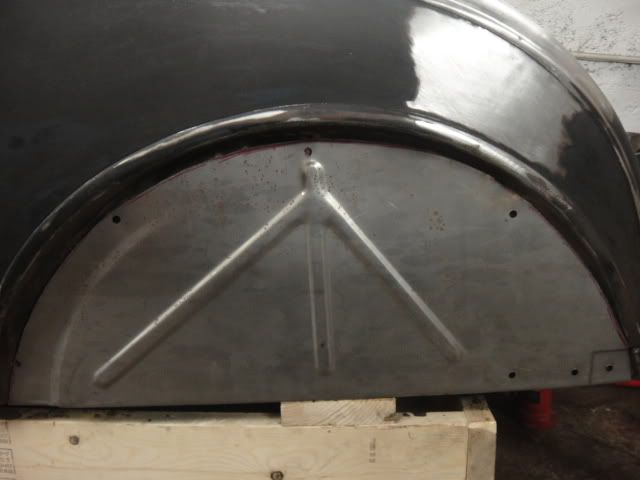
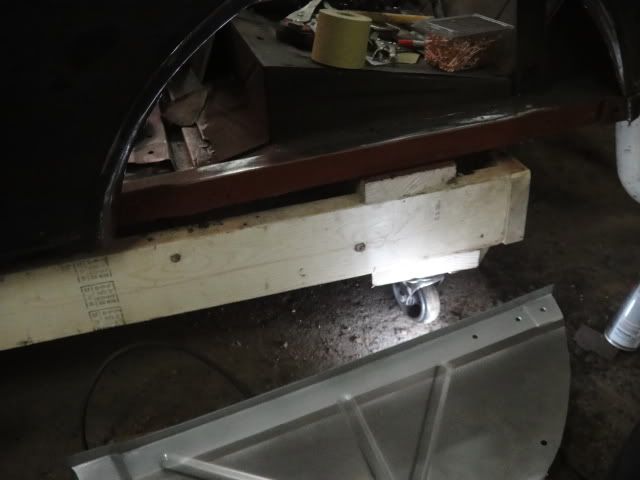
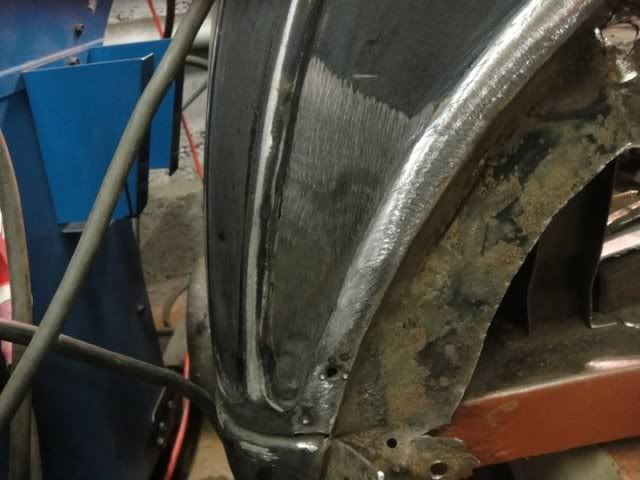
wheel well patch sittin in place

DSC03030.jpg


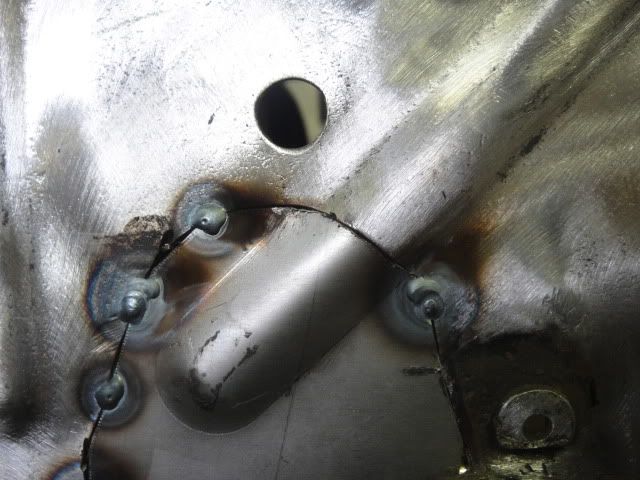
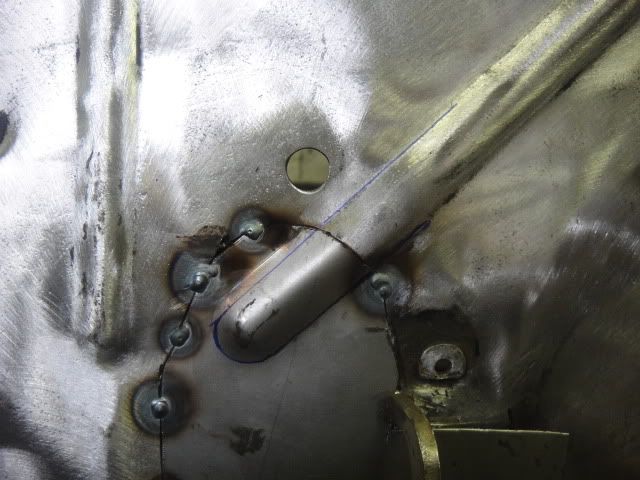
some primer on the subframe and some weld-through primer on the lower part of the patch because i dont know if the patch gets spot welded to the subframe once ya wrap it around or not.

DSC03031.jpg


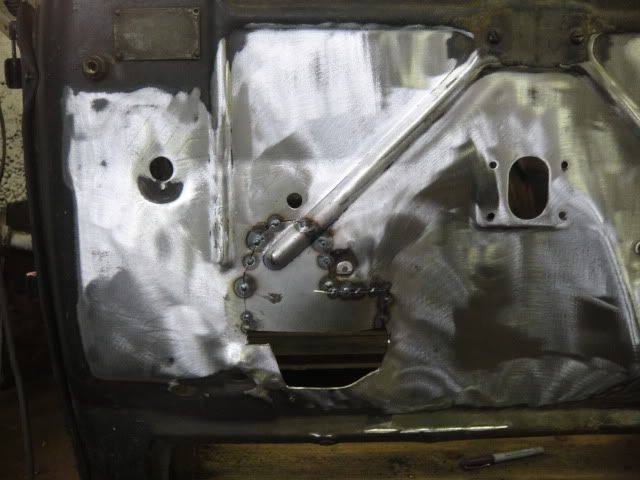
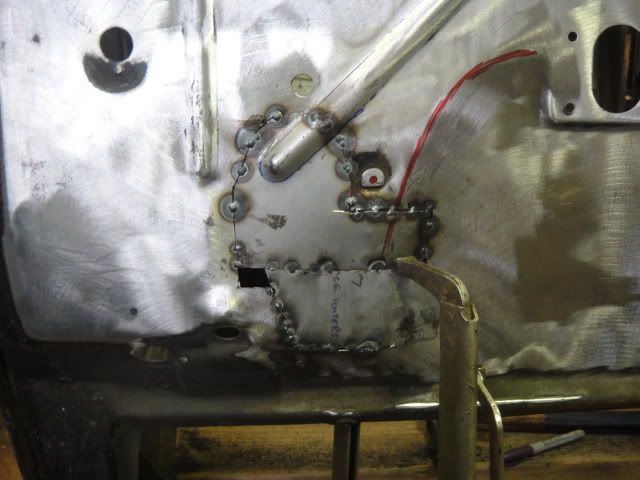
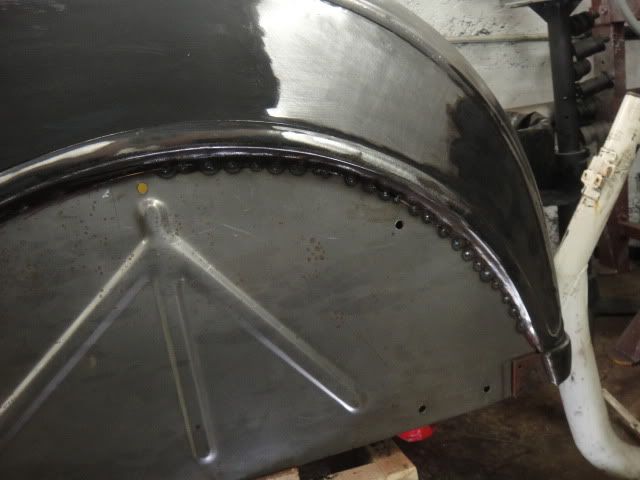
tacked in .

i usually dont work with that many tacks but for this one it seemed impossible not to. there were alot of variations in where the patch panel wanted to sit and where the og wheel well was so a ton of tacks it was

DSC03032.jpg


DSC03052.jpg


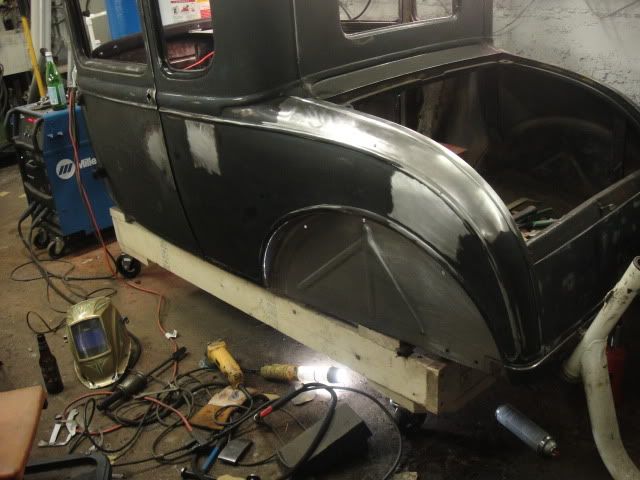
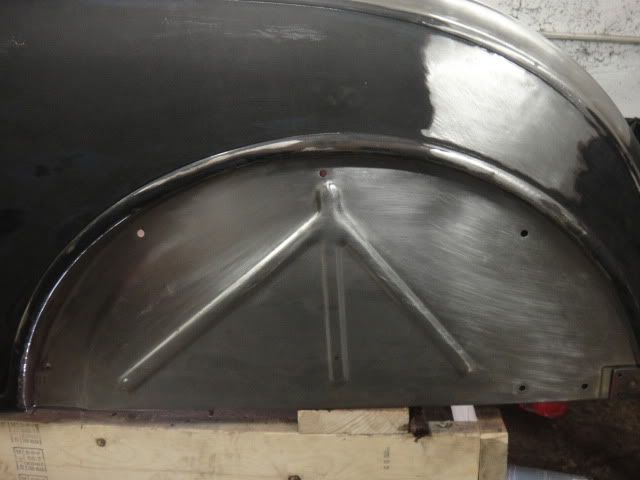
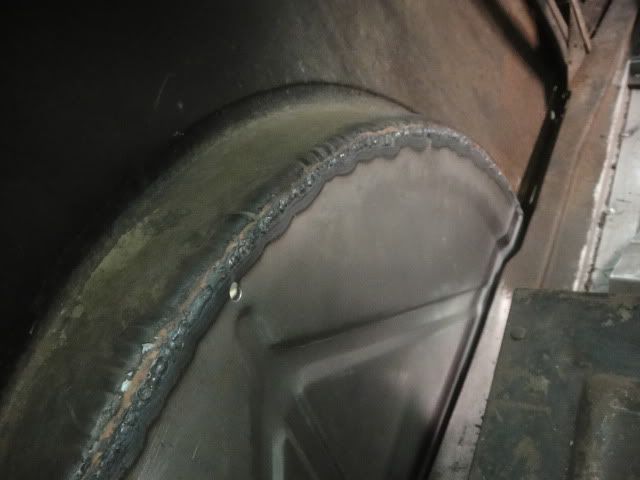
finished up!

DSC03053.jpg


for future reference it took a little more then 18 feet of tig rod to weld in the patch haha

DSC03056.jpg


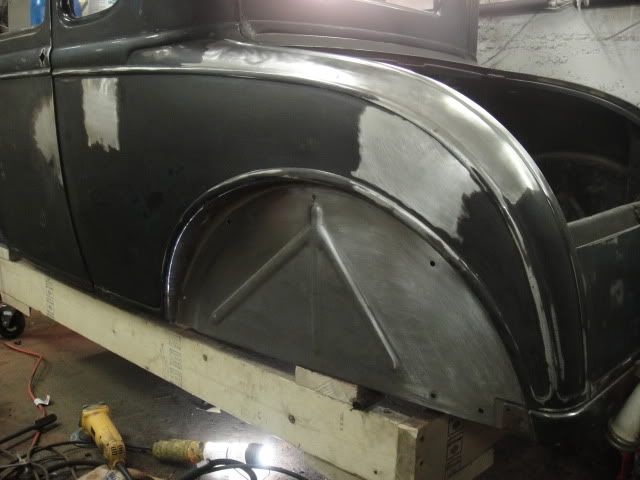
another view

DSC03058.jpg
 
Last edited:
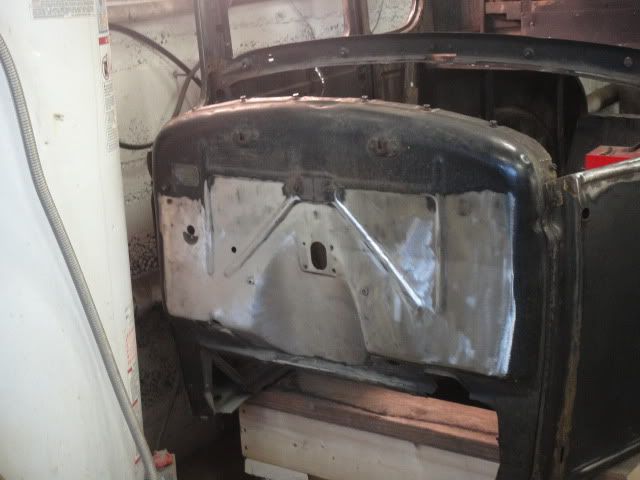
Next side

DSC03062.jpg


more subframe rusty-ness

DSC03064.jpg


DSC03065.jpg


new piece of subframe with some shrinker stretcher action to mimic the stock piece

DSC03068.jpg


sitting in place

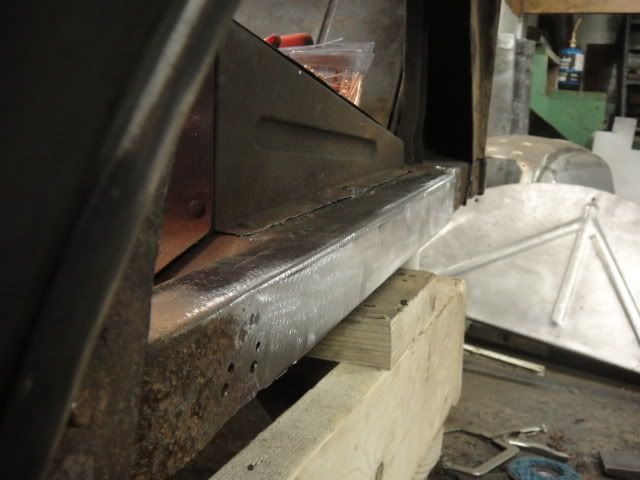
finished up the sub-frame welded up and primed. it was a fun piece to make with the curve in it

155617_177918695559244_100000233430919_536798_5358388_n.jpg


this quarter was pretty tweaked. Hard to see if the pic it took a good hit at one point

34792_177919072225873_100000233430919_536804_4042985_n.jpg


65827_177919362225844_100000233430919_536806_7721222_n.jpg


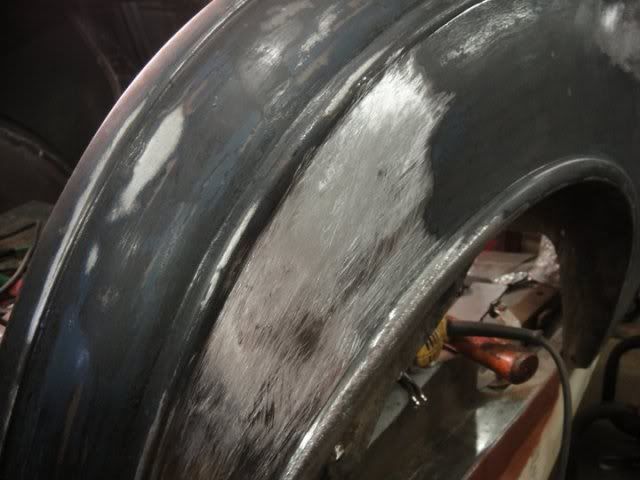
file hammer repeat to infinity

163079_177919648892482_100000233430919_536807_8225624_n.jpg


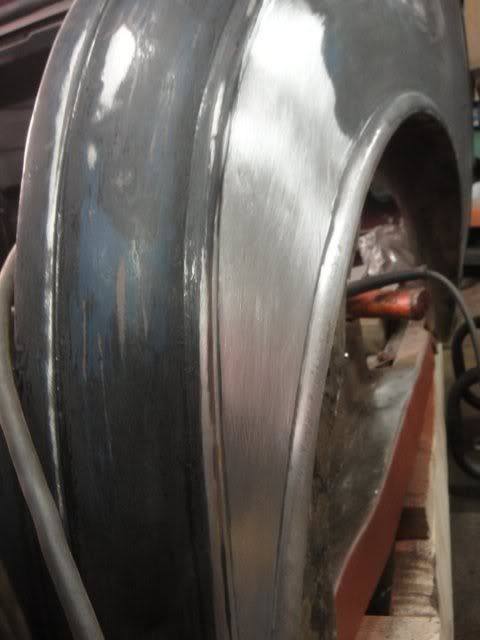
came out pretty nice the body line still need work

155871_177919798892467_100000233430919_536808_4035981_n.jpg


the quality of the panels hahahah

47643_177919988892448_100000233430919_536809_7481912_n.jpg


and we are tacked in

69715_177920142225766_100000233430919_536811_2537831_n.jpg
 
Last edited:
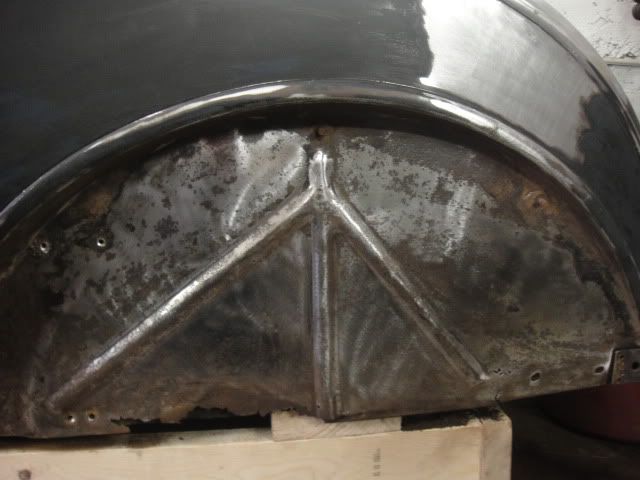
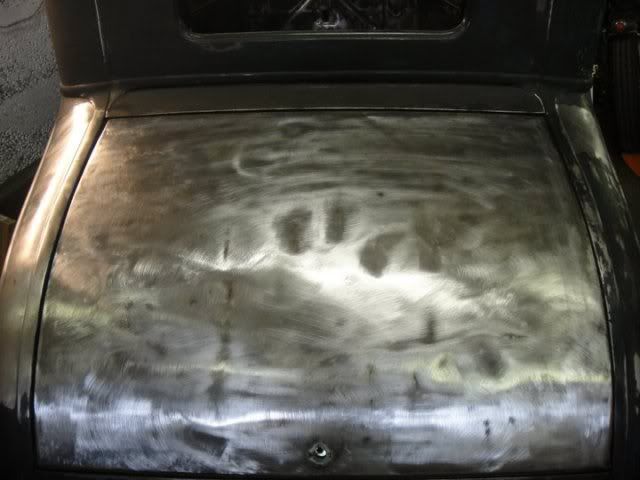
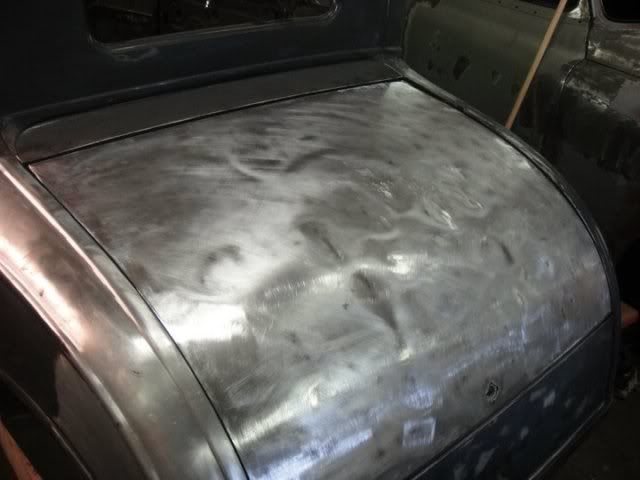
decklid

someone had a dance on this thing!!

163947_178641615486952_100000233430919_541167_6673360_n.jpg


154621_178641668820280_100000233430919_541168_149632_n.jpg


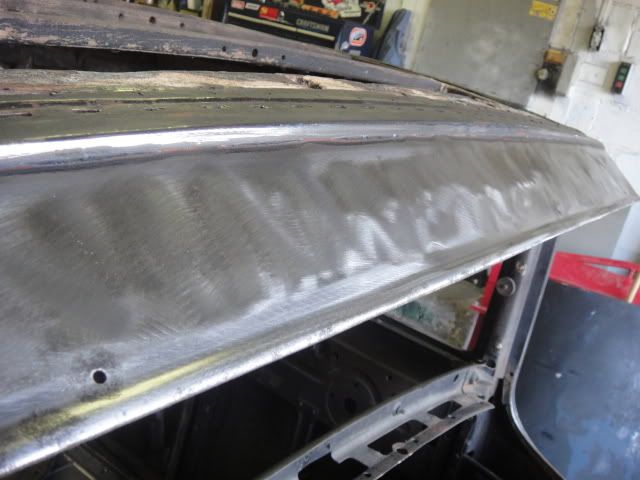
most of this was stud gun work mostly all the dents were behind braces. and some shrinking hammer here and there

about half way through

156944_178641995486914_100000233430919_541169_7708450_n.jpg


47610_178642055486908_100000233430919_541170_1396740_n.jpg


its not 100 percent metal finished but its pretty damn nice in my book

155740_178642538820193_100000233430919_541175_4479739_n.jpg


163213_178642492153531_100000233430919_541173_5409463_n.jpg
 
Last edited:
got the patch panels from macs in the mail today. JUNK! same as the other ones just on a better piece of metal.


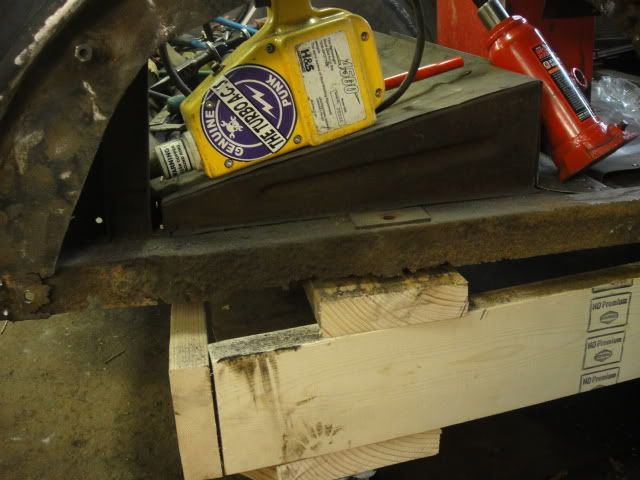
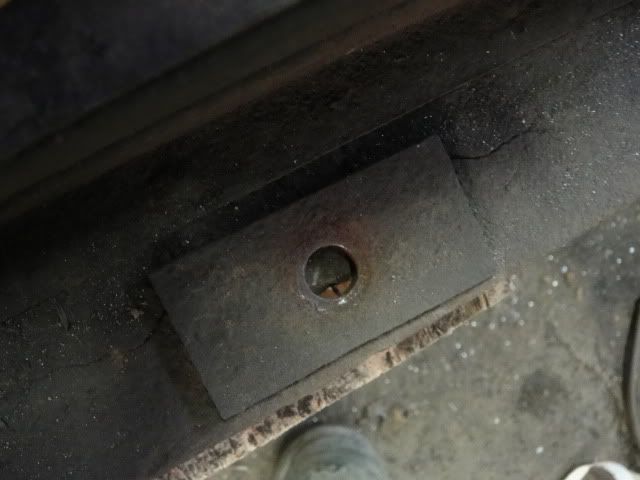
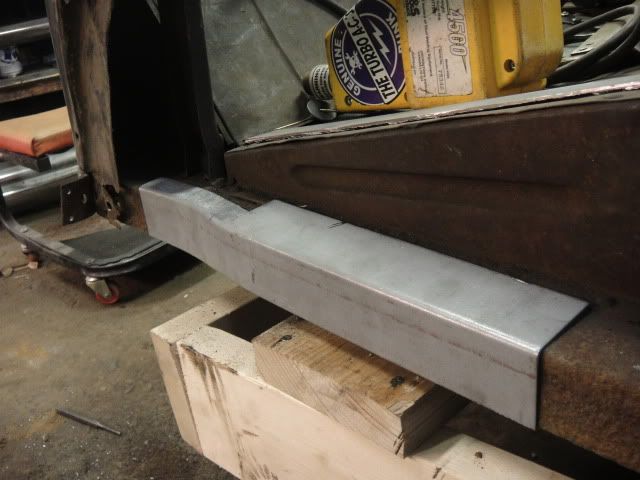
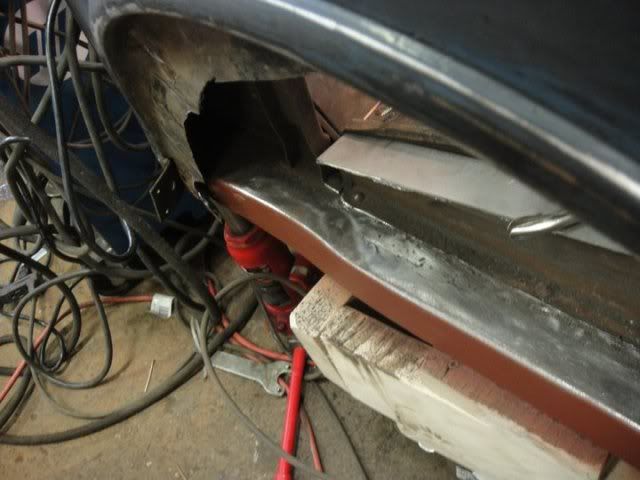
so it needed more subframe work nothing fancy or pretty here

157061_178901308794316_100000233430919_542945_292815_n.jpg


157029_178901365460977_100000233430919_542946_4696384_n.jpg


163004_178901402127640_100000233430919_542947_2529580_n.jpg


155047_178901848794262_100000233430919_542950_7811214_n.jpg


heres the og piece of body line i have to re weld in after fixing the subframe.gonna keep as much of this around as possible because aparently it is impossible to remake .

74680_178901875460926_100000233430919_542951_4313933_n.jpg


im making my own panels now. so far i have a much nice start then what i got as a patch panel. i used a piece of 20 guage for the first run just to see what i could make it do and i like the results. switich to 18 gauge for the final product.

i used my commie bead roller some conduit and bruce springsteen on the ipod. wish i woulda started working on these in the begining of the day instead of messing with the patch panels.

i made this up in about 20 mins and quite happy once i get the hard line from the step die out i think ill be good to go

63418_178901915460922_100000233430919_542952_4794472_n.jpg


155033_178902505460863_100000233430919_542953_6516962_n.jpg


you can see i started to get the hard line out on the edge. pretty excited about this!!

155390_178902532127527_100000233430919_542954_6542961_n.jpg
 
Last edited:
Nice work and nice narrative (--albeit a little crude with some of the unnecessary foul language!!!). Thanks for sharing.


You are correct that in most instances the commercially available patch panels are indeed junk. While I did not see it mentioned, I am sure you also found those inner fender patches did not have the correct shape stamped into them, nor is the beads like the originals. Truly sad for all the effort that goes into this area. I'm sure that you will probably fabricate those next time too just so you can make them look closer to original. I guess that is why they say "experience is something you get after you need it!" :D Next time your experience will let you be able to tell the customer that he will need to let you make them yourselves!! ;)

On a side note if you don't mind me asking, did you do this project on a 'Time & Materials' cost to him, ...or did you quote a turn-key price for the whole project beforehand, --and if so, would you do it for the same price again now that you know what all was involved??

Again, nice job & thanks for sharing. (...and BTW, I could not get your website to open.)

.
 
You clearly do nice work, but I have a question.

Why did you do the whole wheel well patch?

There was only a little bit of metal at the bottom that was bad.

From my experience it is fairly quick to make and weld in a a patch at the bottom of the wheel well. When you consider the length of the weld to do the whole arc and the cost of the panels. In the end I think you use less time and materials to make your own patch and weld it in.

I have encouraged several other people to make their own patches. In each case they have been surprised with how easy and quick the job went.
 
Not a bad days's work!!!:D

Really looks great and so nice to see another Model A come back to life as an original.

Man, am I glad my 3 Model A's don't need patch panels!:eek:
Just curious, about how many hours to do this much work?
 
Keep the updates coming. I think this is the first build thread I've ever seen on this forum, whereas on the HAMB there are litterly hundreds of them. Keep up the good work and as I said, keep the updates coming!!
 
It is nice to see a young guy like yourself really take hold of this kind of work and do such a great job. Your intense conscientious attitude and great interest makes this happen and you are to be highly commended. BUT, take it kindly from and older guy with three sons much older than you, be more discreet in the language you use. You don't need to impress anybody that way. Your fine work speaks volumes for you in a much more positive way. Keep up the great work and think twice about using those loose words, they will only detract from your acceptance by others and results in people looking upon you as a person of lesser class. You show exceptional talent and deserve to be highly respected for it. Good luck to you from an old body shop guy.
 
It is nice to see a young guy like yourself really take hold of this kind of work and do such a great job. Your intense conscientious attitude and great interest makes this happen and you are to be highly commended. BUT, take it kindly from and older guy with three sons much older than you, be more discreet in the language you use. You don't need to impress anybody that way. Your fine work speaks volumes for you in a much more positive way. Keep up the great work and think twice about using those loose words, they will only detract from your acceptance by others and results in people looking upon you as a person of lesser class. You show exceptional talent and deserve to be highly respected for it. Good luck to you from an old body shop guy.


Well said Loumo.
 
Thanks Brent. We need to encourage this kind of talent and interest which truly comes from the love of this kind of work. And what I see of your work Brent, you are a fine example of this. Keep it up.
 
Some nice work Brent. Looks like the Coupe had all of the regular weak areas. The Tig does a nice job. I've got to learn to Tig. Only a Oxy-acetylene and Mig guy. Nice to see some metal finishing as well. Keep up the good work.

Here`s some picture of a 30 I`m working on that someone had brazed in sections of the Upper Quarter panel sections.

The Old Tinbasher. John Poole
 

Attachments

  • A 4.jpg
    A 4.jpg
    47.9 KB · Views: 328
  • A 7.jpg
    A 7.jpg
    62.5 KB · Views: 311
  • A 9.jpg
    A 9.jpg
    58.9 KB · Views: 329
  • A 13.jpg
    A 13.jpg
    61.7 KB · Views: 298
Back
Top